
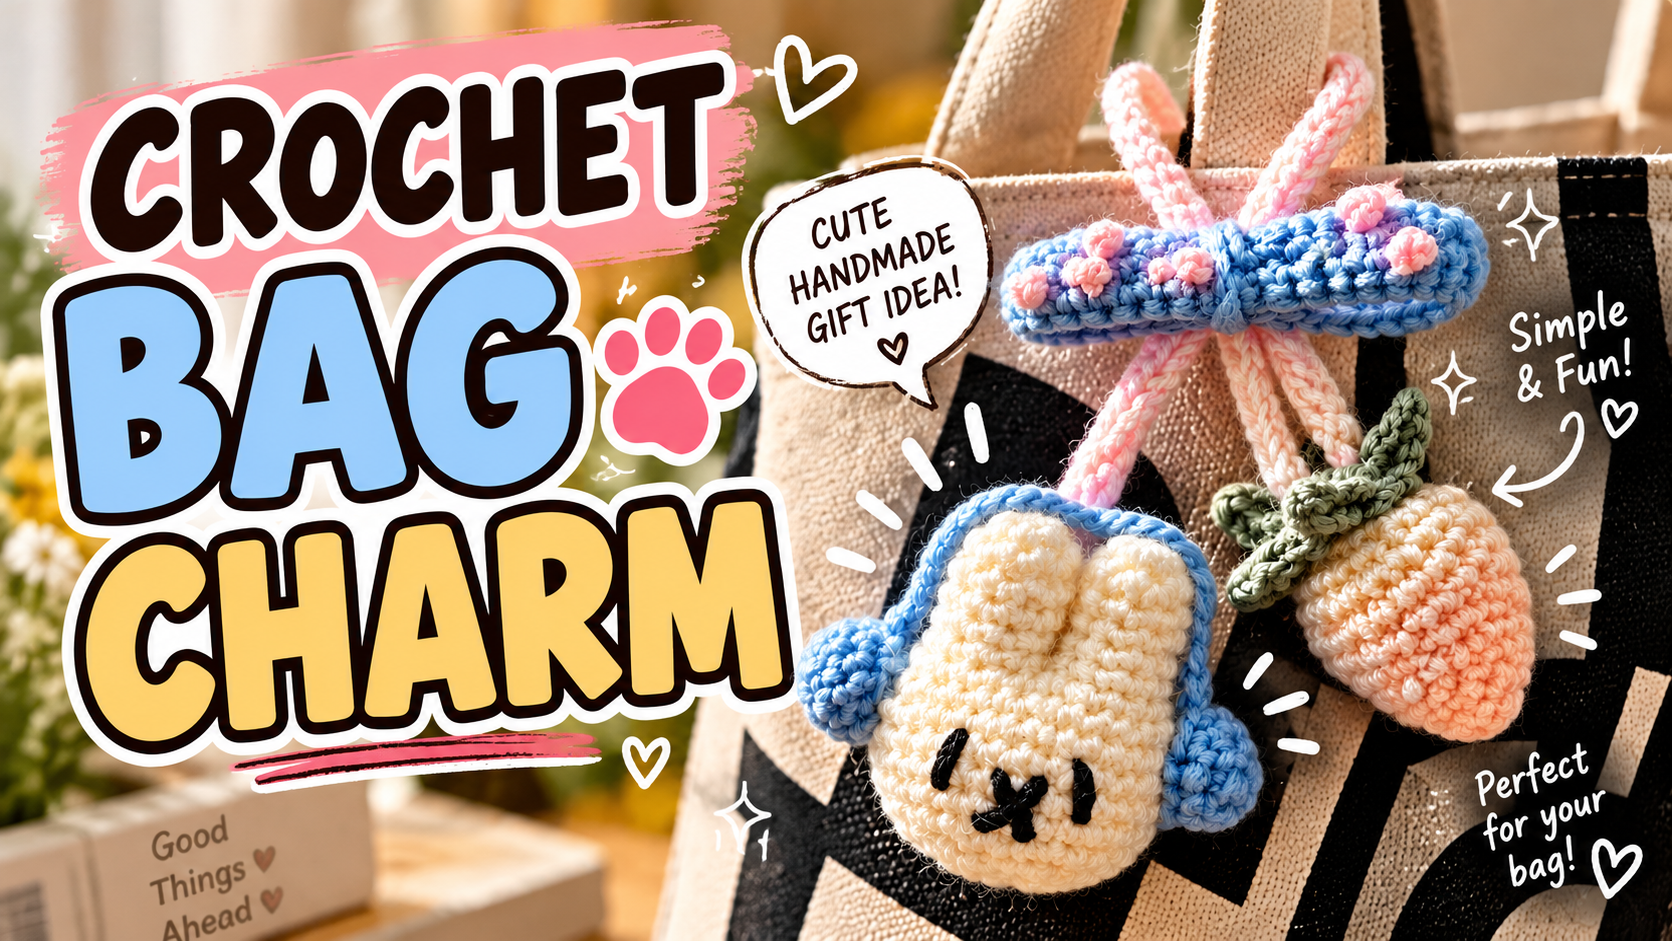
# Crochet Bunny & Strawberry Bag Charm: Free Miffy-Inspired Pattern
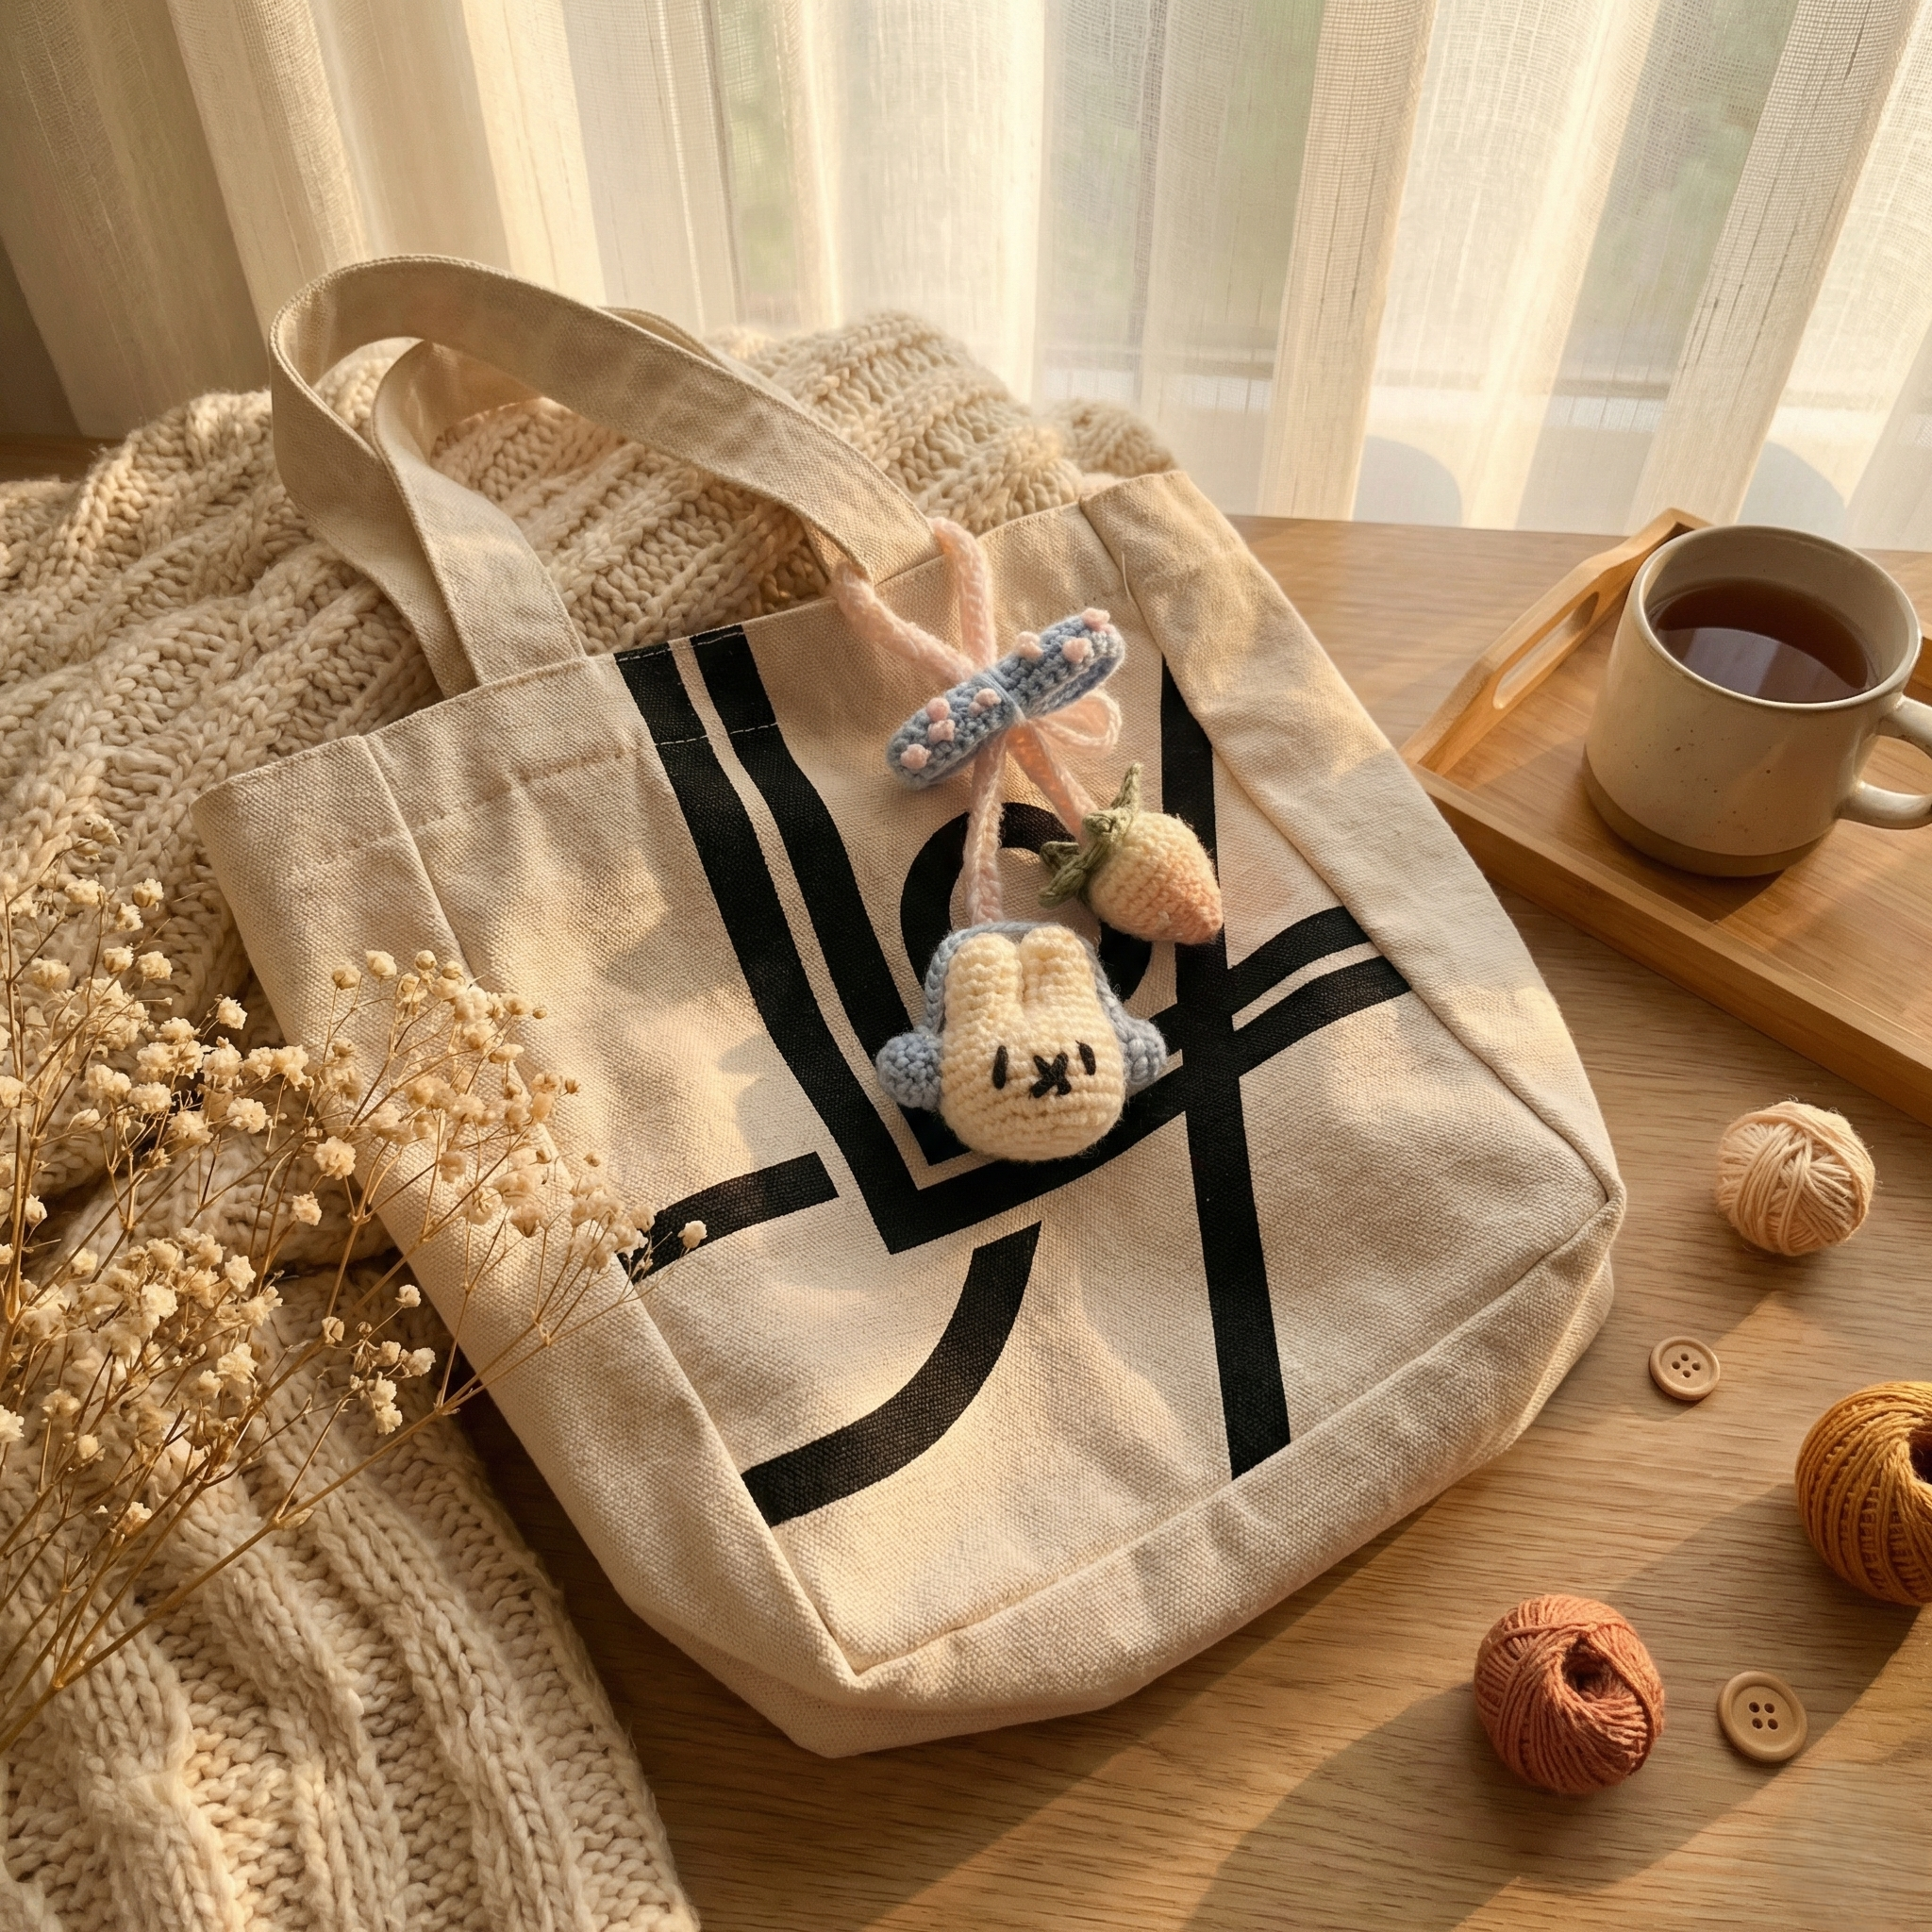
Give a plain canvas tote or backpack a playful handmade update with this crochet bunny and strawberry bag charm. 🍓🐰
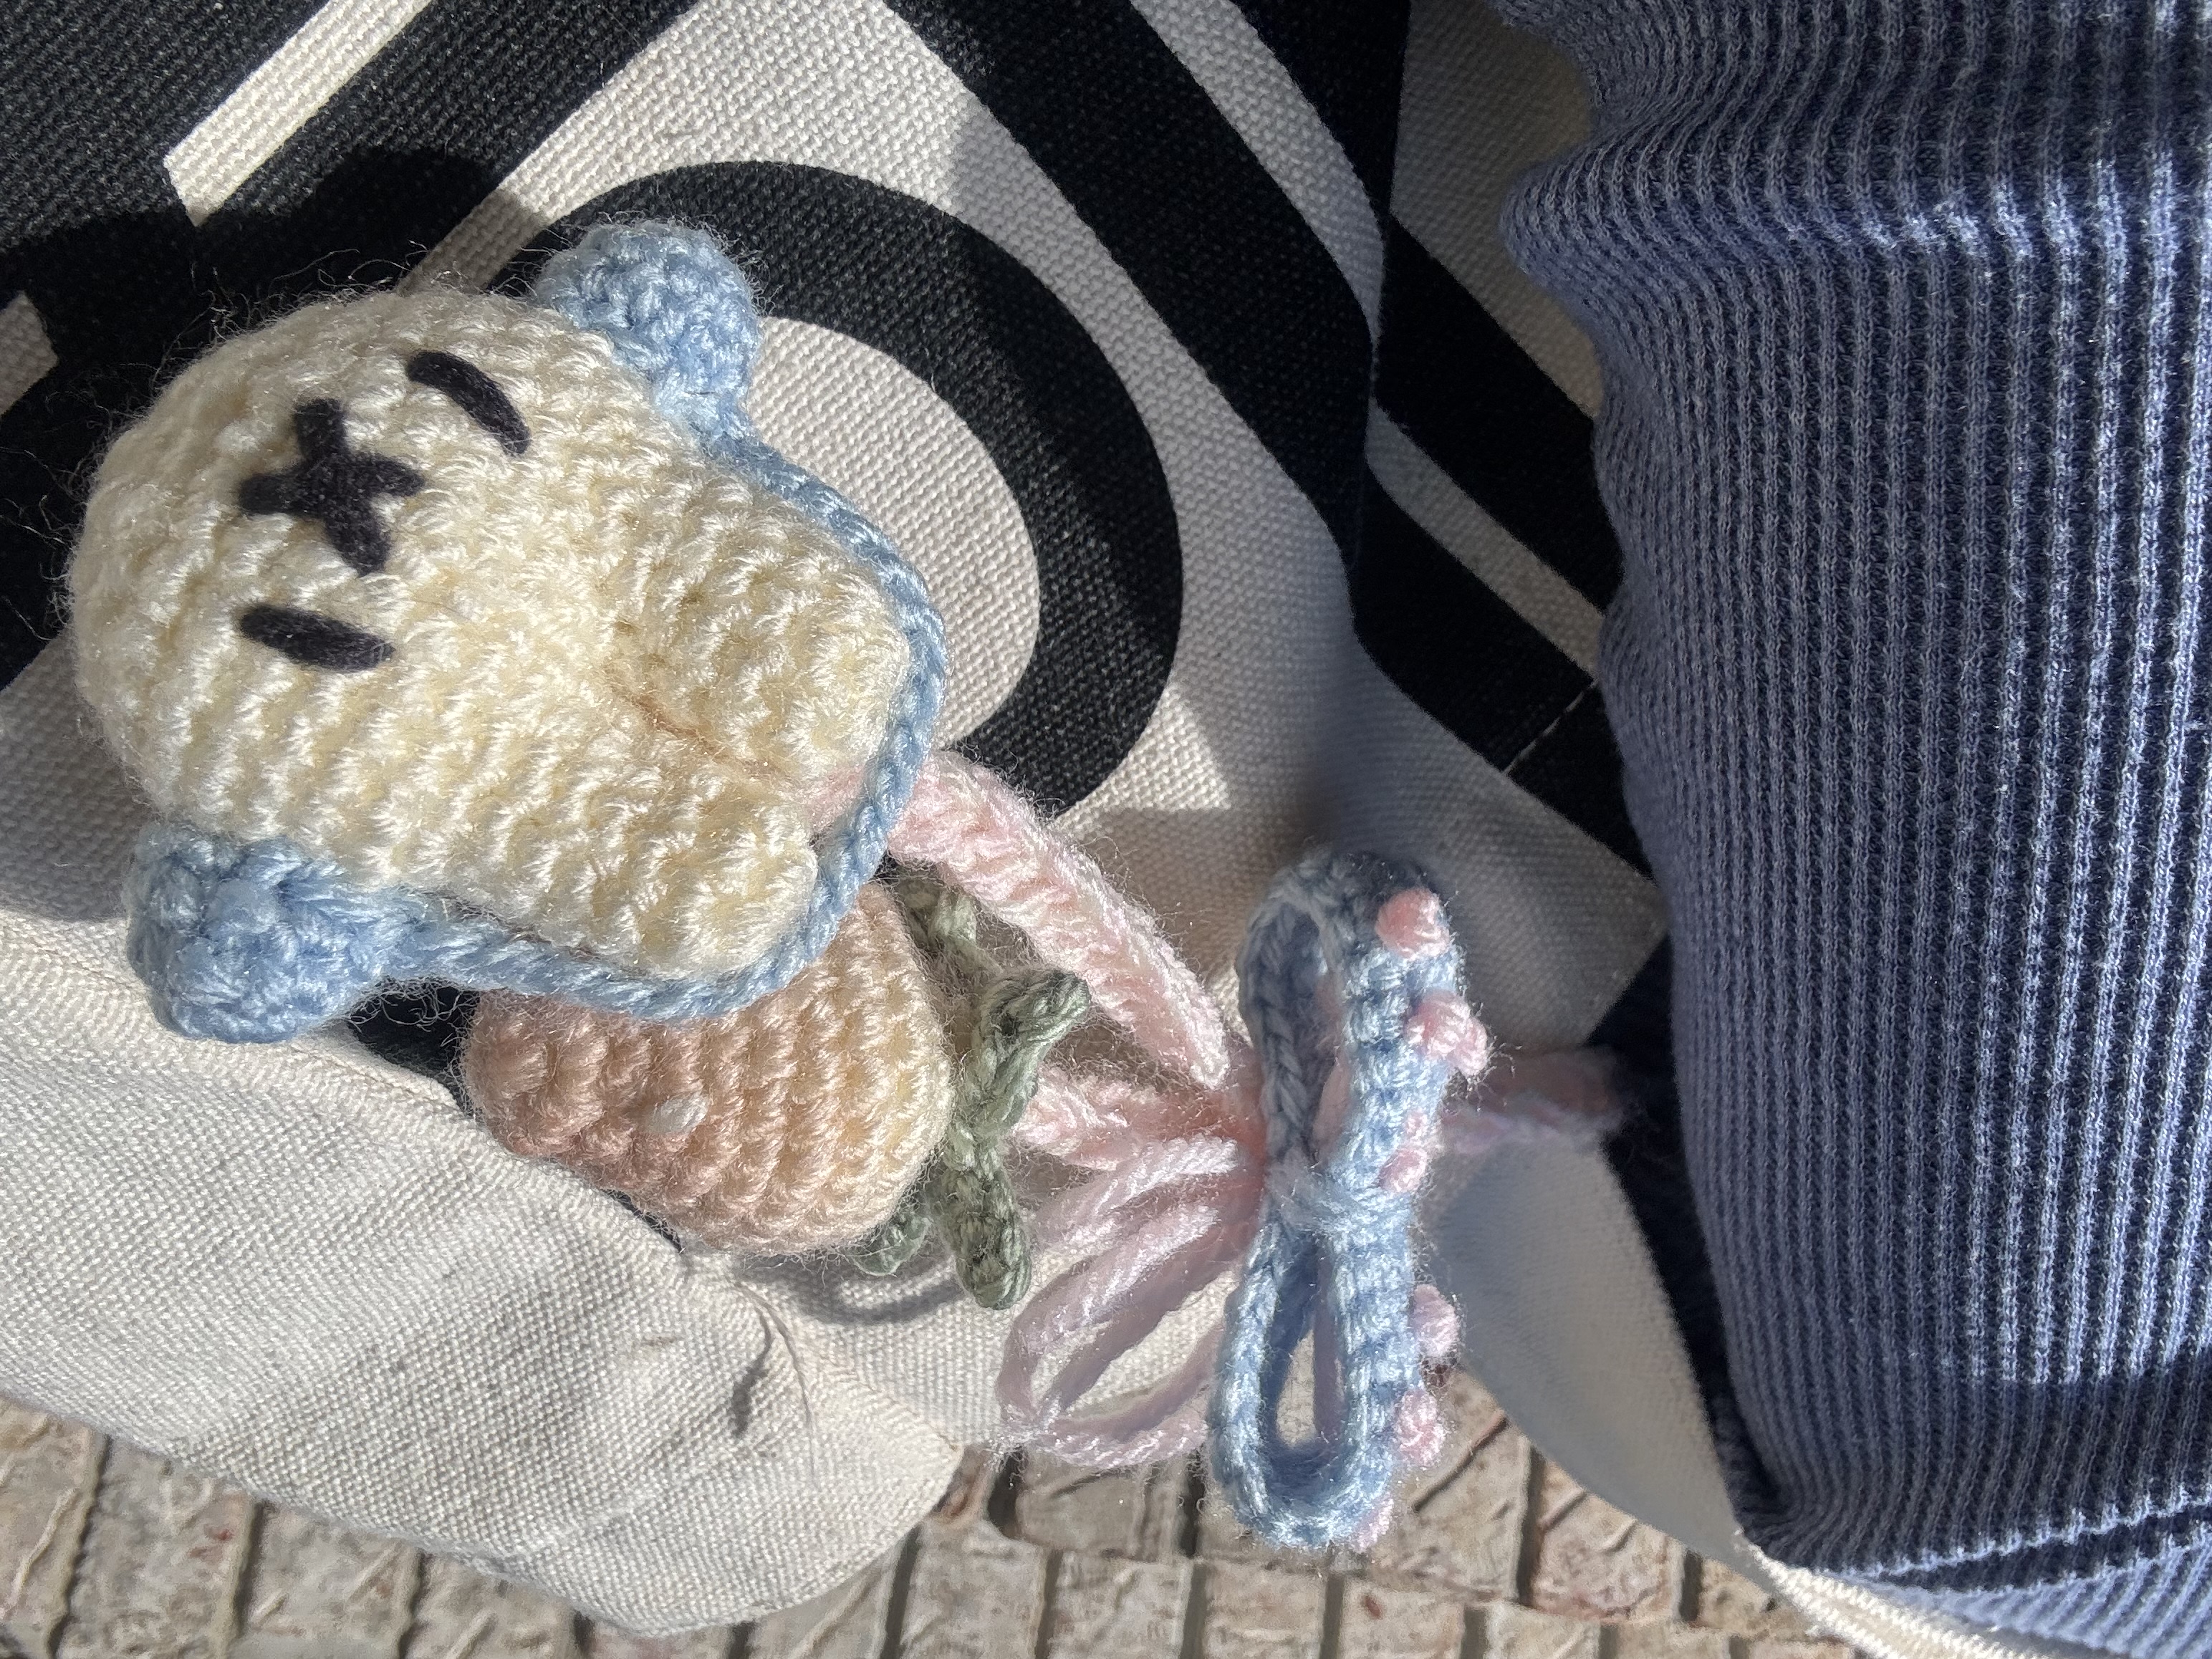
The design combines a seamless cream bunny head, tiny blue headphones, a soft strawberry, and a matching polka-dot bow. Because every component uses only a small amount of yarn, it is also a lovely way to use the leftovers in your yarn basket.
Attach the finished pieces to a crocheted cord and use the charm on a tote bag, backpack, project bag, or key ring.
Project Overview
- Skill level: Confident beginner
- Construction: Small amigurumi pieces with light sewing and embroidery
- Main techniques: Magic ring, continuous rounds, increases, decreases, chains, and French knots
- Best use: Bag charm, backpack decoration, keychain, or handmade gift
The bunny head is crocheted continuously from the two ears, creating a cleaner finish with fewer pieces to sew together.
Materials Used
- Worsted-weight yarn in cream
- Worsted-weight yarn in blue
- Worsted-weight yarn in pink
- Small amount of green yarn
- Small amount of yellow yarn for optional strawberry details
- Small amount of black yarn for the face
- Crochet hook suitable for your yarn
- Polyester fiberfill
- Yarn needle
- Scissors
- Stitch marker
- Optional thin craft wire for the headphone band
- Optional key ring or lobster clasp
The original video does not list a specific hook size. Choose a hook that produces a firm amigurumi fabric without visible gaps between the stitches.
US Crochet Abbreviations
- MR: Magic ring
- Ch: Chain
- Sl St: Slip stitch
- SC: Single crochet
- HDC: Half double crochet
- Inc: Increase — work 2 SC in the same stitch
- Dec: Decrease — crochet 2 stitches together
- St/Sts: Stitch/Stitches
- FO: Fasten off
Before You Begin
Work the amigurumi sections in continuous rounds unless otherwise noted. Place a stitch marker in the first stitch of each round and move it upward as you work.
The stitch total for each completed round is shown in parentheses.
Keep your tension firm enough to hold the stuffing inside, but avoid pulling the stitches so tightly that inserting the hook becomes uncomfortable.
Part 1: Crochet the Strawberry
Use pink yarn.
Round 1: Work 6 SC into a MR. (6) Round 2: (1 SC, Inc) × 3. (9) Round 3: (1 SC, Inc, 1 SC) × 3. (12) Round 4: (3 SC, Inc) × 3. (15) Round 5: (2 SC, Inc, 2 SC) × 3. (18) Round 6: (5 SC, Inc) × 3. (21) Round 7: (3 SC, Inc, 3 SC) × 3. (24) Rounds 8–9: Work 24 SC around. (24) Round 10: Work 12 Dec around. (12)
Add a small amount of fiberfill before closing the remaining opening. Shape the strawberry gently so it stays rounded at the top and slightly pointed at the bottom.
Optional: embroider a few small yellow stitches across the surface to resemble strawberry seeds.
▶️ Watch the strawberry section from 0:21
Part 2: Crochet the Strawberry Leaves
Use green yarn.
Round 1: Work 10 SC into a MR. Do not close the ring too tightly yet. (10)
For each leaf:
- Ch 4.
- Starting in the second chain from the hook, work 1 Sl St, 1 SC, and 1 HDC.
- Skip one stitch on the magic-ring base.
- Sl St into the next stitch.
Repeat this sequence five times to create five pointed leaves.
Fasten off, close the center of the magic ring, and sew the leaves securely onto the top of the strawberry.
Part 3: Crochet the Bunny Ears
Make two ears using cream yarn.
Round 1: Work 6 SC into a MR. (6) Round 2: (1 SC, Inc) × 3. (9) Rounds 3–6: Work 9 SC around. (9)
Fasten off the first ear.
After completing the second ear, do not fasten off. Ch 1 and join the second ear directly to the first ear. The head will continue from this join, creating a seamless connection between the ears and head.
Part 4: Crochet the Seamless Bunny Head
Continue with cream yarn.
Round 7: Work 9 SC around the first ear, 1 SC into the joining chain, 9 SC around the second ear, and 1 SC into the opposite side of the chain. (20) Round 8: 3 SC, 2 Inc, 10 SC, 2 Inc, 3 SC. (24) Round 9: (3 SC, Inc) × 6. (30) Rounds 10–13: Work 30 SC around. (30) Round 14: (3 SC, Dec) × 6. (24) Round 15: (1 SC, Dec, 1 SC) × 6. (18) Round 16: (1 SC, Dec) × 6. (12)
Stuff the head firmly, paying special attention to the sides of the cheeks.
Round 17: Work 6 Dec around. (6)
Fasten off and use the yarn tail to close the remaining opening.
▶️ Watch the seamless ears and head construction from 5:53
Add the Bunny Face
Thread black yarn onto a yarn needle.
- Embroider two small vertical lines for the eyes.
- Embroider a neat X-shaped mouth between and slightly below the eyes.
Before pulling the yarn tight, check that the face is centered between the ears.
Part 5: Crochet the Blue Headphones
Earmuffs
Make two using blue yarn.
Round 1: Work 6 SC into a MR. (6) Round 2: (1 SC, Inc) × 3. (9) Round 3: Work 9 SC around. (9)
Fasten off, leaving a tail for sewing.
Headphone Band
Using blue yarn:
- Ch 22.
- Starting in the second chain from the hook, work 21 SC.
- Fasten off, leaving yarn tails for assembly.
For a more structured headphone band, crochet around a thin piece of craft wire. Bend the finished band gently so it follows the curve of the bunny’s head.
Sew one earmuff to each end of the band, then secure the headphones around the bunny head.
If the finished charm may be handled by a small child, leave out the wire.
▶️ Watch the headphone section from 11:09
Part 6: Crochet the Polka-Dot Bow
Use blue yarn.
Row 1: Ch 35. Starting in the second chain from the hook, work 34 SC. Ch 1 and turn. Rows 2–4: Work 34 SC across. Ch 1 and turn after Rows 2 and 3.
Fasten off and weave in the ends.
Tie the strip into a bow. Thread pink yarn onto a needle and embroider several French knots across the blue surface to create the polka-dot effect.
Spread the knots evenly instead of placing them in perfectly straight rows—the slightly irregular arrangement gives the bow a softer handmade look.
▶️ Watch the bow section from 13:17
Part 7: Make the Hanging Cord
Crochet a long chain in pink, blue, or both colors.
The cord should be long enough for the bunny and strawberry to hang at slightly different heights without overlapping completely. Test the arrangement against your bag before fastening off.
For a two-color cord, follow the color-changing method demonstrated in the video.
▶️ Watch the two-color hanging cord from 14:04
Assemble the Bag Charm
- Sew the green leaves onto the strawberry.
- Embroider the bunny’s face.
- Sew the earmuffs to the headphone band.
- Position and secure the headphones around the bunny head.
- Attach the polka-dot bow near the top of the hanging cord.
- Attach the bunny head and strawberry at different points along the cord.
- Add a lobster clasp or key ring if desired.
- Weave in every yarn end securely.
Before using the charm, gently pull each component to make sure it is firmly attached.
Customization Ideas
Try changing the colors to match your favorite bag:
- Cream bunny with sage headphones and a dusty-pink strawberry
- White bunny with red headphones for a classic look
- Pale pink bunny with a cream bow for a coquette style
- Brown bunny with an orange strawberry for an autumn version
- Red, green, and cream for a Christmas bag charm
You can also make the strawberry and bunny separately as two smaller keychains.
Watch the Complete Video Tutorial
The written pattern provides the stitch counts, while the video shows the seamless ear connection, stuffing, face placement, headphone construction, French knots, and final assembly in detail.
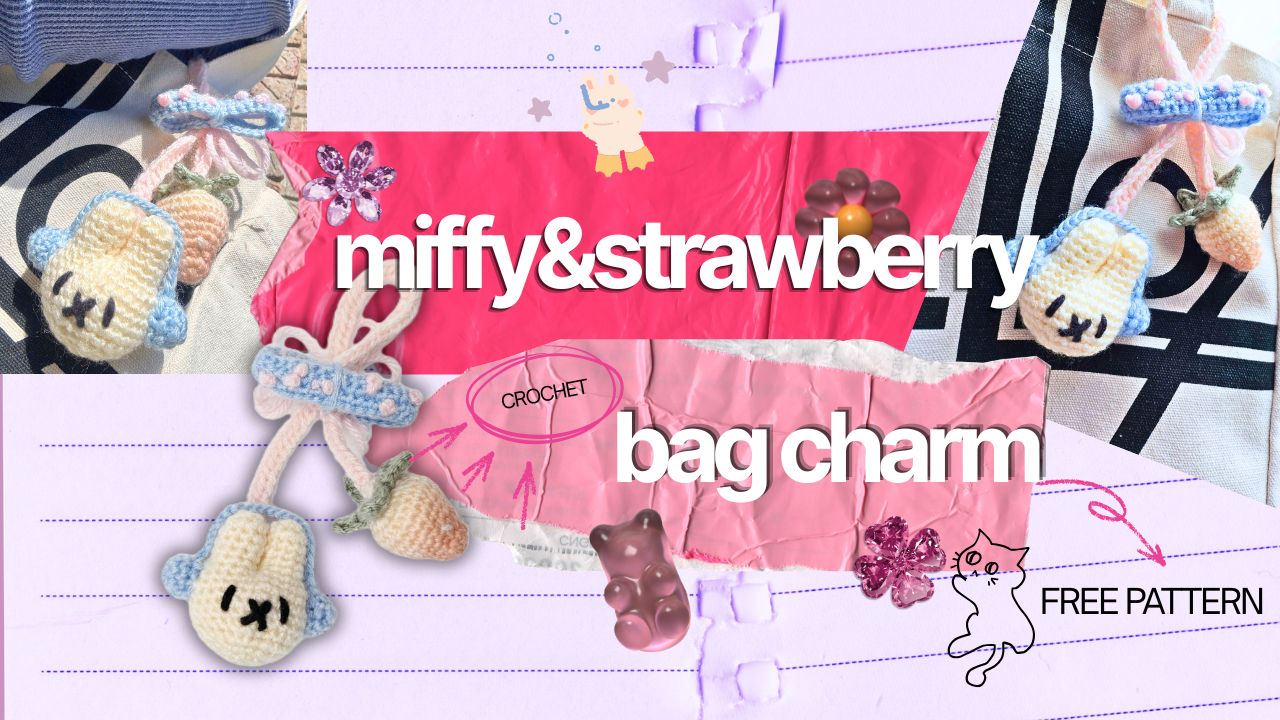
▶️ [Watch the complete Bunny and Strawberry Bag Charm Tutorial on YouTube](https://youtu.be/0trS1RGZtV8)
If you make your own version, tell me which colors you chose and whether you used it as a bag charm or keychain. 🍓🧶
*This is an unofficial fan-made crochet project inspired by the character’s recognizable style. It is not affiliated with or endorsed by Dick Bruna or the Miffy rights holders.*
Made with yarn, shared with love. 🧶💗
Watch every stitch up close
Pair these written notes with the complete video tutorial.
Made with yarn, shared with love. 🧶💗