
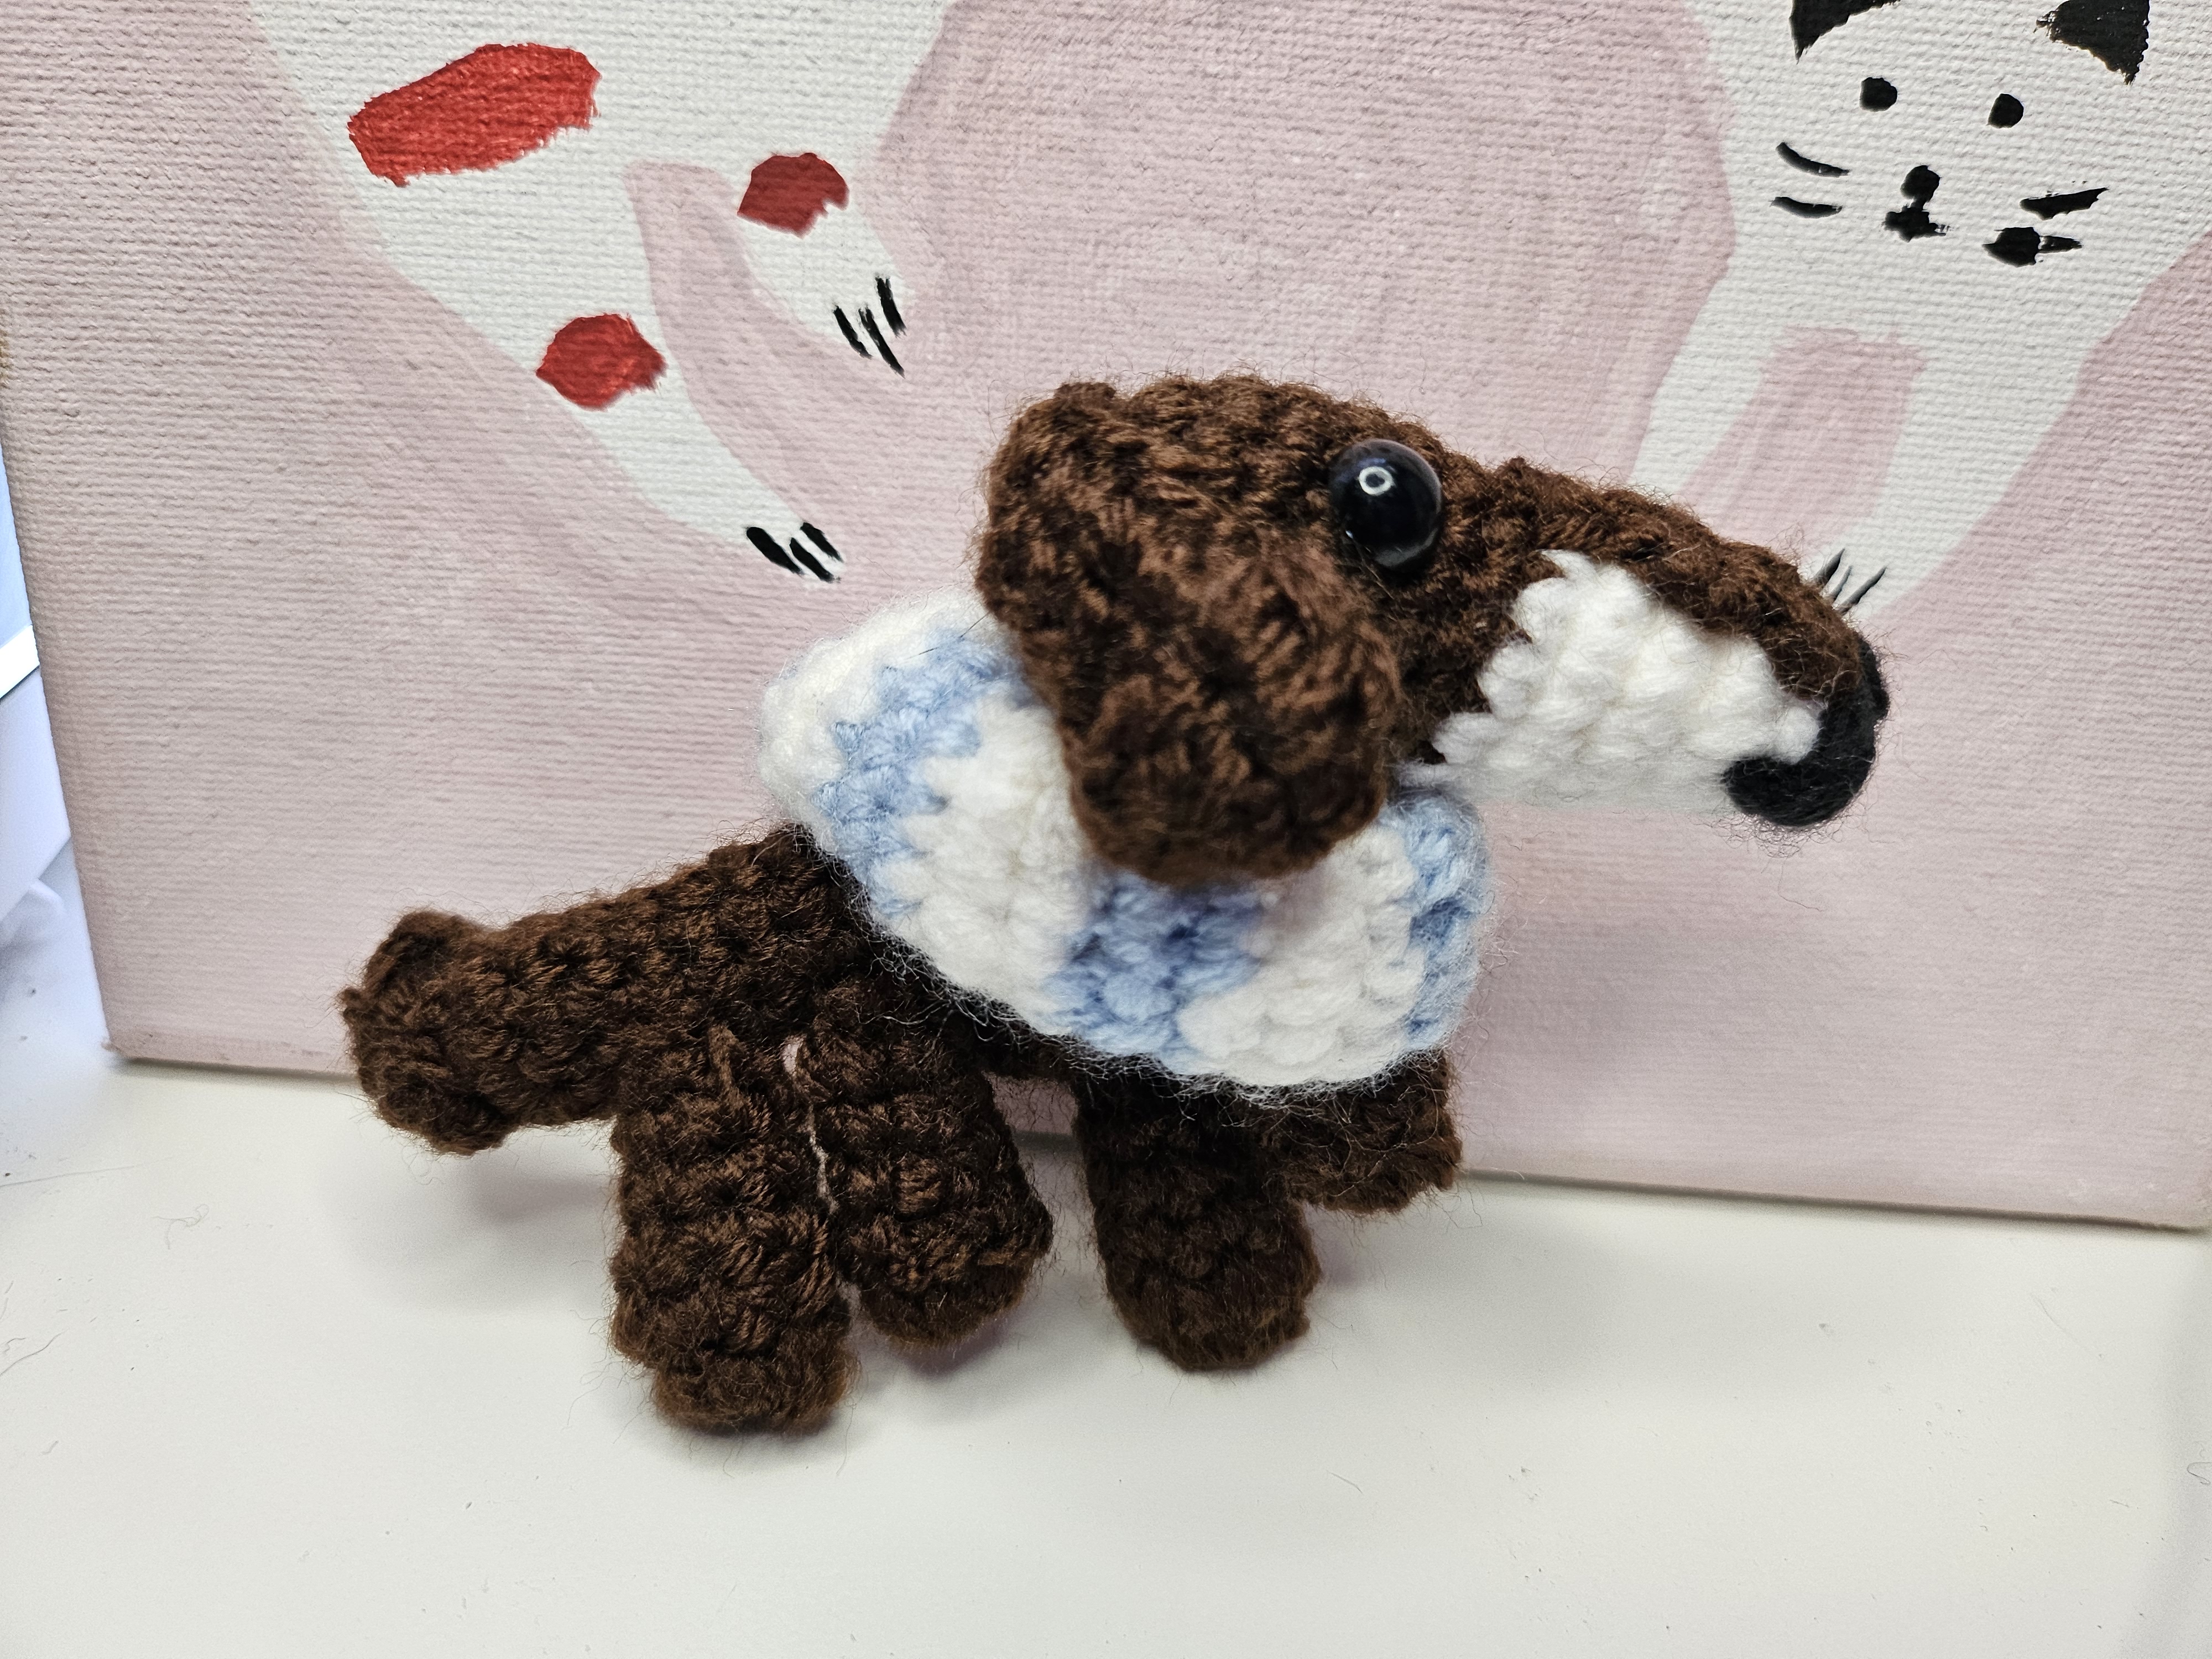
Meet a tiny crochet dachshund with a long sausage-dog body, floppy ears and its own striped scarf. 🌭🐶
This small amigurumi project uses only a little yarn, making it a fun way to turn leftover colors into a handmade gift, keychain or cheerful desk companion.
The body shaping and assembly are easiest to understand visually, so use this written guide as a project overview and follow the complete Crochetnotes video for every round:
Watch the Crochet Dachshund Amigurumi Tutorial on YouTube
Project Overview
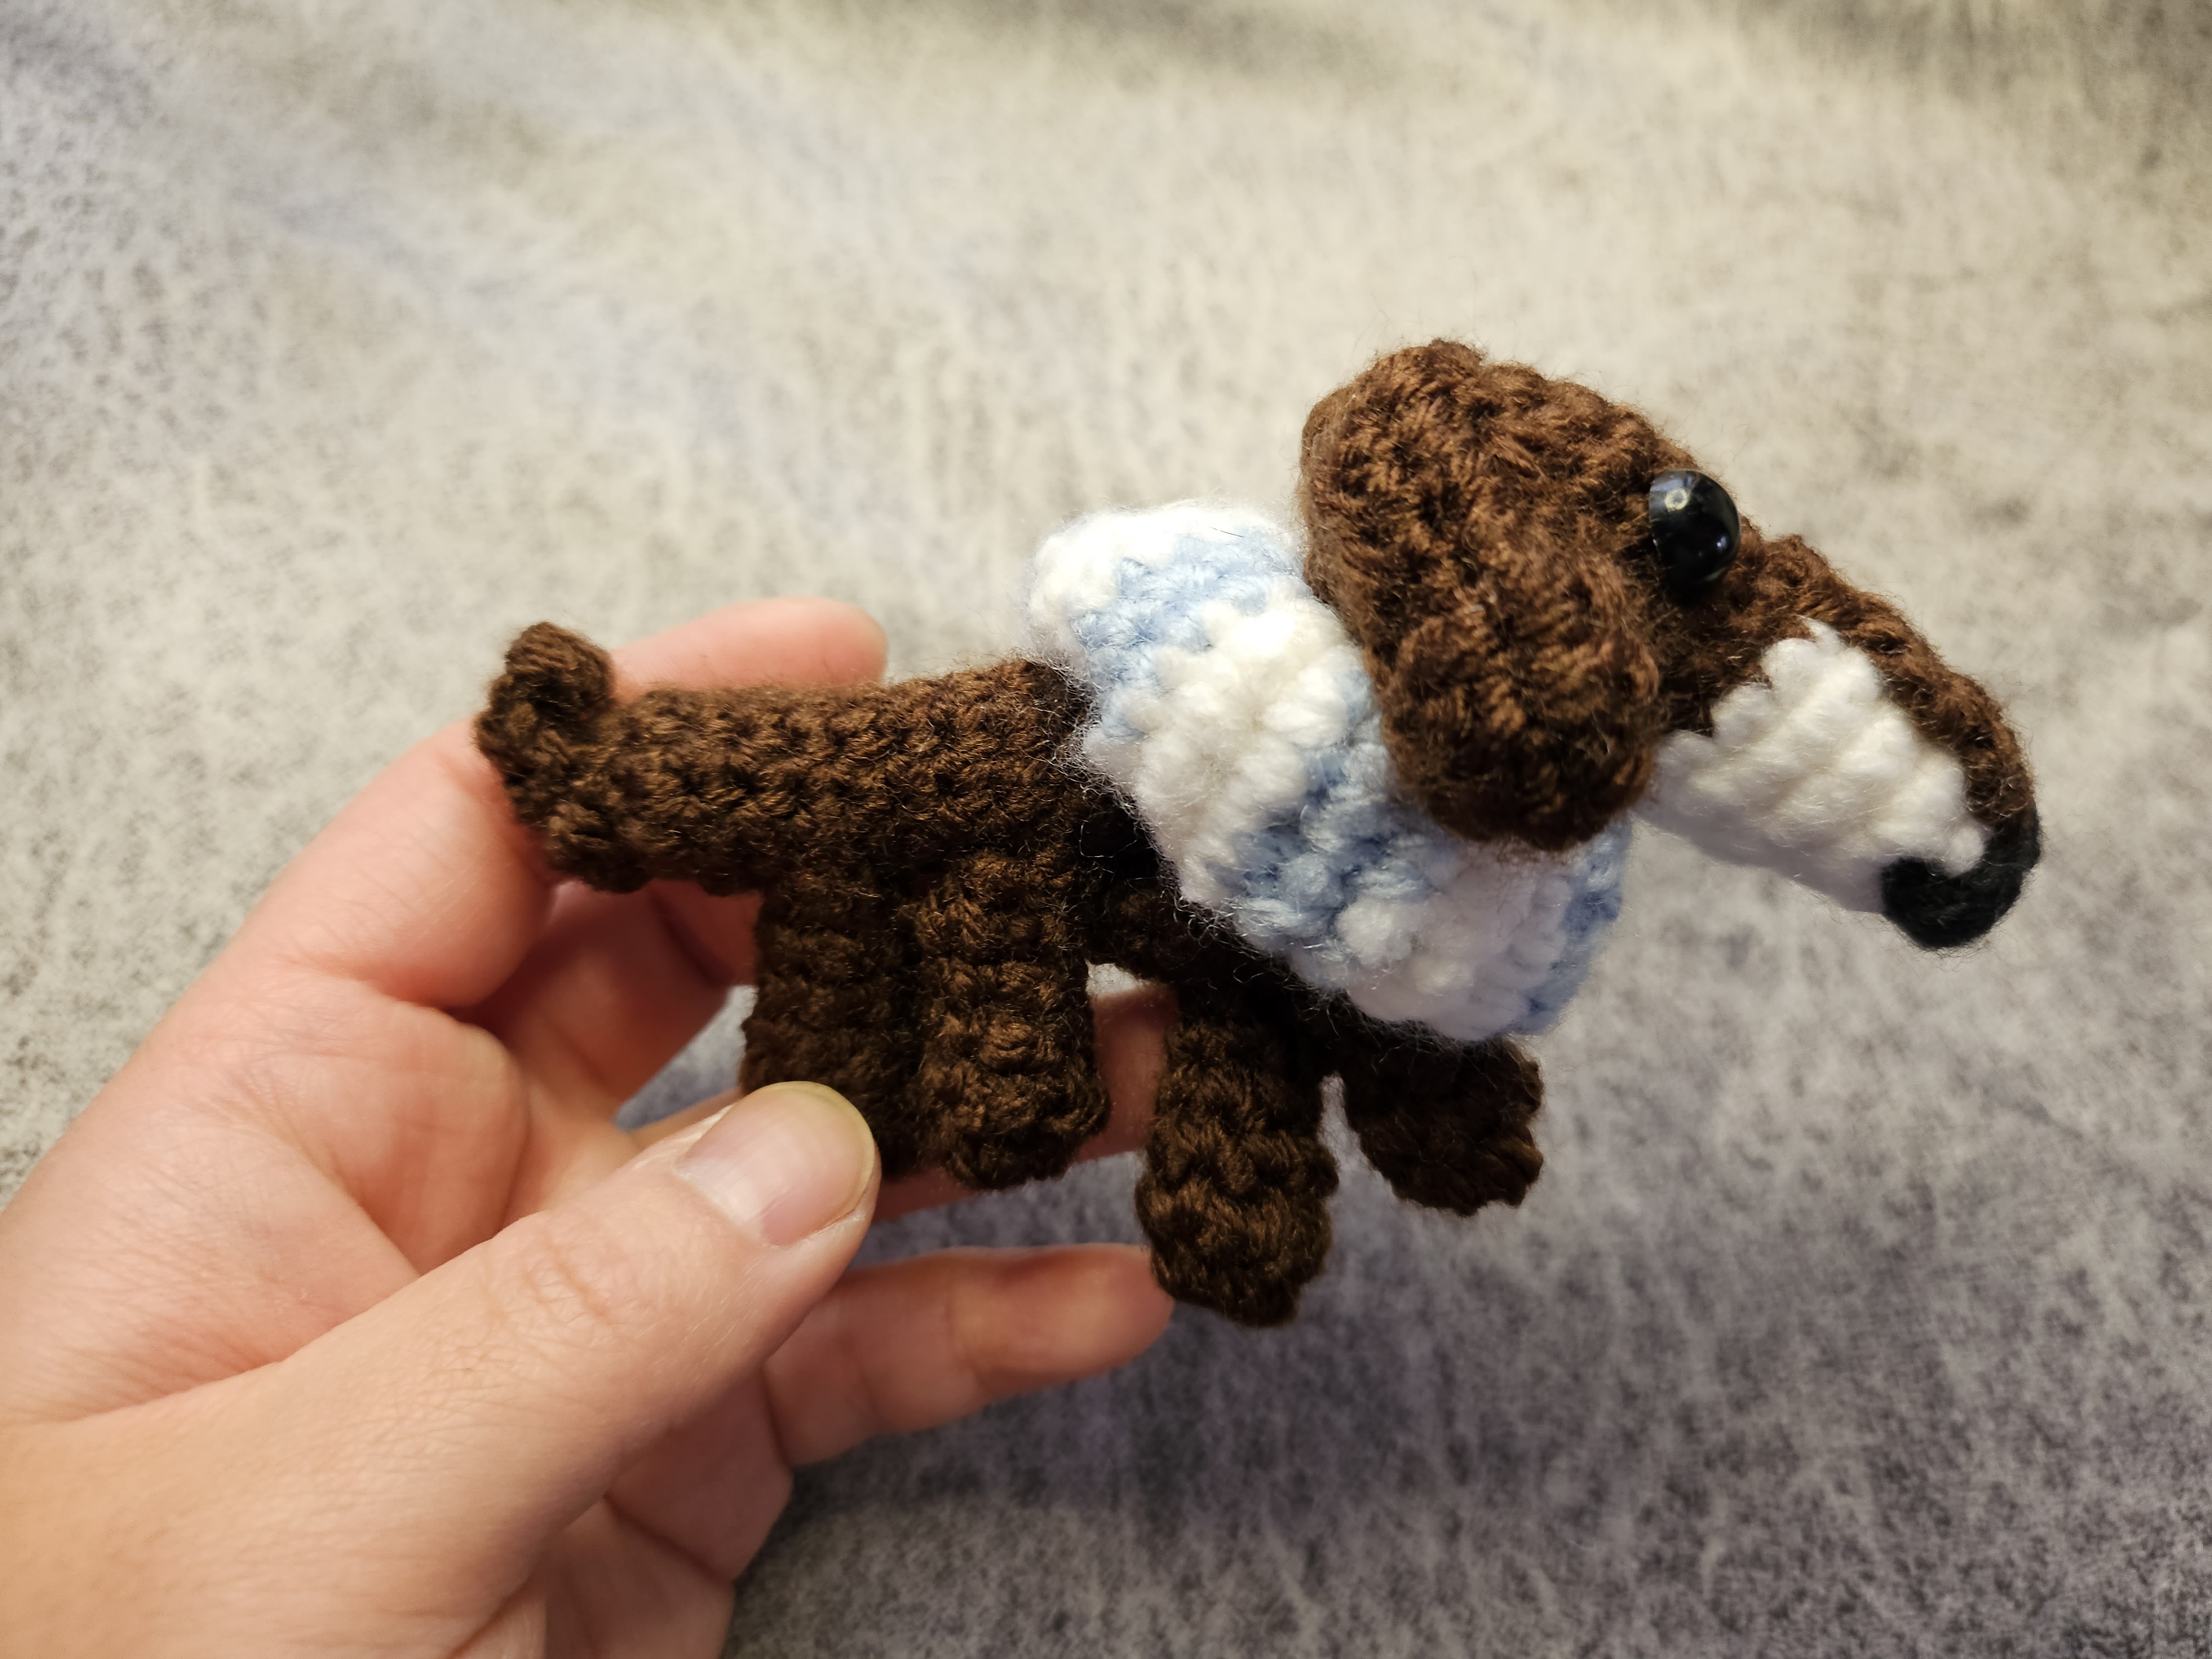
The dachshund is constructed from several small crochet pieces:
- One elongated body
- One shaped head
- One muzzle and nose
- Two floppy ears
- Four short legs
- One tapered tail
- One miniature striped scarf
Each section uses a small amount of yarn. This makes the project especially suitable for using coordinated scraps left over from larger projects.
Materials
The exact yarn brand, yarn weight, hook size and colors were not listed in the public video description. Use yarns of the same weight throughout the project and select a hook that produces a firm fabric without visible gaps.
You will need:
- Yarn in your chosen main dog color
- A small amount of darker yarn for the nose
- Two coordinating colors for the striped scarf
- A crochet hook suitable for your yarn
- Safety eyes or black embroidery thread
- Polyfill stuffing
- Stitch markers
- Tapestry needle
- Scissors
- Optional keychain ring or lobster clasp
Safety note: Embroider the eyes instead of using safety eyes if the finished dachshund will be given to a child under three.
Crochet Abbreviations
The tutorial uses the following US crochet terms:
- ch – chain
- sc – single crochet
- hdc – half double crochet
- dc – double crochet
- ss – slip stitch
- tr – treble crochet
- inc – increase
Most of the dog is worked in continuous rounds. Place a stitch marker in the first stitch of each round and move it upward as you work.
Understanding Repeated Instructions
When the instructions show something such as:
(sc, sc, inc) × 6
Repeat the complete sequence inside the parentheses six times.
Each repeat uses three stitches and creates four stitches, so completing the sequence six times produces 24 stitches in the finished round.
Do not make only six stitches—the number tells you how many times to repeat the sequence.
How the Crochet Dachshund Is Constructed
1. Crochet the Long Body
Begin by crocheting the dachshund’s elongated body in continuous rounds.
Keep your tension consistent so the body remains smooth and does not develop loose gaps. The long shape is the most recognizable feature of the dachshund, so stuff it gradually rather than waiting until the final round.
Add enough filling to hold the shape, but avoid making the body overly firm. Too much stuffing can stretch the stitches and make the dog look round instead of long.
Helpful tip: Roll a small amount of stuffing between your fingers before inserting it. Smaller pieces are easier to distribute evenly through a narrow amigurumi body.
2. Shape the Head
Crochet the head separately, following the increases and decreases demonstrated in the video.
The head should be firm enough to support the muzzle and ears but still feel soft. Before closing it completely, check the placement of the safety eyes.
Insert both eyes while you can still reach the inside of the head. View the face from the front and from above before securing the backs.
If the eyes are placed too far apart, the face may appear wide. Moving them slightly closer together usually creates a sweeter amigurumi expression.
3. Make the Muzzle and Nose
The dachshund’s projecting muzzle helps distinguish it from a round-faced puppy.
Work the muzzle carefully and keep the stuffing light. Overstuffing this small section may cause it to point upward or distort the head.
Add the nose using the method shown in the video. If you embroider it, build the shape gradually with several small stitches instead of pulling one long stitch very tightly.
Use the remaining yarn tail to sew the muzzle securely to the lower front of the head.
4. Crochet Two Floppy Ears
Make two matching ears and compare them before fastening off the second one.
The ear placement changes the personality of the finished dog. Pin them temporarily to the sides of the head before sewing so you can check the position from different angles.
Attaching the ears slightly lower on the sides helps create the classic dachshund silhouette.
Sew across the upper edge firmly while leaving the lower portion free to hang naturally.
5. Make the Four Tiny Legs
Crochet four short legs using the same yarn as the body.
Count the rounds carefully so the legs remain approximately equal in length. Add only a small amount of stuffing if the pieces are large enough to need it.
Before sewing, place the dachshund on a flat surface and pin all four legs to the body. Check that:
- The front legs are level with each other
- The back legs are level with each other
- The dog can rest without leaning noticeably
- The legs are not hidden completely underneath the body
Sewing one leg at a time without checking the full arrangement can leave the finished dog uneven.
6. Crochet the Tail
Create the small tapered tail and leave a long yarn end for assembly.
Position it at the center of the back end of the body. Angle it slightly upward or to one side for a playful expression.
Sew around the base several times so the tail remains secure, especially if the dog will be used as a keychain.
7. Add the Striped Scarf
The miniature striped scarf is a lovely place to use two bright scrap-yarn colors. 🧣
Alternate the colors to create simple stripes, carrying or fastening off the yarn as shown in the tutorial. Keep the scarf soft enough to wrap easily around the dog’s neck.
Do not tie it too tightly. You should be able to slide the tip of your crochet hook between the scarf and the neck.
Try combinations such as:
- Cream and red
- Mustard and navy
- Pink and burgundy
- Sage and ivory
- Blue and white
A contrasting scarf can make even a neutral-colored dog feel more distinctive.
Final Assembly
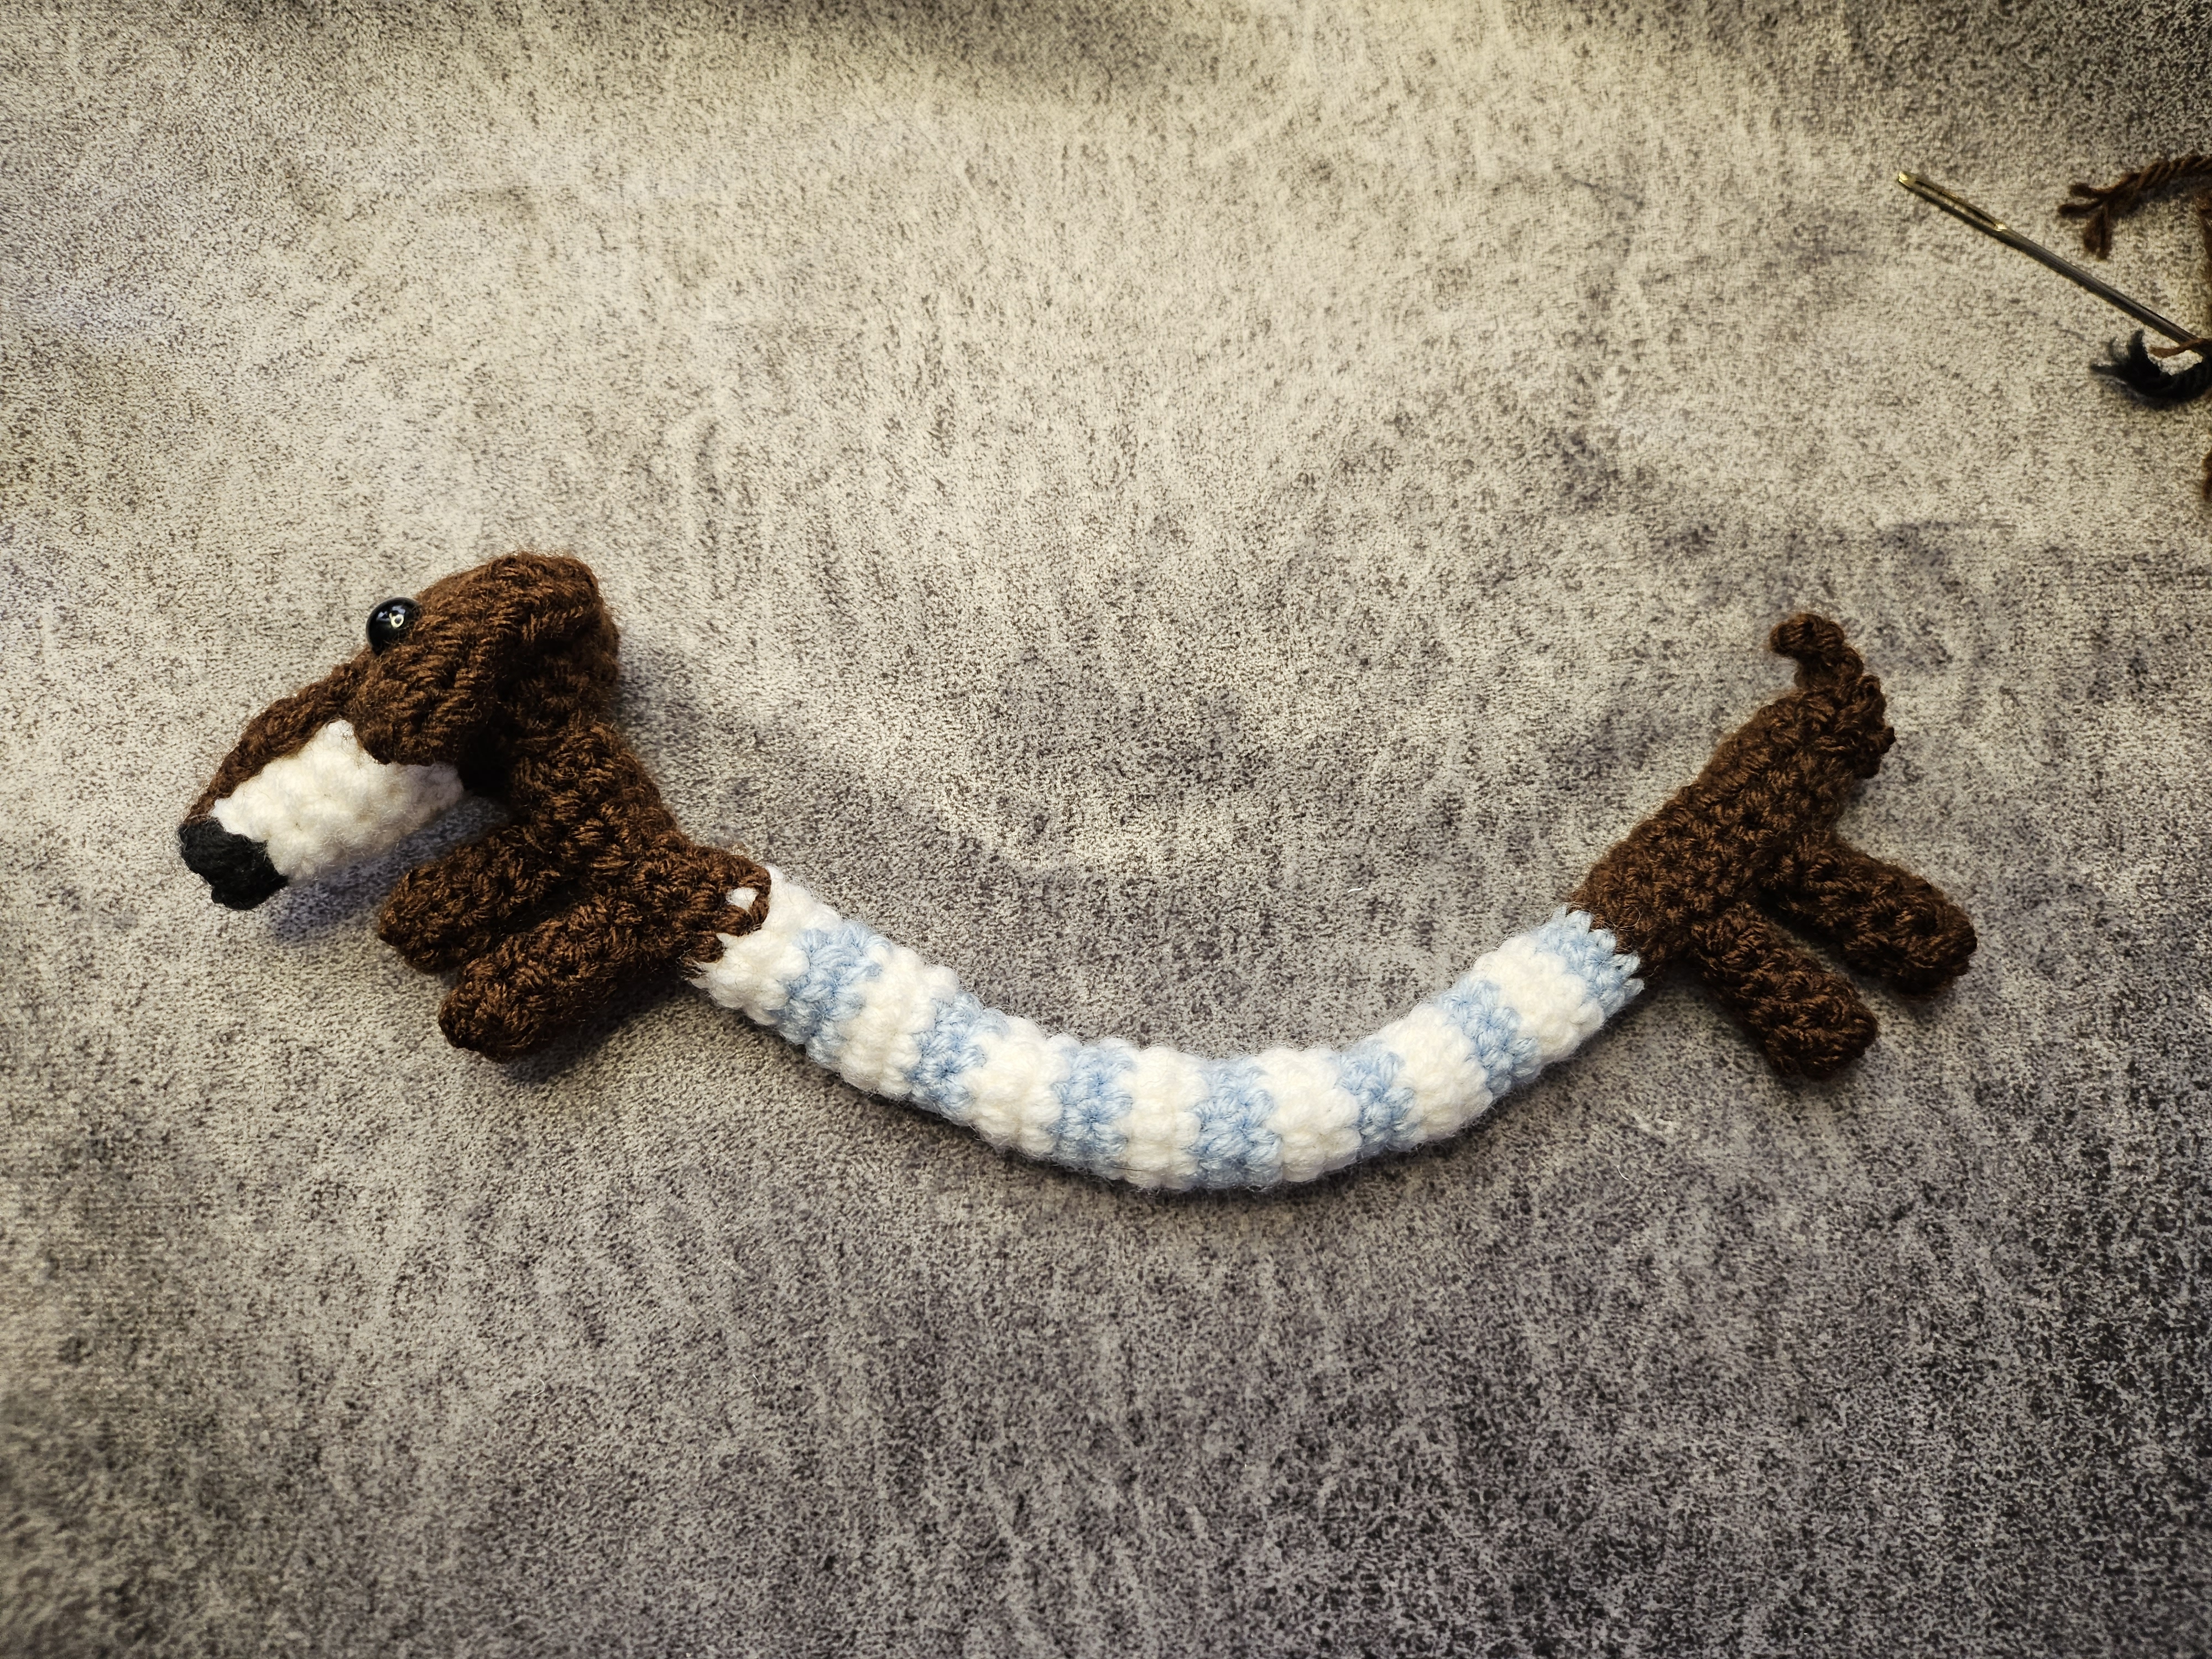
Assembly is where the individual crochet pieces begin to look like a dachshund.
For a balanced result:
- Pin the head to the front of the body.
- Check that the muzzle points forward rather than downward.
- Position the four legs while the dog rests on a flat surface.
- Pin the ears and compare their height.
- Add the tail at the center back.
- Sew every section with small, secure stitches.
- Hide all yarn ends inside the body.
- Wrap the striped scarf around the neck.
Take a final look at the dog from the front, sides and top before completing every seam. Moving a pinned piece is much easier than removing finished stitches.
Optional Keychain Finish
To turn the dachshund into a keychain, attach a strong loop of yarn or a small metal clasp to the upper center of the body.
Pass the attachment yarn through several body stitches rather than securing it to only one stitch. This distributes the weight and helps prevent the fabric from stretching.
If you plan to hang the dachshund from a bag, reinforce the loop before hiding the yarn ends.
For a desk ornament or shelf decoration, simply leave off the hardware.
Common Problems and Easy Fixes
The body looks lumpy
Add stuffing in several small pieces and distribute it with the blunt end of your crochet hook.
The legs are uneven
Pin all four legs before sewing and test the dog on a flat surface.
The muzzle points upward
Reduce the amount of stuffing and sew the lower edge more securely against the head.
The ears look different
Count the stitches and rounds in both ears. You can also lightly shape them with your fingers before attaching them.
Stuffing is visible
Use a smaller hook, tighter tension or a thicker yarn. Avoid adding excessive stuffing.
The scarf hides the face
Make the scarf slightly narrower, shorten the ends or position the knot toward one side.
Make Your Dachshund Unique
Once you understand the construction, it is easy to personalize this little dog.
You could try:
- Chocolate brown with tan details
- Black with a rust-colored muzzle and legs
- Cream with a pastel scarf
- Grey with a bright striped scarf
- A small embroidered heart on the body
- A collar instead of a scarf
- An initial charm attached to the keychain loop
You could even crochet several dachshunds with different scarf colors as small gifts for dog lovers.
Watch the Complete Video Tutorial
The complete video shows the body, head, muzzle, ears, legs, tail and assembly process step by step. It is especially helpful for understanding the shaping and positioning of the small pieces.
Watch How to Crochet Dachshund Amigurumi
If you make your own sausage dog, leave a comment on the video and tell me which colors you chose. 🐾
Visit Crochetnotes Studio for more free crochet tutorials, handmade gift ideas and beginner-friendly projects.
Project, photographs and video tutorial by Crochetnotes. Please do not reproduce or redistribute the complete instructions, images or video as your own.
Made with yarn, shared with love. 🧶💗
Watch every stitch up close
Pair these written notes with the complete video tutorial.
Made with yarn, shared with love. 🧶💗