
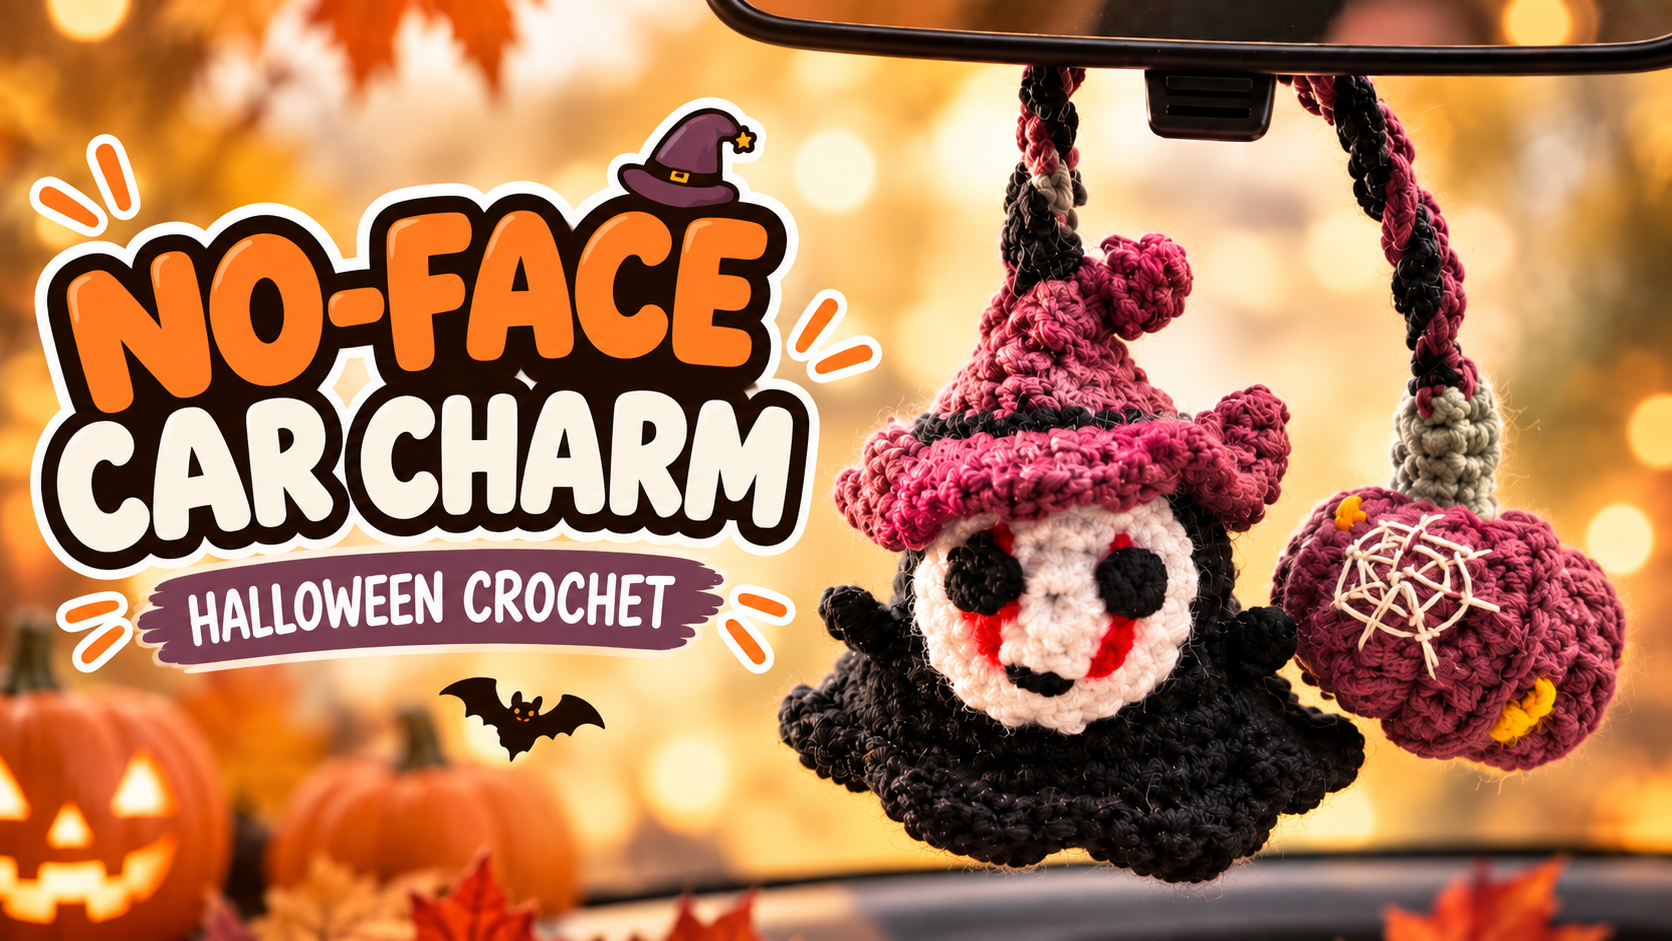
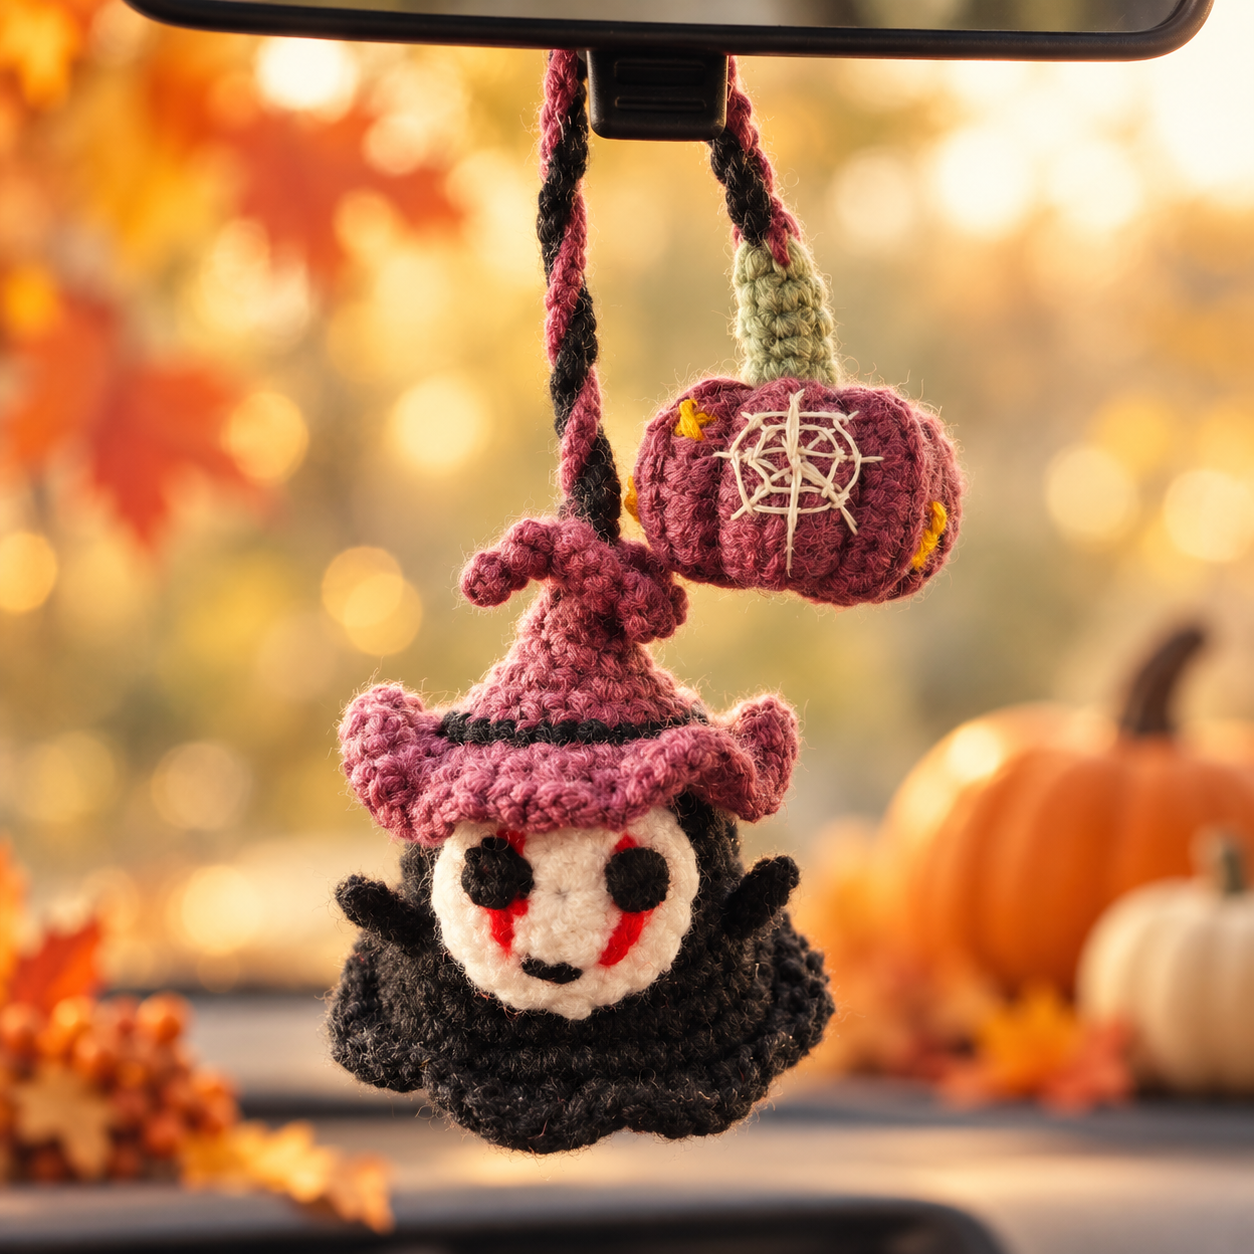
Looking for a small Halloween project with plenty of personality? This spooky-cute crochet car charm combines a ribbed purple pumpkin, an embroidered spiderweb, and a No-Face-inspired ghost wearing a tiny witch hat. 🎃🕸️
The pumpkin and ghost hang at different heights from one twisted cord, creating a playful decoration for a rearview mirror, wall hook, or Halloween display.
For the clearest view of the ghost arms, facial embroidery, witch-hat shaping, and final assembly, keep the full video tutorial open while you crochet:
Watch the complete Halloween car charm tutorial on YouTube
Materials
Yarn used in my demo:
Purple yarn for the pumpkin and hanging cord
Light green yarn for the pumpkin stem
Black yarn for the ghost, witch hat, and hanging cord
White or cream yarn for the face
Thin light-colored yarn or thread for the spiderweb
Small amounts of black and red or pink yarn for the facial details
Yarn brand and weight: worsted (medium)
Crochet hook: 2.5mm
Polyfill stuffing
Tapestry needle
Scissors
Stitch marker
Optional fabric glue
Choose a hook that creates a firm fabric so the stuffing does not show through.
Crochet Abbreviations
This pattern uses US terminology.
MR — magic ring
ch — chain
sl st — slip stitch
sc — single crochet
hdc — half double crochet
dc — double crochet
inc — two single crochets in the same stitch
BLO — back loop only
Part 1: Ribbed Purple Pumpkin
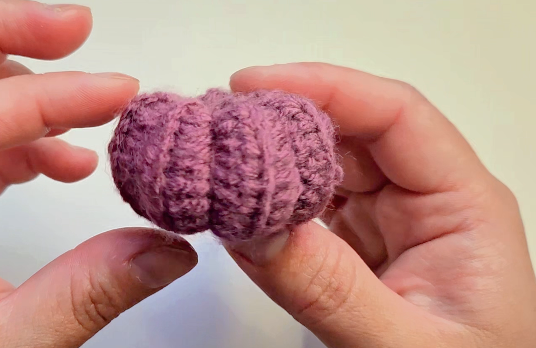
Using purple yarn:
Row 1
Ch 15.
Beginning in the second chain from the hook, work 14 hdc.
Rows 2–14
Ch 1 and turn.
Work 14 hdc in BLO.
Repeat until you have completed Row 14. Fasten off, leaving a long tail for sewing.
Bring the first and last rows together and sew them securely to form a tube. Close one end, add a small amount of polyfill, and close the opposite end.
Avoid overstuffing—the ribbed texture and pumpkin shape will look better when the stuffing remains slightly soft.
Pass a long strand of yarn through the center of the pumpkin several times, pulling gently to flatten the top and bottom and create the final pumpkin shape.
Part 2: Pumpkin Stem
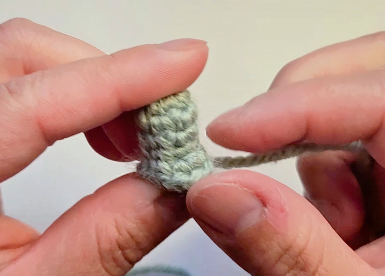
Using light green yarn:
Round 1: Work 5 sc into a MR and join.
Rounds 2–4: Work 5 sc around.
Round 5: Inc in every stitch. You will have 10 stitches.
Fasten off and leave a tail. Sew the stem securely to the top center of the pumpkin.
Part 3: Embroidered Spiderweb
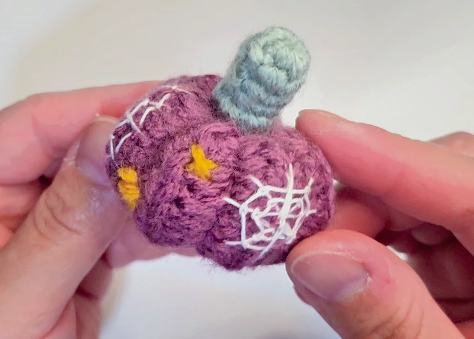
Choose a center point on the side of the pumpkin.
Use a tapestry needle to embroider approximately five straight lines radiating outward from that point. Connect the lines with two or three layers of gently curved stitches.
Do not pull the embroidery too tightly, or the pumpkin may lose its shape.
You can add one or two tiny yellow stitches near the web for a little extra Halloween detail. ✨
[PASTE CLOSE-UP PHOTO OF THE PUMPKIN AND SPIDERWEB HERE — caption may be left blank]
Part 4: Ghost Body
Using black yarn:
Round 1: Work 6 sc into a MR.
Round 2: Inc in every stitch. (12)
Round 3: Repeat 1 sc, inc around. (18)
Round 4: Repeat 2 sc, inc around. (24)
Rounds 5–8: Work evenly around.
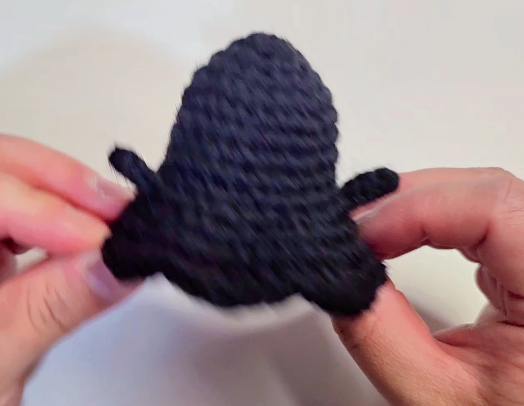
During the next round, create an arm on each side of the body:
Ch 5, then sl st back along the chain. Continue crocheting around the body and repeat on the opposite side.
Keep both arms positioned as evenly as possible. The video shows the precise arm placement clearly.
To create the wavy bottom edge, repeat:
sc, hdc, dc, hdc, sc, sl st
Fasten off and weave in the end.
Part 5: Face Piece
Using white or cream yarn:
Round 1: Work 6 sc into a MR.
Round 2: Inc in every stitch. (12)
Round 3: Repeat 1 sc, inc around. (18)
Fasten off, leaving a long tail.
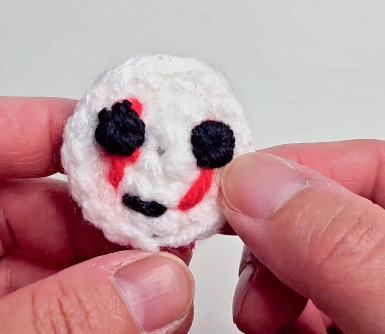
Shape the circle into a slightly oval face as you sew it onto the front of the ghost.
Use black yarn to embroider the eyes and mouth. Add small red or pink markings to complete the No-Face-inspired expression.
Part 6: Witch Hat
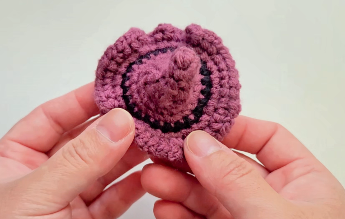
Using black yarn, begin at the tip of the hat and crochet downward in continuous rounds.
Gradually add increases as you work so the piece changes from a narrow point into a small cone. Once the cone fits comfortably over the top of the ghost, crochet the brim with additional increases so it flares outward.
Fasten off, shape the pointed tip slightly to one side, and sew or glue the hat securely above the face.
The size and increase placement affect the angle of the finished hat, so follow the close-up demonstration in the video beginning at 11:19:
Watch the witch-hat section
Part 7: Twisted Hanging Cord
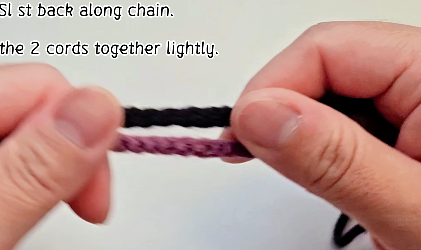
Make two separate strands:
With black yarn, ch 90 and sl st back along the chain.
With purple yarn, ch 90 and sl st back along the chain.
Place the two strands together and twist them lightly so they look like one decorative cord rather than two separate hanging strings.
If you want to hang the charm somewhere other than a rearview mirror, adjust the chain length before completing the slip stitches.
Assembly
Attach the pumpkin near the higher end of the twisted cord.
Attach the ghost below it, leaving enough space for both pieces to hang freely without covering one another. Secure every connection carefully and weave in the remaining yarn ends.
Before placing the charm in your car, check that its length and position do not interfere with your view while driving.
Make It Your Own 💜
Try orange, rust, or sage yarn for a more traditional autumn pumpkin. You can also change the hat color, add a small bow, or embroider a silver spiderweb for a different look.
Which color combination would you choose for your Halloween charm?
Watch the Full Video Tutorial
The video includes the close-up stitch placement, witch-hat construction, facial embroidery, and final assembly:
Watch the complete Crochet Halloween Car Charm Tutorial
Discover more free crochet patterns and project ideas at CrochetnotesStudio.com.
This is an unofficial fan-inspired crochet project and is not affiliated with or endorsed by Studio Ghibli or its rights holders.
Made with yarn, shared with love. 🧶💗
Watch every stitch up close
Pair these written notes with the complete video tutorial.
Made with yarn, shared with love. 🧶💗