Crochet a Hooded Scarf from Two Simple Rectangles
Two rectangles, a few crochet joins, and a cozy hooded scarf you can wrap around your neck.
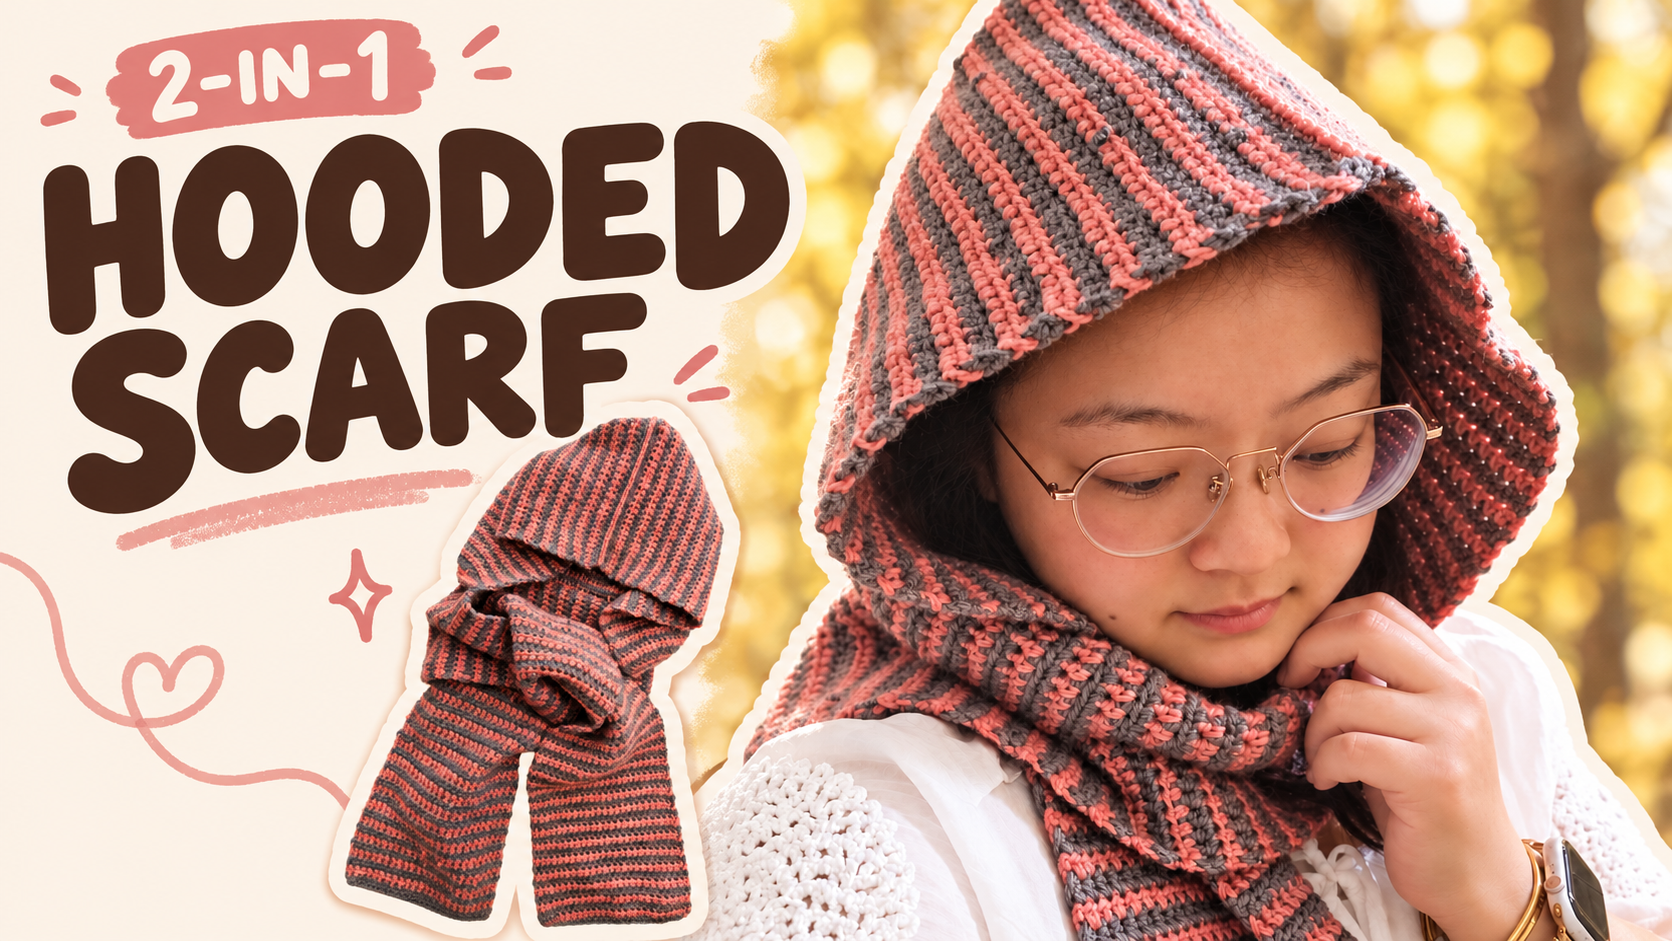
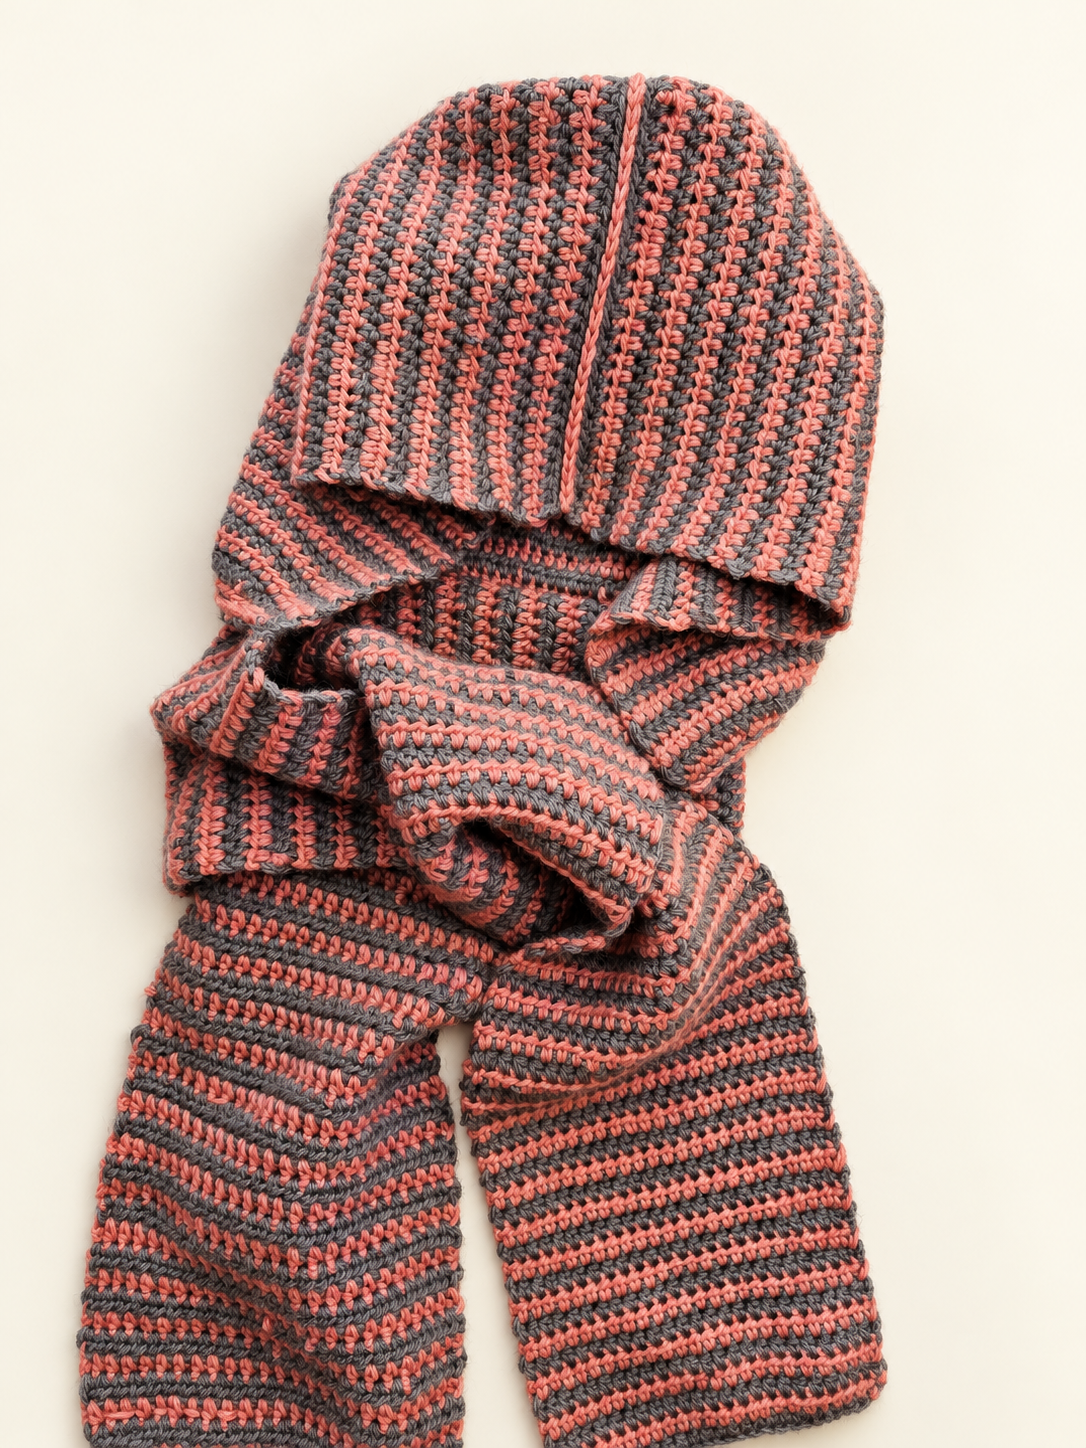
This pink and dark gray crochet hooded scarf starts with two simple pieces: one wide rectangle for the hood and one narrow rectangle for the scarf. Both pieces use half double crochet, so you can settle into a familiar stitch repeat before bringing everything together.
The stripes give the fabric its character, while the construction stays straightforward. You’ll make the hood first, crochet the scarf, and join them with slip stitches.
Wear it with the ends hanging down, or wrap one end around your neck and pull up the hood when you want a little more coverage.
Watch the Video Tutorial
For a closer look at the stitches, folding, and joining, watch the hooded scarf tutorial on the Crochetnotes YouTube channel.
Keep these written instructions nearby while you crochet, especially when checking your measurements and lining up the two pieces.
Materials
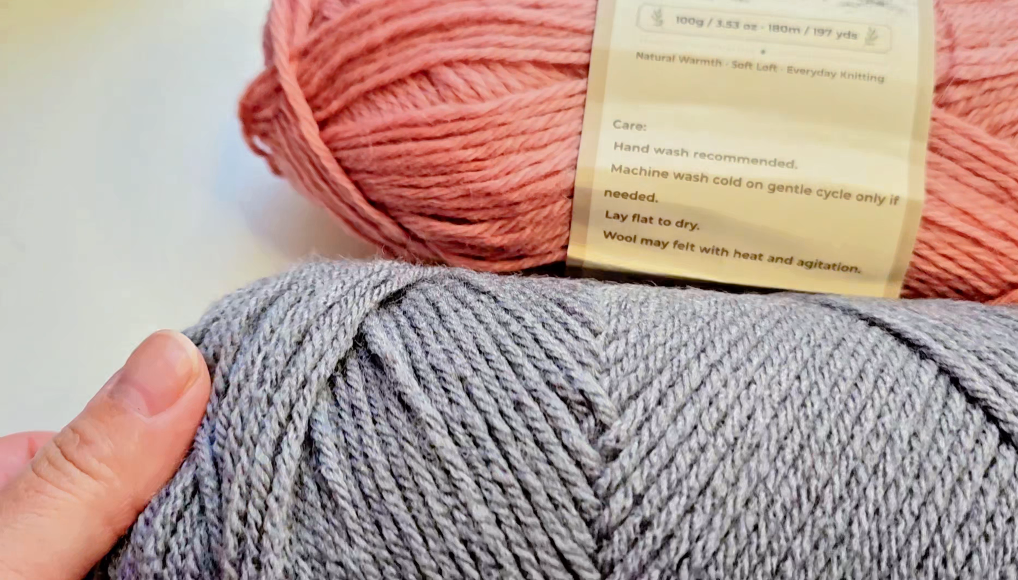
- Yarn in pink and dark gray, or two colors you love
- A crochet hook suitable for your yarn
- Stitch markers or removable clips
- A tape measure
- Scissors
- A yarn needle for weaving in ends
Choose a yarn that feels comfortable against your neck and face. Make a small swatch first to check that the fabric feels soft and flexible with your chosen hook.
Stitches and Abbreviations
This pattern uses US crochet terms.
- ch: chain
- hdc: half double crochet
- sl st: slip stitch
For the written instructions below, the beginning ch 2 does not count as a stitch. Work into both top loops of each stitch.
Half double crochet: Yarn over, insert your hook into the stitch, yarn over and pull up a loop. Yarn over and pull through all three loops on your hook.
Measurements
These are the measurements of my sample before joining:
Piece Stitch count Measurement
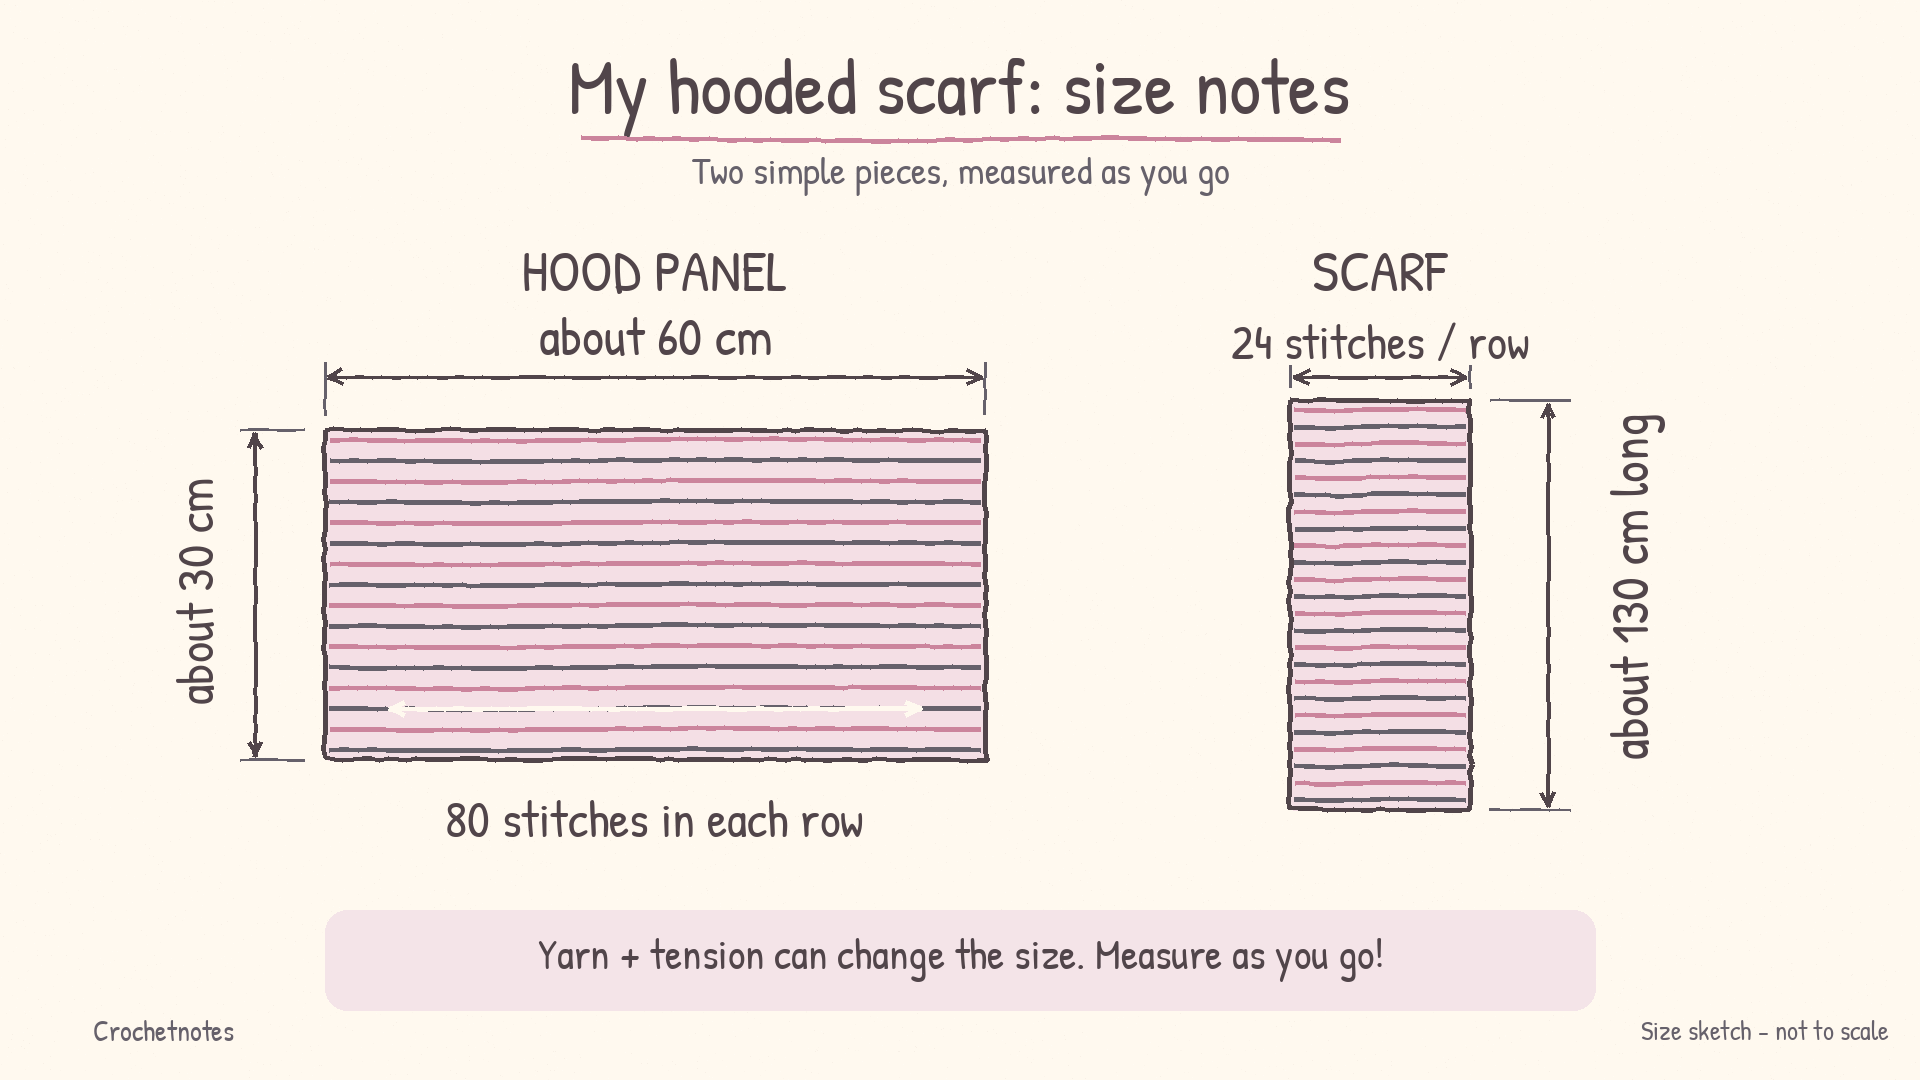
Hood panel 80 hdc in each row Approximately 60 cm wide × 30 cm tall
Scarf 24 hdc in each row Approximately 130 cm long
Yarn, hook size, and tension can change the finished measurements. Use the stitch counts as a starting point, measure your work as you go, and check the hood’s fit before attaching the scarf.
The scarf’s 24 stitches describe its stitch count, not its width in centimeters.
Part 1: Crochet the Hood Panel
Begin with ch 82.
R1: Work 1 hdc into the third chain from the hook. Work 1 hdc into each remaining chain. 80 hdc.
R2: Ch 2 and turn. Work 1 hdc into the first stitch and each stitch across. 80 hdc.
Following rows: Repeat R2 until the panel measures approximately 30 cm tall.
My panel measures approximately 60 cm across. Lay yours flat without stretching it when measuring.
Place stitch markers in the first and last stitches if you find the edges difficult to identify. Keeping 80 stitches in every row helps the panel stay rectangular.
Making the Stripes
Alternate pink and dark gray at the end of each row.
To change colors, begin the final hdc with the current color. When three loops remain on your hook, use the new color to pull through all three loops. Ch 2 with the new color, turn, and continue.
If cutting the yarn at each change, leave tails long enough to weave in securely.
Part 2: Fold and Join the Hood
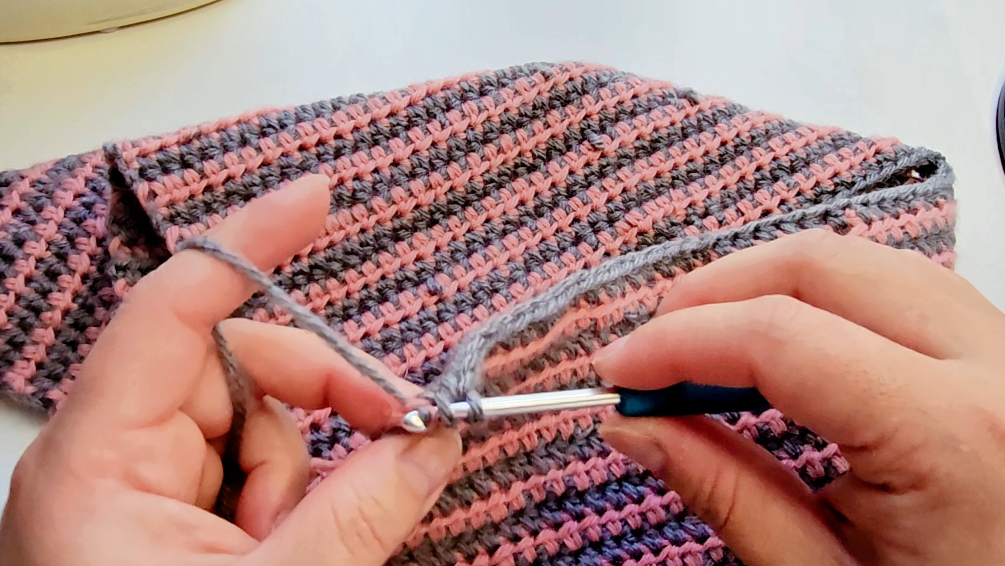
Fold the panel in half across its width, bringing the two short sides together.
The fold becomes the center back of the hood. Join the two layers along the top edge with slip stitches, leaving the face opening and bottom edge open.
For each joining stitch, insert your hook through suitable edge loops on both layers, catch the yarn, and pull it through both layers and the loop on your hook.
Keep these stitches relaxed so the seam can bend with the fabric.
Turn the hood so the seam sits inside, then try it on. Check the height, face opening, and space around the back of your head before continuing.
Part 3: Crochet the Scarf
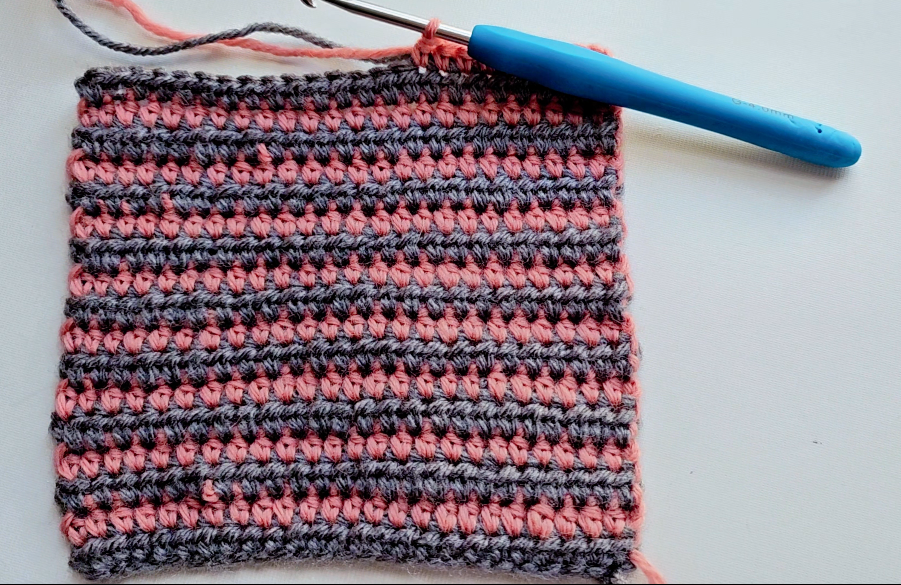
Begin with ch 26.
R1: Work 1 hdc into the third chain from the hook. Work 1 hdc into each remaining chain. 24 hdc.
R2: Ch 2 and turn. Work 1 hdc into the first stitch and each stitch across. 24 hdc.
Following rows: Repeat R2 until the scarf measures approximately 130 cm long, using the same color changes as the hood.
Measure the scarf flat without stretching it. You can adjust its length before joining to suit how you like to wear it.
Part 4: Join the Hood and Scarf
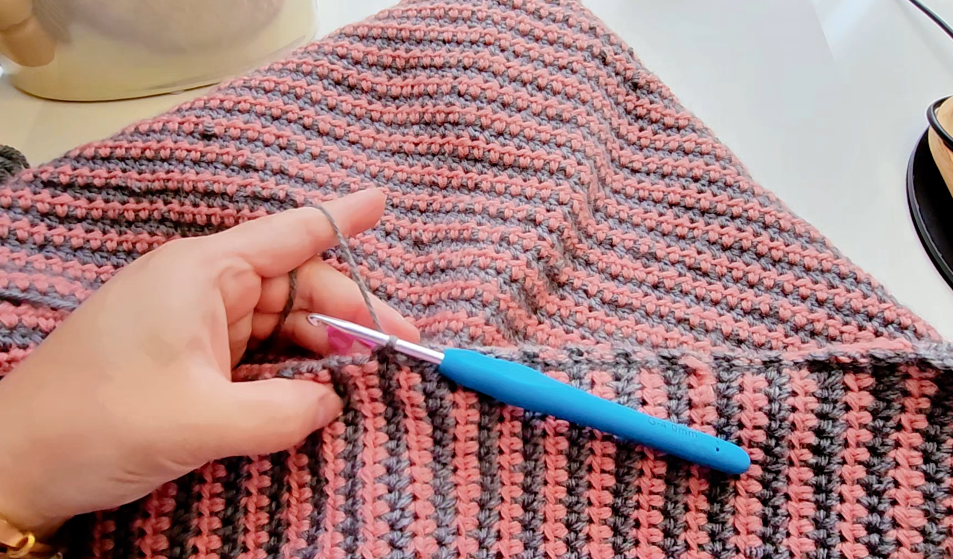
Lay the scarf flat and mark its center.
Find the center back of the hood’s open bottom edge. Match this point to the center of one long edge of the scarf.
Spread the hood’s bottom edge evenly along the scarf and clip it in place. The scarf should extend equally on both sides. Keep the face opening free and check that neither piece is twisted.
Join the marked edges with slip stitches.
Because you’re joining different types of edges, the available loops may not match one for one. Divide the joining area into smaller sections with markers and distribute the stitches evenly.
After joining a short section, lay the work flat. If it puckers or pulls, loosen the slip stitches and adjust their spacing before continuing.
Finish and Wear
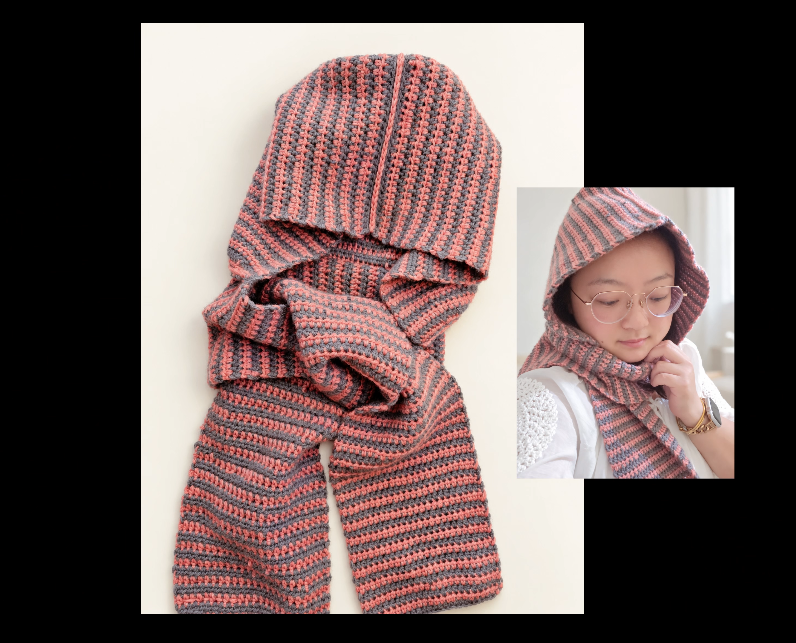
Secure the yarn and weave in the ends. Check the join from both sides, then try on your finished hooded scarf.
I love how the pink brightens the dark gray while the repeated stitches keep the whole project feeling cohesive. For another combination, try burgundy and charcoal, blue and cream, or two shades of your favorite color.
What colors would you choose? Leave a comment below—I’d love to hear your ideas.
For more practical crochet projects and step-by-step tutorials, explore Crochetnotes and visit my YouTube channel.
Happy crocheting!
Watch every stitch up close
Pair these written notes with the complete video tutorial.
Made with yarn, shared with love. 🧶💗