
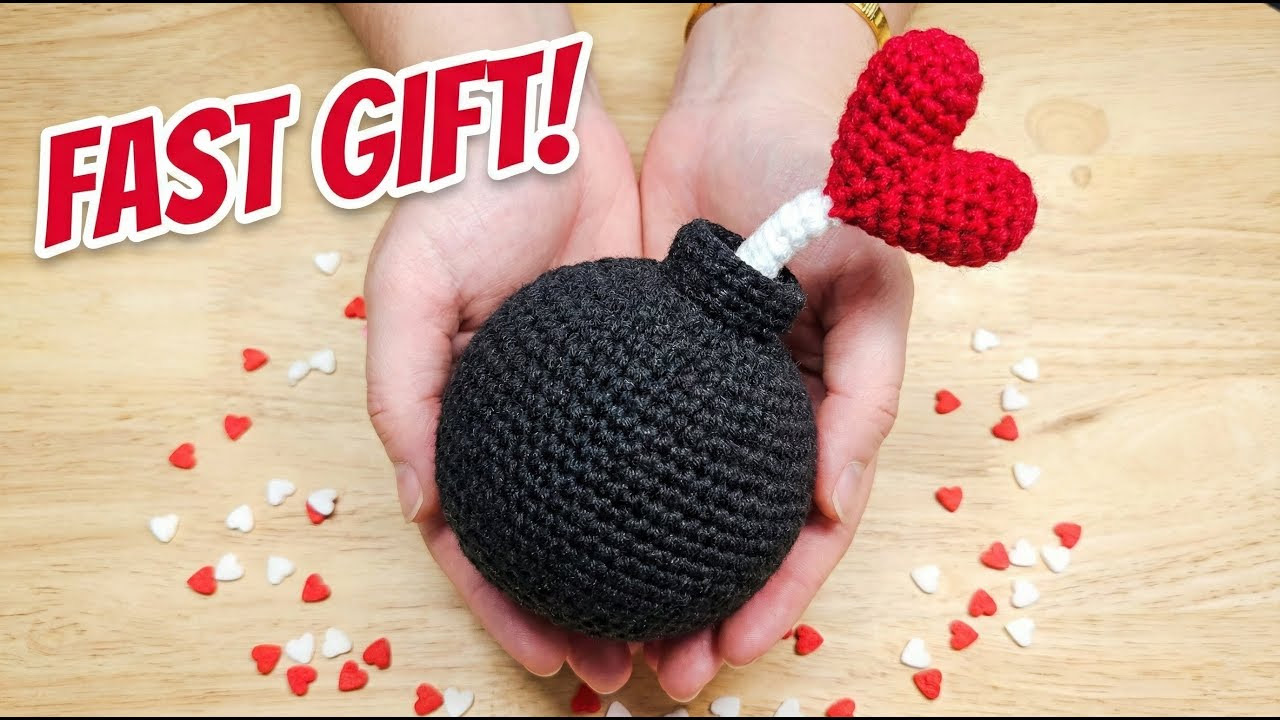
Need a playful handmade gift that does not take days to finish? This crochet Love Bomb turns a simple round amigurumi shape into a fun Valentine’s Day surprise. 💣❤️
The project combines a smooth stuffed body, a double-layered cap, and a red heart attached to a flexible white fuse. It uses only small amounts of sport or DK yarn, making it a useful scrap-yarn project for a partner, friend, or anyone who appreciates a slightly unexpected handmade gift.
An experienced crocheter may be able to finish it in about an hour. Beginners may need a little longer, especially when making the folded cap and joining the heart pieces.
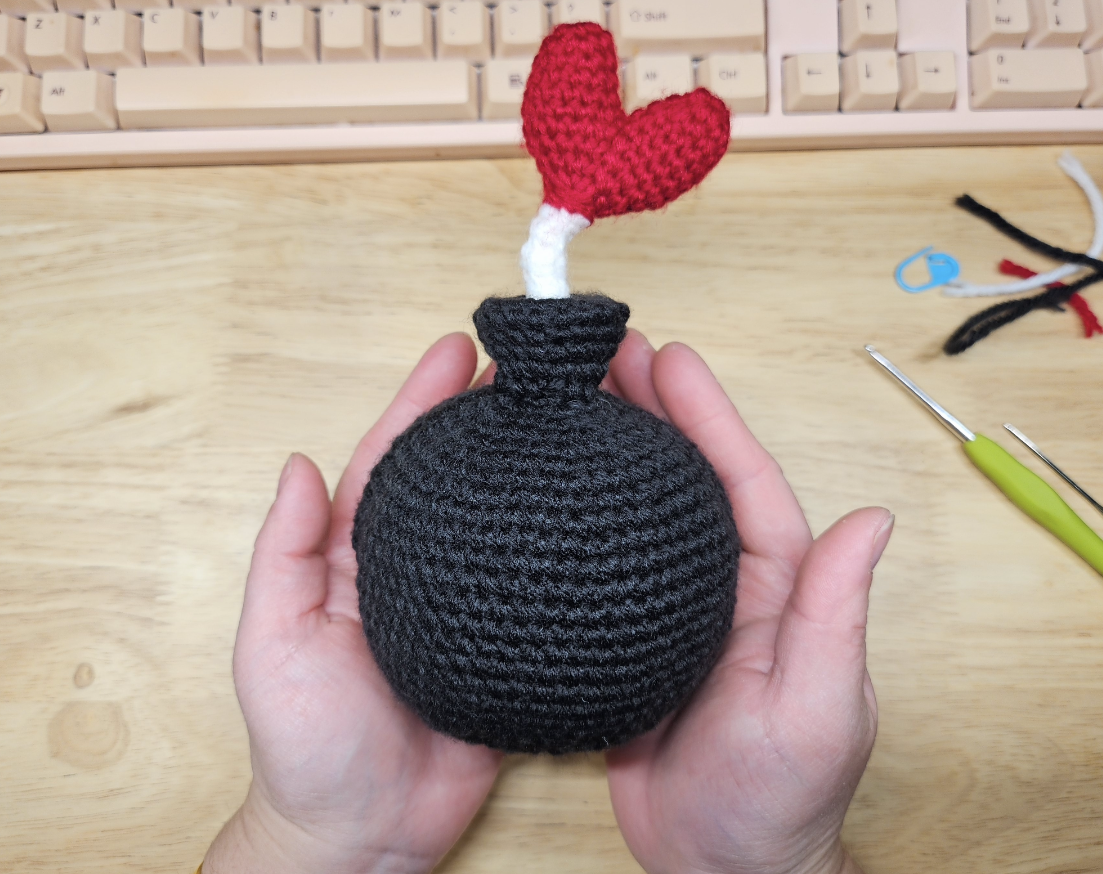
Follow the written pattern below for the stitch counts, then use the video for the cap-folding technique, heart construction, and final positioning:
▶️ Watch the complete Crochet Love Bomb tutorial
Project Overview
- Skill level: Advanced beginner
- Terminology: US crochet terms
- Construction: Three separately crocheted sections
- Main techniques: Magic ring, single crochet, increases, decreases, FLO, BLO, color changes, stuffing, and sewing
- Estimated time: Around one hour for an experienced crocheter
- Yarn usage: Small amounts of three colors
Materials
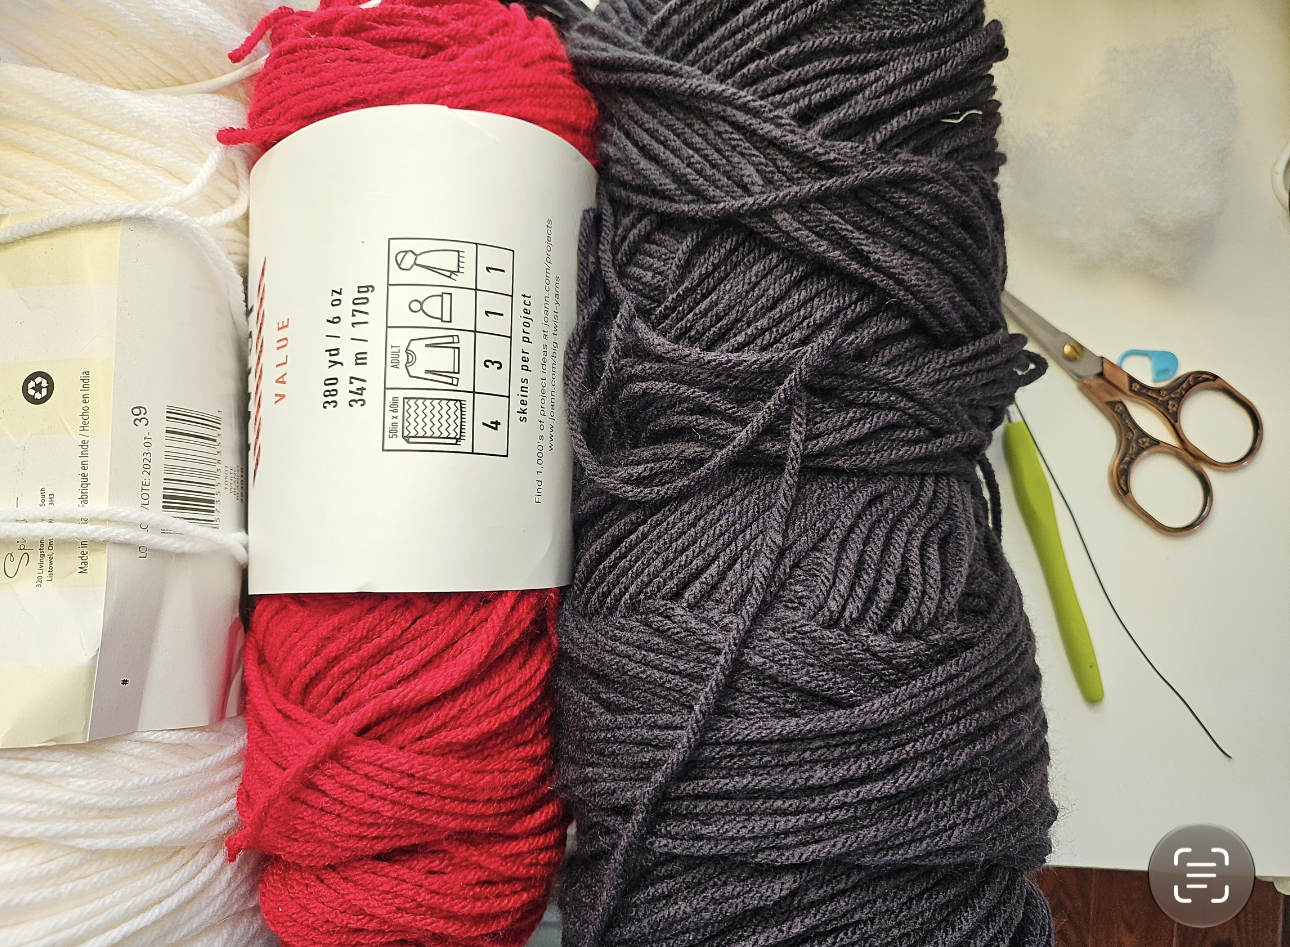
For the Love Bomb shown in the tutorial, I used:
- Sport-weight or DK yarn in black or dark gray for the bomb and cap
- Sport-weight or DK yarn in red for the heart
- Sport-weight or DK yarn in white for the fuse
- 2.0 mm or 2.5 mm crochet hook
- Polyfill stuffing
- Tapestry needle
- Scissors
- Stitch marker
- Pipe cleaner or flexible craft wire, optional
If the stitches are difficult to see with black yarn, dark charcoal gray is a good alternative. It keeps the dramatic look while making the rounds easier to count.
Abbreviations
- MR: Magic ring
- SC: Single crochet
- Inc: Work 2 single crochets in one stitch
- Dec: Single crochet 2 stitches together
- FLO: Front loop only
- BLO: Back loop only
- St/Sts: Stitch/Stitches
- R: Round
Work continuously in a spiral unless otherwise stated. Move your stitch marker after completing every round.
Part 1: Crochet the Bomb Body
Use black or dark gray yarn.
- Round 1: Work 6 SC into a magic ring. (6)
- Round 2: Inc in every stitch. (12)
- Round 3: Repeat (1 SC, Inc) 6 times. (18)
- Round 4: 1 SC, Inc, repeat (2 SC, Inc) 5 times, then 1 SC. (24)
- Round 5: Repeat (3 SC, Inc) 6 times. (30)
- Round 6: 2 SC, Inc, repeat (4 SC, Inc) 5 times, then 2 SC. (36)
- Round 7: Repeat (5 SC, Inc) 6 times. (42)
- Round 8: 3 SC, Inc, repeat (6 SC, Inc) 5 times, then 3 SC. (48)
- Round 9: Repeat (7 SC, Inc) 6 times. (54)
- Round 10: 4 SC, Inc, repeat (8 SC, Inc) 5 times, then 4 SC. (60)
- Rounds 11–20: SC around. (60)
The staggered increase placement helps create a smoother sphere without six obvious increase lines.
Begin decreasing:
- Round 21: 4 SC, Dec, repeat (8 SC, Dec) 5 times, then 4 SC. (54)
- Round 22: Repeat (7 SC, Dec) 6 times. (48)
- Round 23: 3 SC, Dec, repeat (6 SC, Dec) 5 times, then 3 SC. (42)
- Round 24: Repeat (5 SC, Dec) 6 times. (36)
- Round 25: 2 SC, Dec, repeat (4 SC, Dec) 5 times, then 2 SC. (30)
Begin stuffing the body firmly. Add the filling in small pieces, paying attention to the upper and lower curves.
- Round 26: Repeat (3 SC, Dec) 6 times. (24)
- Round 27: 1 SC, Dec, repeat (2 SC, Dec) 5 times, then 1 SC. (18)
- Round 28: Repeat (1 SC, Dec) 6 times. (12)
- Round 29: Dec around. (6)
Add a final small amount of stuffing if needed. Fasten off and weave the yarn tail through the front loops of the six remaining stitches. Pull the opening closed and secure the yarn.
Part 2: Make the Folded Cap
Use black or dark gray yarn.
- Round 1: Work 6 SC into a magic ring. (6)
- Round 2: Inc in every stitch. (12)
- Round 3: Repeat (1 SC, Inc) 6 times. (18)
- Round 4: Working in the front loops only, SC around. (18)
- Rounds 5–8: SC around. (18)
Round 4 leaves the back loops of Round 3 unworked. These loops will be used to create the folded rim.
Round 9: Join the Rim
Fold the narrow tube downward toward Round 3.
Work 18 SC, inserting the hook through:
- The corresponding stitch from Round 8, and
- The unworked back loop from Round 3.
Crocheting through both layers joins the edges and creates a structured, double-thickness rim.
Fasten off and leave a long tail for sewing.
The folded-rim construction is much easier to follow visually:
▶️ Watch the cap and folded-rim technique
Part 3: Crochet the Heart Fuse
The heart begins with two separate red bumps.
First Heart Bump
Use red yarn.
- Round 1: Work 6 SC into a magic ring. (6)
- Round 2: Repeat (Inc, 1 SC) 3 times. (9)
- Round 3: 1 SC, Inc, 2 SC, Inc, 2 SC, Inc, 1 SC. (12)
- Rounds 4–5: SC around. (12)
Fasten off the first piece.
Second Heart Bump
Repeat Rounds 1–5, but do not cut the yarn after completing the second piece.
Join the Heart
- Round 6: Crochet 6 SC across the second bump. Join the first bump and crochet around all 12 of its stitches. Return to the remaining six stitches of the second bump and work 6 SC. (24)
- Round 7: Repeat (Dec, 4 SC) 4 times. (20)
- Round 8: Repeat (Dec, 3 SC) 4 times. (16)
- Round 9: Repeat (Dec, 2 SC) 4 times. (12)
Add a small amount of stuffing. Concentrate the filling inside the two upper curves without overstuffing the lower point.
- Round 10: Dec around. (6)
Do not fasten off.
Crochet the White Fuse
Change to white yarn.
- Rounds 11–17: Working in the back loops only, SC around. (6)
The BLO stitches give the narrow fuse a subtle textured appearance and help it bend more naturally.
Fasten off and leave a long tail for attaching it to the cap.
For a shaped fuse, insert a pipe cleaner or flexible craft wire through the white section. Bend it gently so the heart tilts to one side.
If the Love Bomb will be handled by a young child, omit the wire. Exposed wire ends can be sharp and the finished item should not be treated as an unsupervised infant toy.
Assembly
Attach the Fuse
Position the white end of the fuse in the center of the folded cap.
Sew around the base securely, checking that the heart faces the direction you want before tightening the final stitches.
If you used a pipe cleaner, make sure its end is fully covered inside the crocheted fuse.
Attach the Cap
Pin the cap to the top center of the stuffed bomb body.
Check the project from several directions to make sure the cap is centered. Sew around the bottom edge of the cap with the remaining yarn tail.
Weave in all loose ends.
Shaping the Finished Love Bomb
- Roll the bomb body gently between your hands to smooth the stuffing.
- Shape the upper curves of the heart with your fingers.
- Bend the fuse gradually rather than making one sharp angle.
- Make sure the cap sits flat against the body.
- Add a little more stuffing to the heart before closing if the center looks hollow.
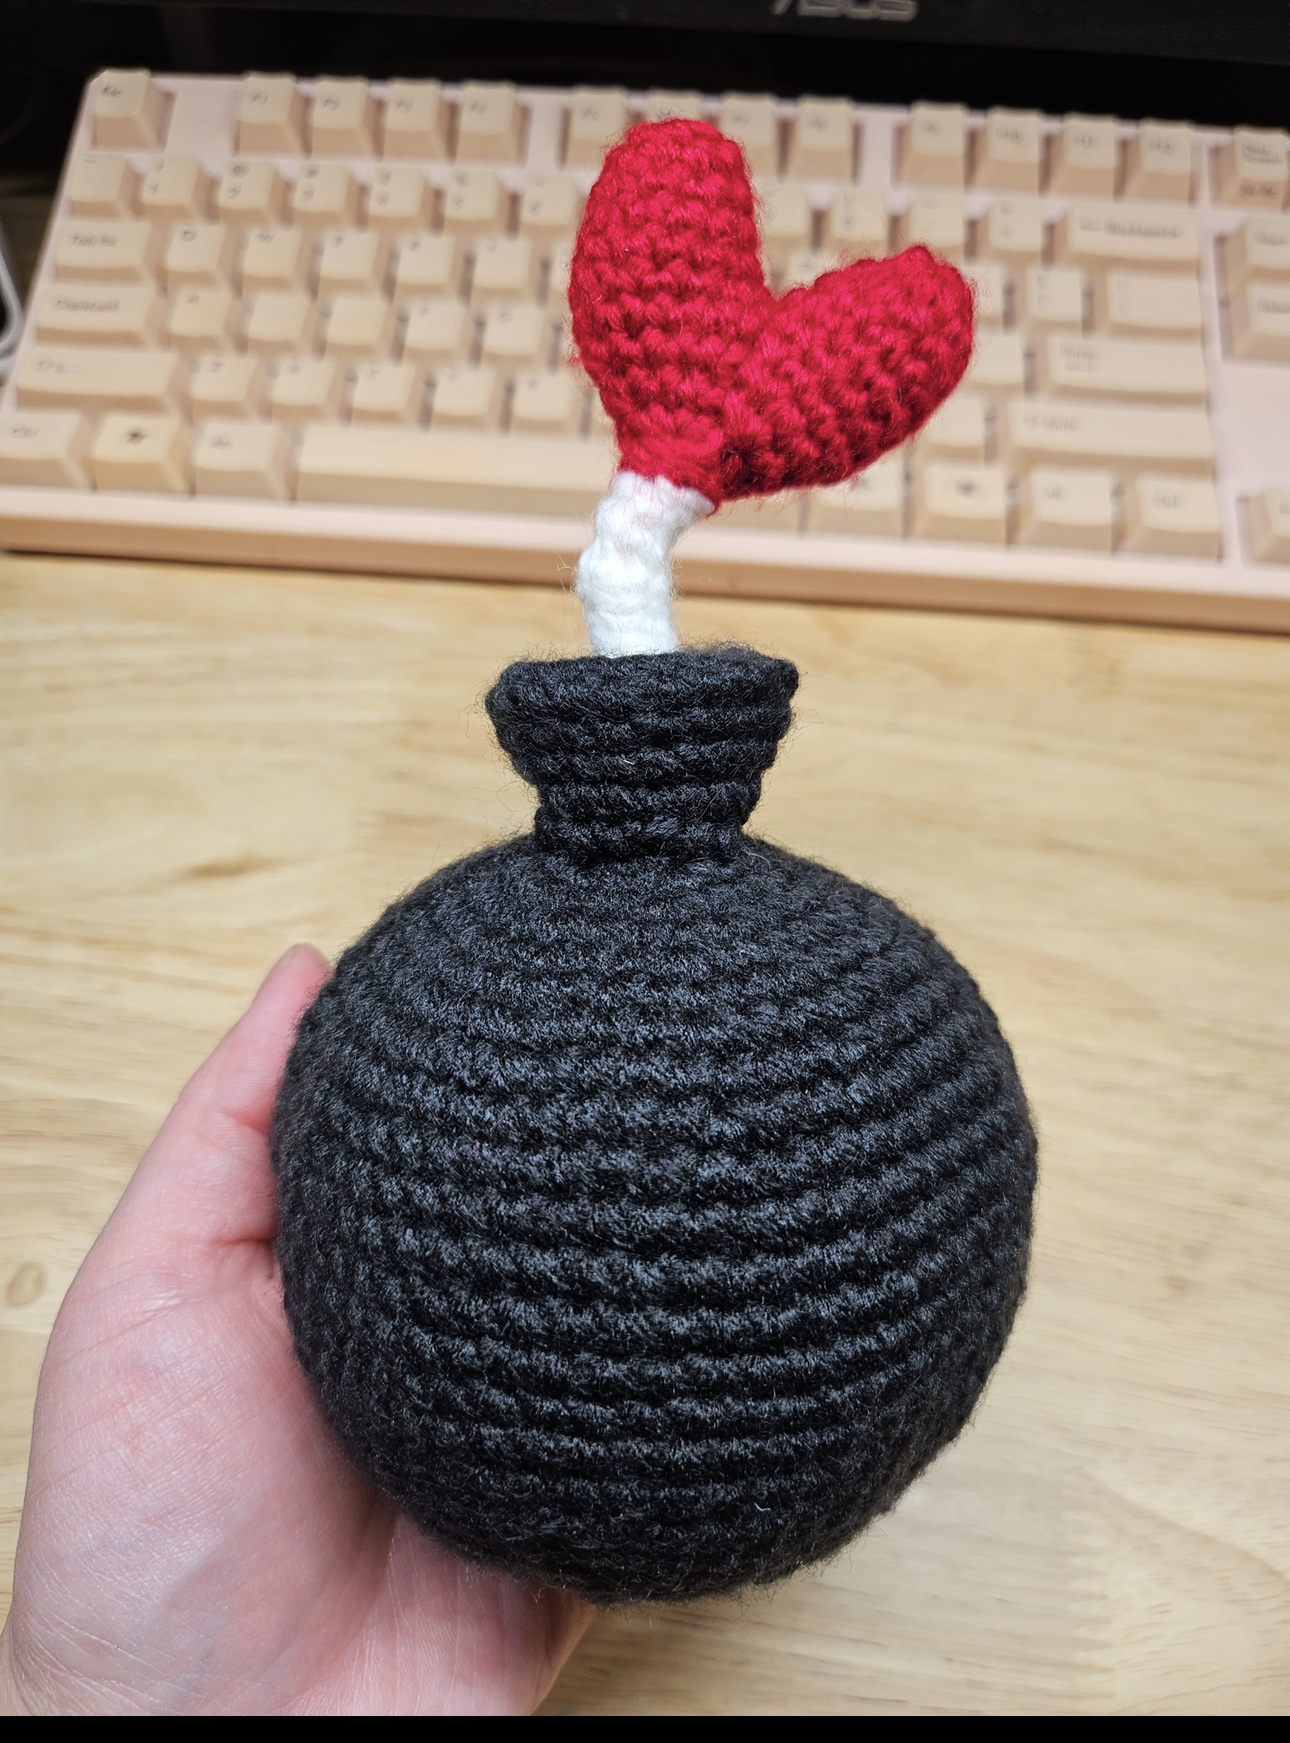
The finished heart should remain light enough for the fuse to hold it above the cap.
Common Problems and Fixes
The bomb looks hexagonal
The increases may have stacked directly above one another. The pattern offsets alternating increase rounds to create a smoother sphere. Stuffing and hand-shaping can also soften visible lines.
The cap rim will not fold neatly
Check that Round 4 was worked in the front loops only. The unworked loops from Round 3 are needed when joining the two layers in Round 9.
The heart has a gap in the center
Use the starting yarn tail from one bump to close any small opening where the two pieces meet.
The fuse will not stay curved
Insert a pipe cleaner or flexible wire, or work the white fuse with slightly tighter tension. Do not overstuff the narrow fuse.
The heart keeps falling forward
Use less stuffing in the heart or shorten the white fuse by one or two rounds.
Color Variations
The traditional version uses a dark body, red heart, and white fuse, but you can easily personalize it:
- Pink body with a red heart
- Cream body with a dusty rose heart
- Black body with a rainbow heart
- Purple body with a hot-pink heart
- Red body with a black heart for a dramatic version
- Recipient’s favorite colors for a birthday gift
You could also embroider initials, a small date, or a short message onto the body.
Gift-Presentation Ideas
Add a small handwritten tag with one of these messages:
- “You’re the bomb!”
- “You make my heart explode.”
- “Love you to pieces.”
- “You light up my world.”
- “A little love bomb, made just for you.”
Place the finished amigurumi inside a small gift box with tissue paper, candy, or a handwritten note. 🎁
Watch the Complete Tutorial
The full video demonstrates the sphere shaping, folded cap construction, heart joining, bendable fuse, and final assembly.
▶️ Watch Don’t Buy a Gift! Crochet This Love Bomb on YouTube
Find more free written crochet patterns and step-by-step tutorials at Crochetnotes Studio.
Pattern and tutorial by Crochetnotes. Please do not republish the complete pattern or use the tutorial photographs as your own. You are welcome to share your finished project with a link to this article or the original video.
Made with yarn, shared with love. 🧶💗
Watch every stitch up close
Pair these written notes with the complete video tutorial.
Made with yarn, shared with love. 🧶💗