
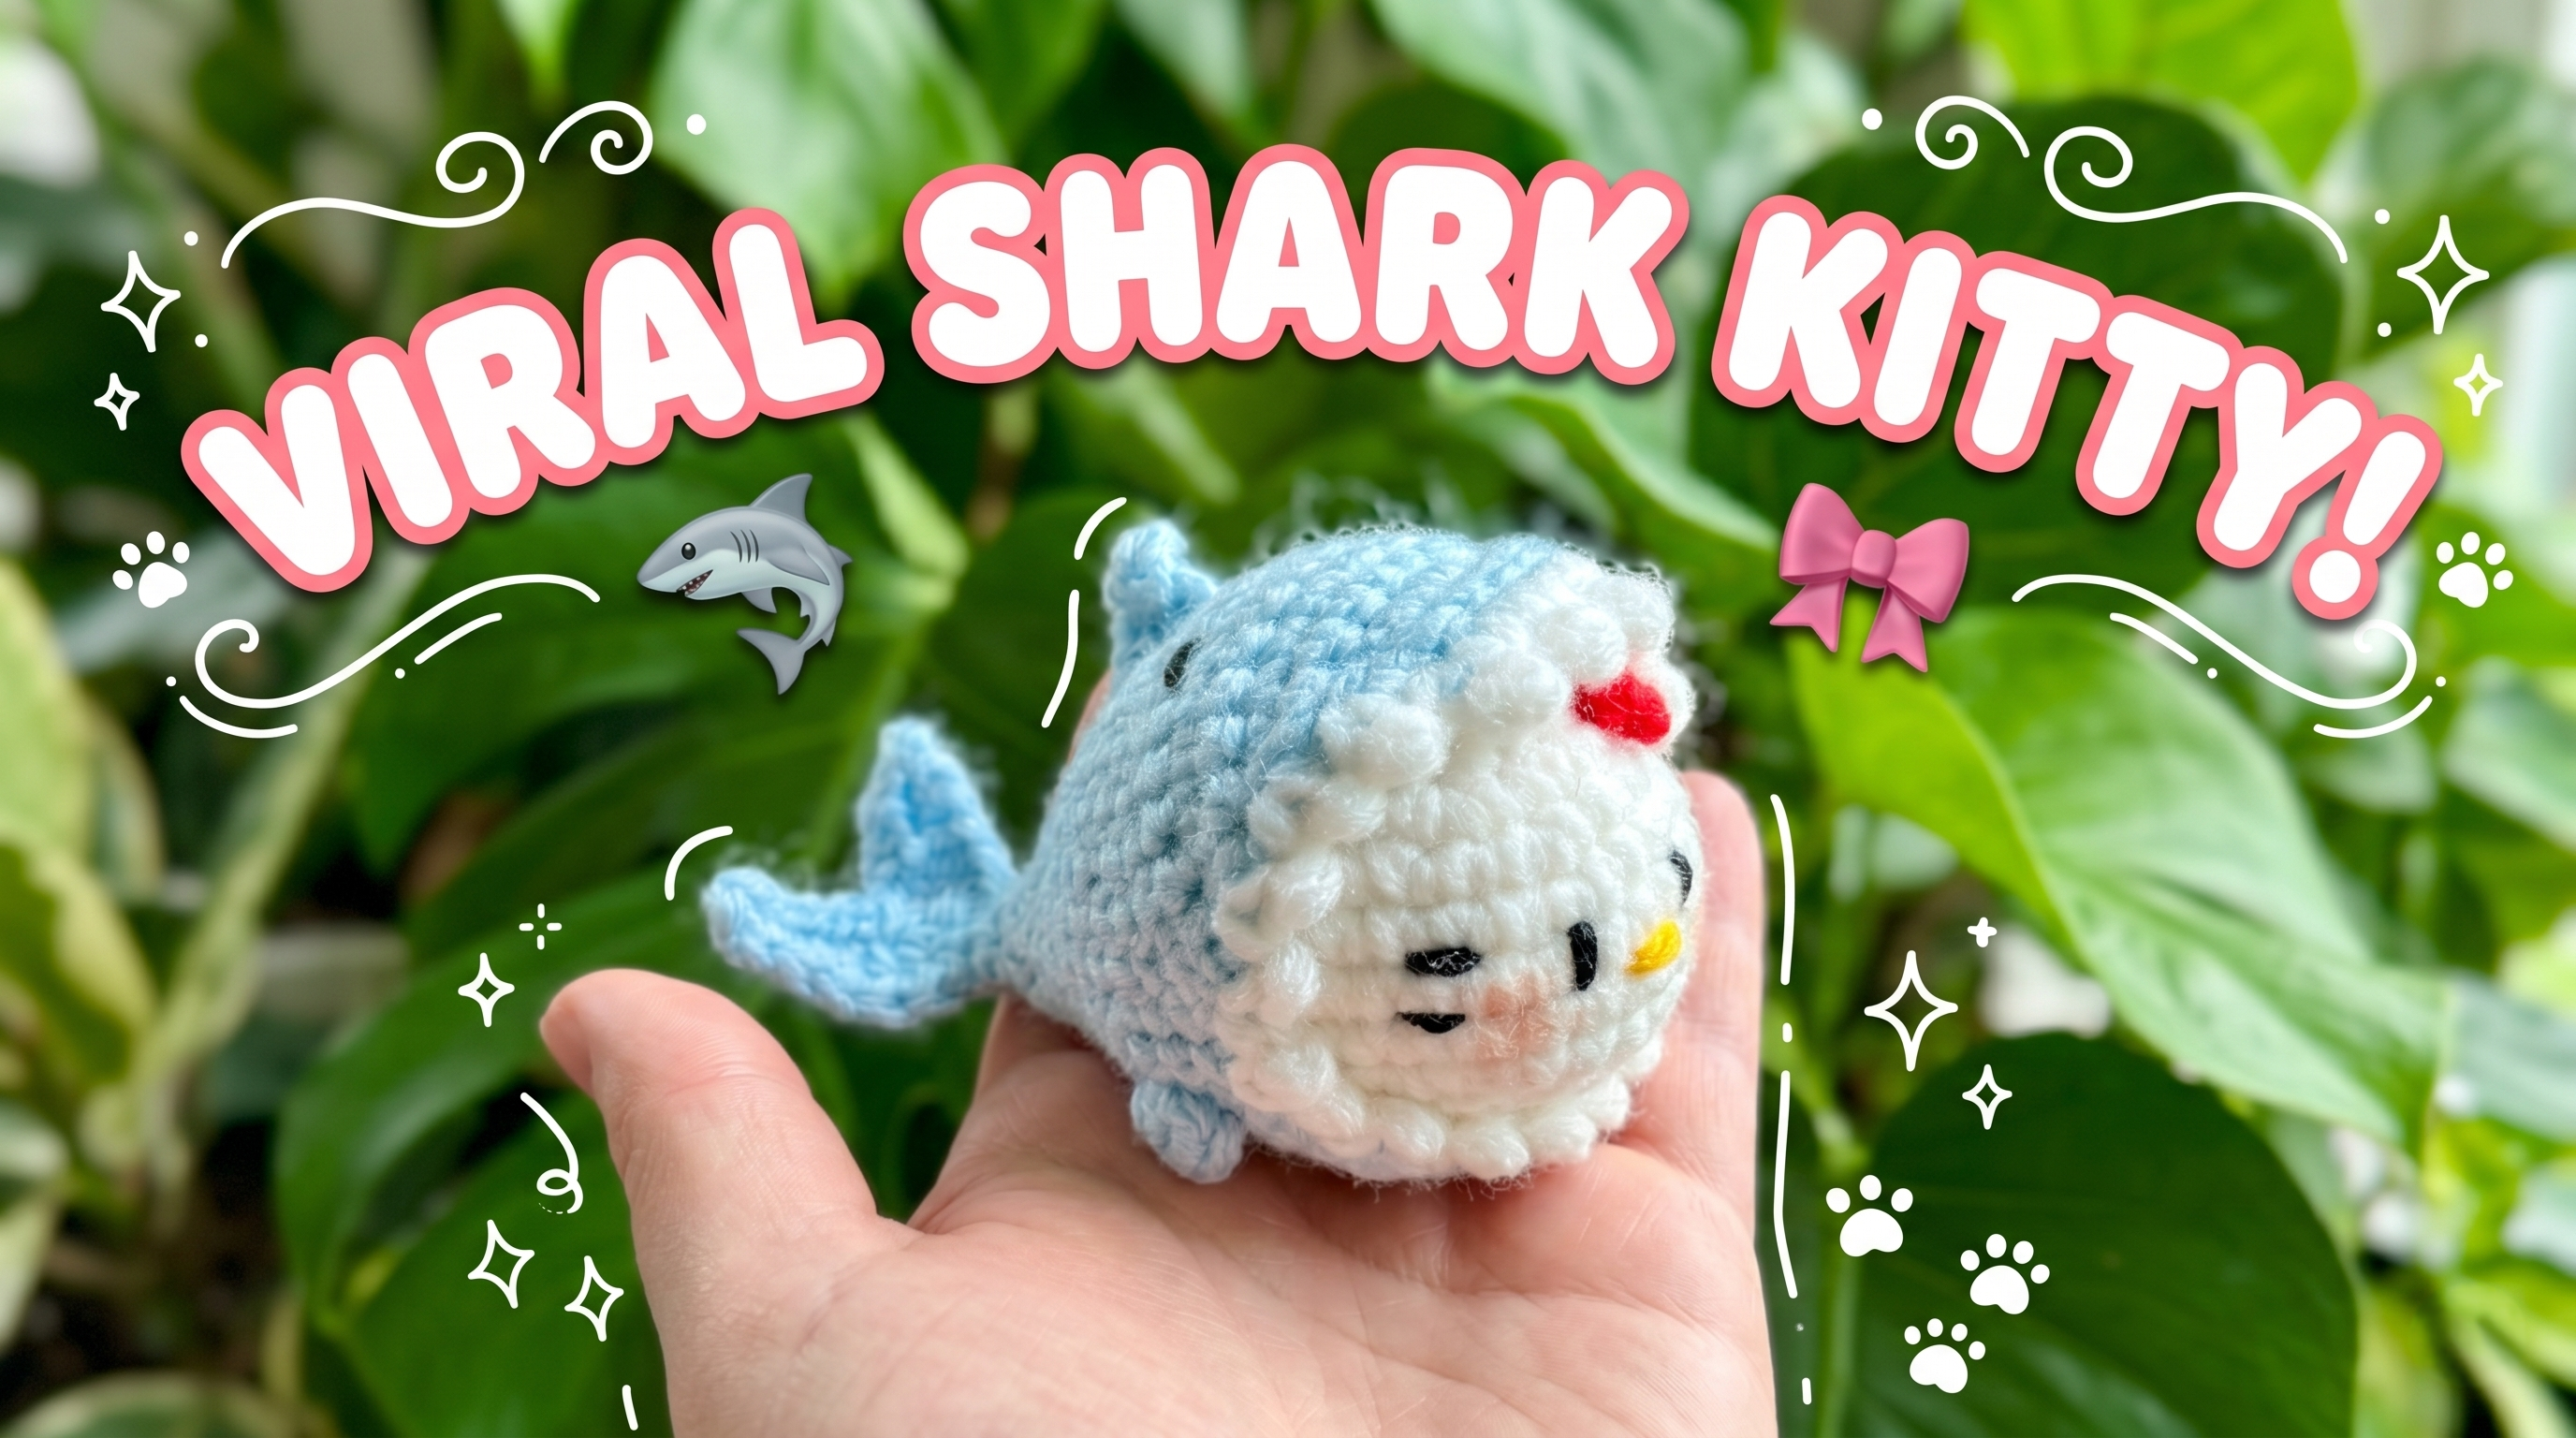
A tiny white kitty peeking out of a blue shark suit makes an unexpectedly cute bag charm. The part that gives this project its personality is the open shark mouth: the kitty’s head sits inside it, with the jaws framing her face.
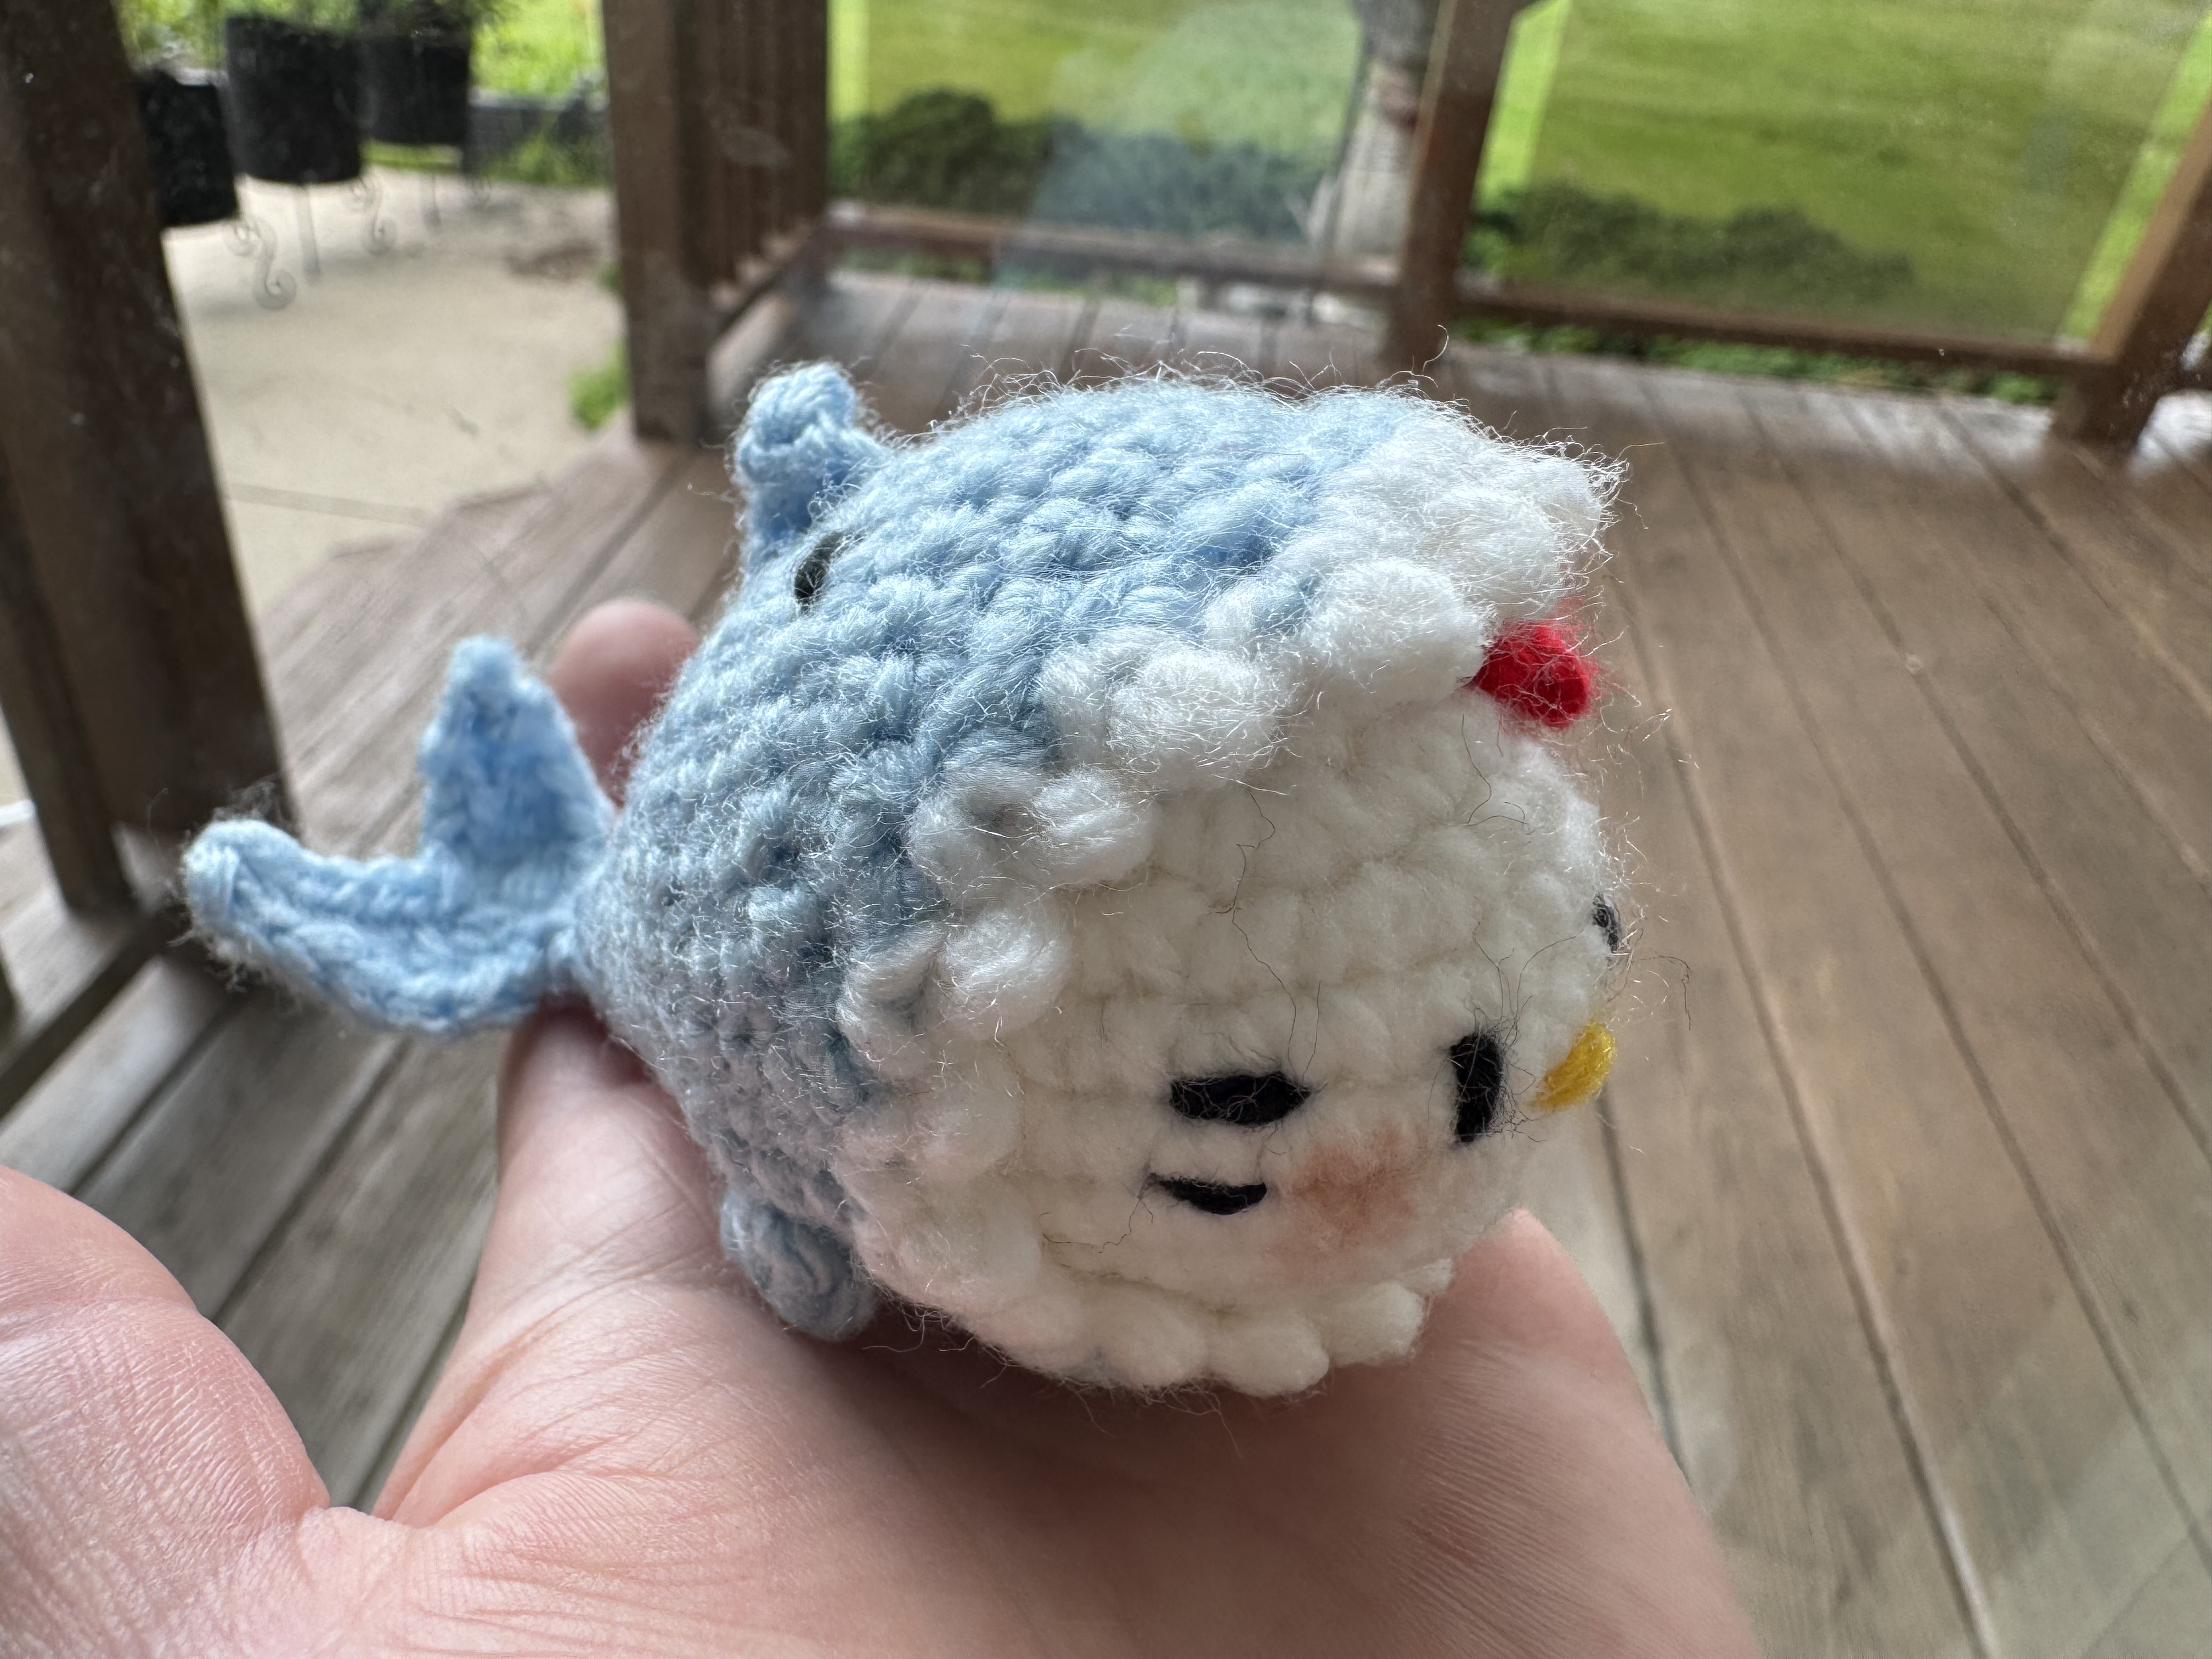
Here are my making notes to help you plan the pieces and keep track of the important stitch counts. For the exact increases, shaping, and assembly positions, follow along with my free Shark Kitty video tutorial.
Materials
- White worsted-weight yarn for the kitty head
- Blue worsted-weight yarn for the shark suit
- A little red yarn for the bow
- Small amounts of yarn or embroidery thread for the eyes, whiskers, and nose
- Crochet hook suitable for firm amigurumi stitches
- Stuffing, yarn needle, and scissors
- Optional keychain ring or bag-charm hardware
Make the kitty head
Start with 6 single crochets in a magic ring. Increase in rounds until the head reaches 30 stitches, then work four even rounds of 30 to build its height. Begin decreasing and stuff the head firmly before closing it. Firm stuffing helps the face keep its shape once it is tucked into the shark suit.
For the small ears, the tutorial starts with a chain of 3 and works stitches back along the chain. The red bow is made separately from a magic ring using chains and half double crochets. Keep these details small so the kitty’s face remains the focus.
Shape the shark suit
Begin the blue shark body at the narrow tail end with 4 stitches in a magic ring. Gradually increase over 13 rounds until you have 30 stitches. This creates the tapered body.
Count those 30 stitches before starting the mouth. The next section changes from continuous rounds to rows:
- Work across 19 stitches for the upper jaw. Chain 1 and turn.
- Decrease at both ends of each following row so the jaw narrows into a point.
- Rejoin the blue yarn at the 11 stitches left unworked and shape the smaller lower jaw in the same way.
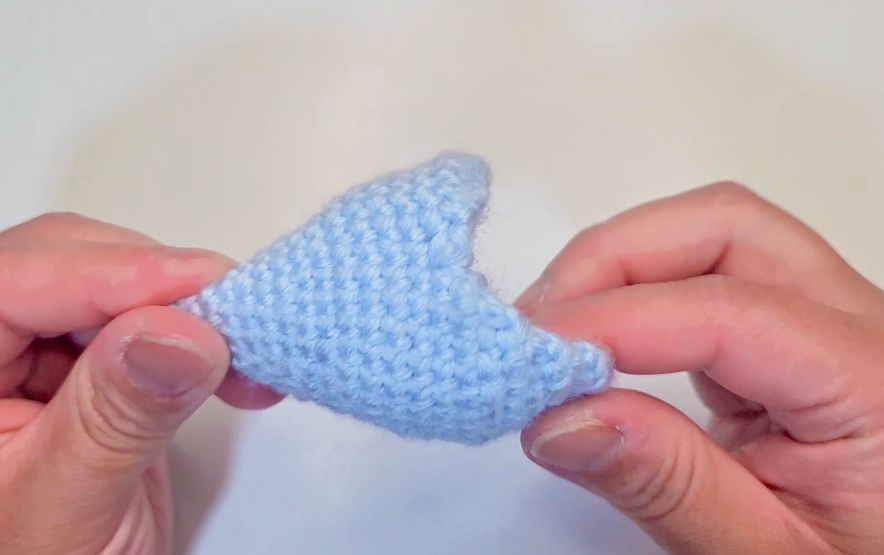
If the opening looks uneven, check that you began the upper jaw with 19 stitches and left 11 for the lower jaw. Watching this transition in the video tutorial is especially helpful.
Add the little details
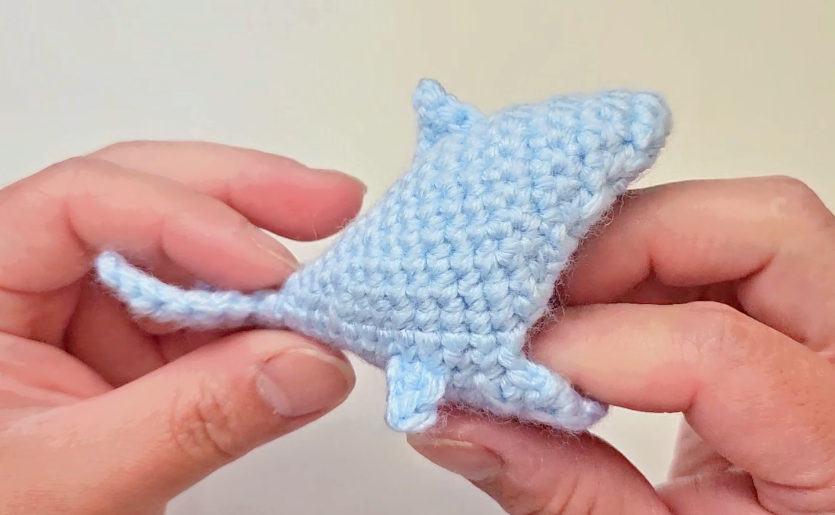
Make the tail fin, top fin, and two side fins, then sew them onto the shark body. Place the stuffed kitty head inside the open jaws and check the position before securing it. Finish the mouth with a white ruffled edge, then add the kitty’s eyes, whiskers, yellow nose, ears, and red bow.
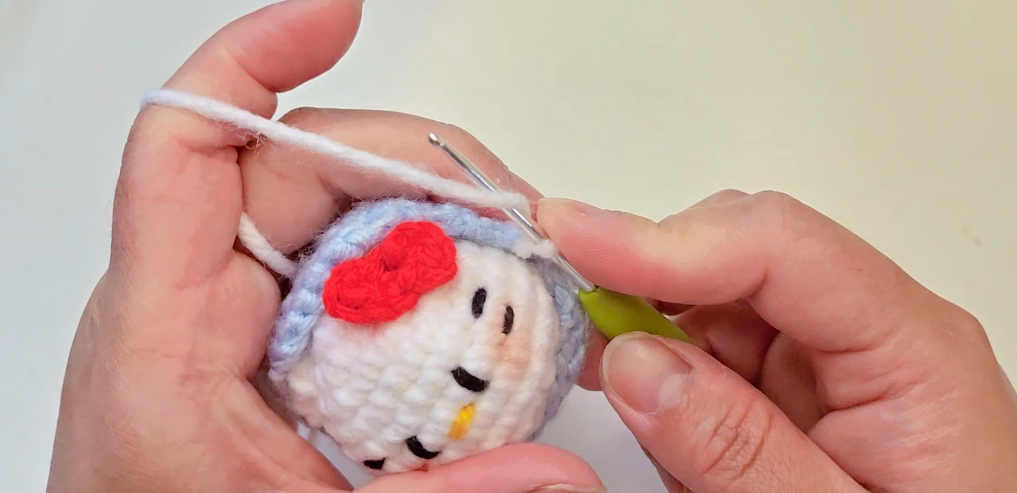
Want to turn yours into a bag charm? Attach a keychain ring at the top. You could also try a different shark color while keeping the white face and red bow for contrast. 🧶
Watch the complete step-by-step tutorial: Crochet Shark Kitty on YouTube. I’d love to hear which color you would choose for your shark!
Watch every stitch up close
Pair these written notes with the complete video tutorial.
Made with yarn, shared with love. 🧶💗