
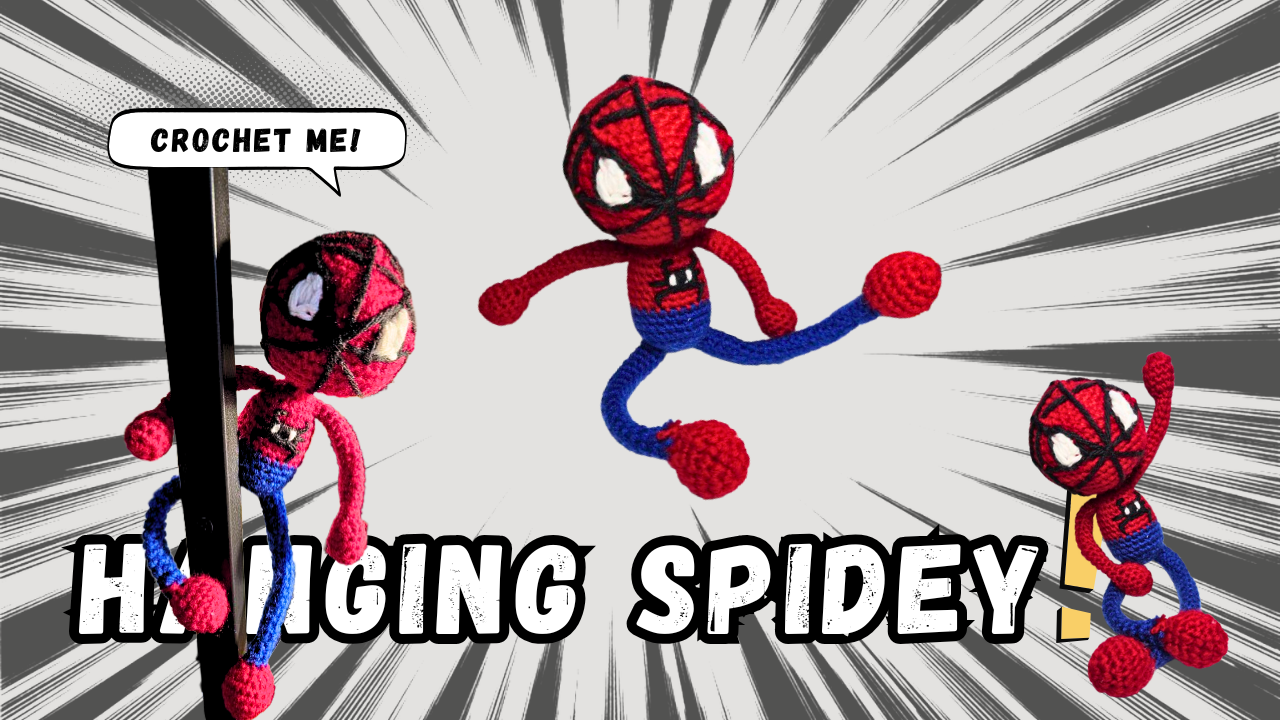
Looking for a fun crochet project with plenty of personality? This red-and-blue spider hero has an oversized amigurumi head and extra-long limbs that hang playfully from a shelf, desk, or monitor. 🕷️
The arms, legs, head, and body use simple single crochet stitches. Only the hands, feet, head, and body are stuffed, leaving the long limbs flexible enough to dangle naturally.
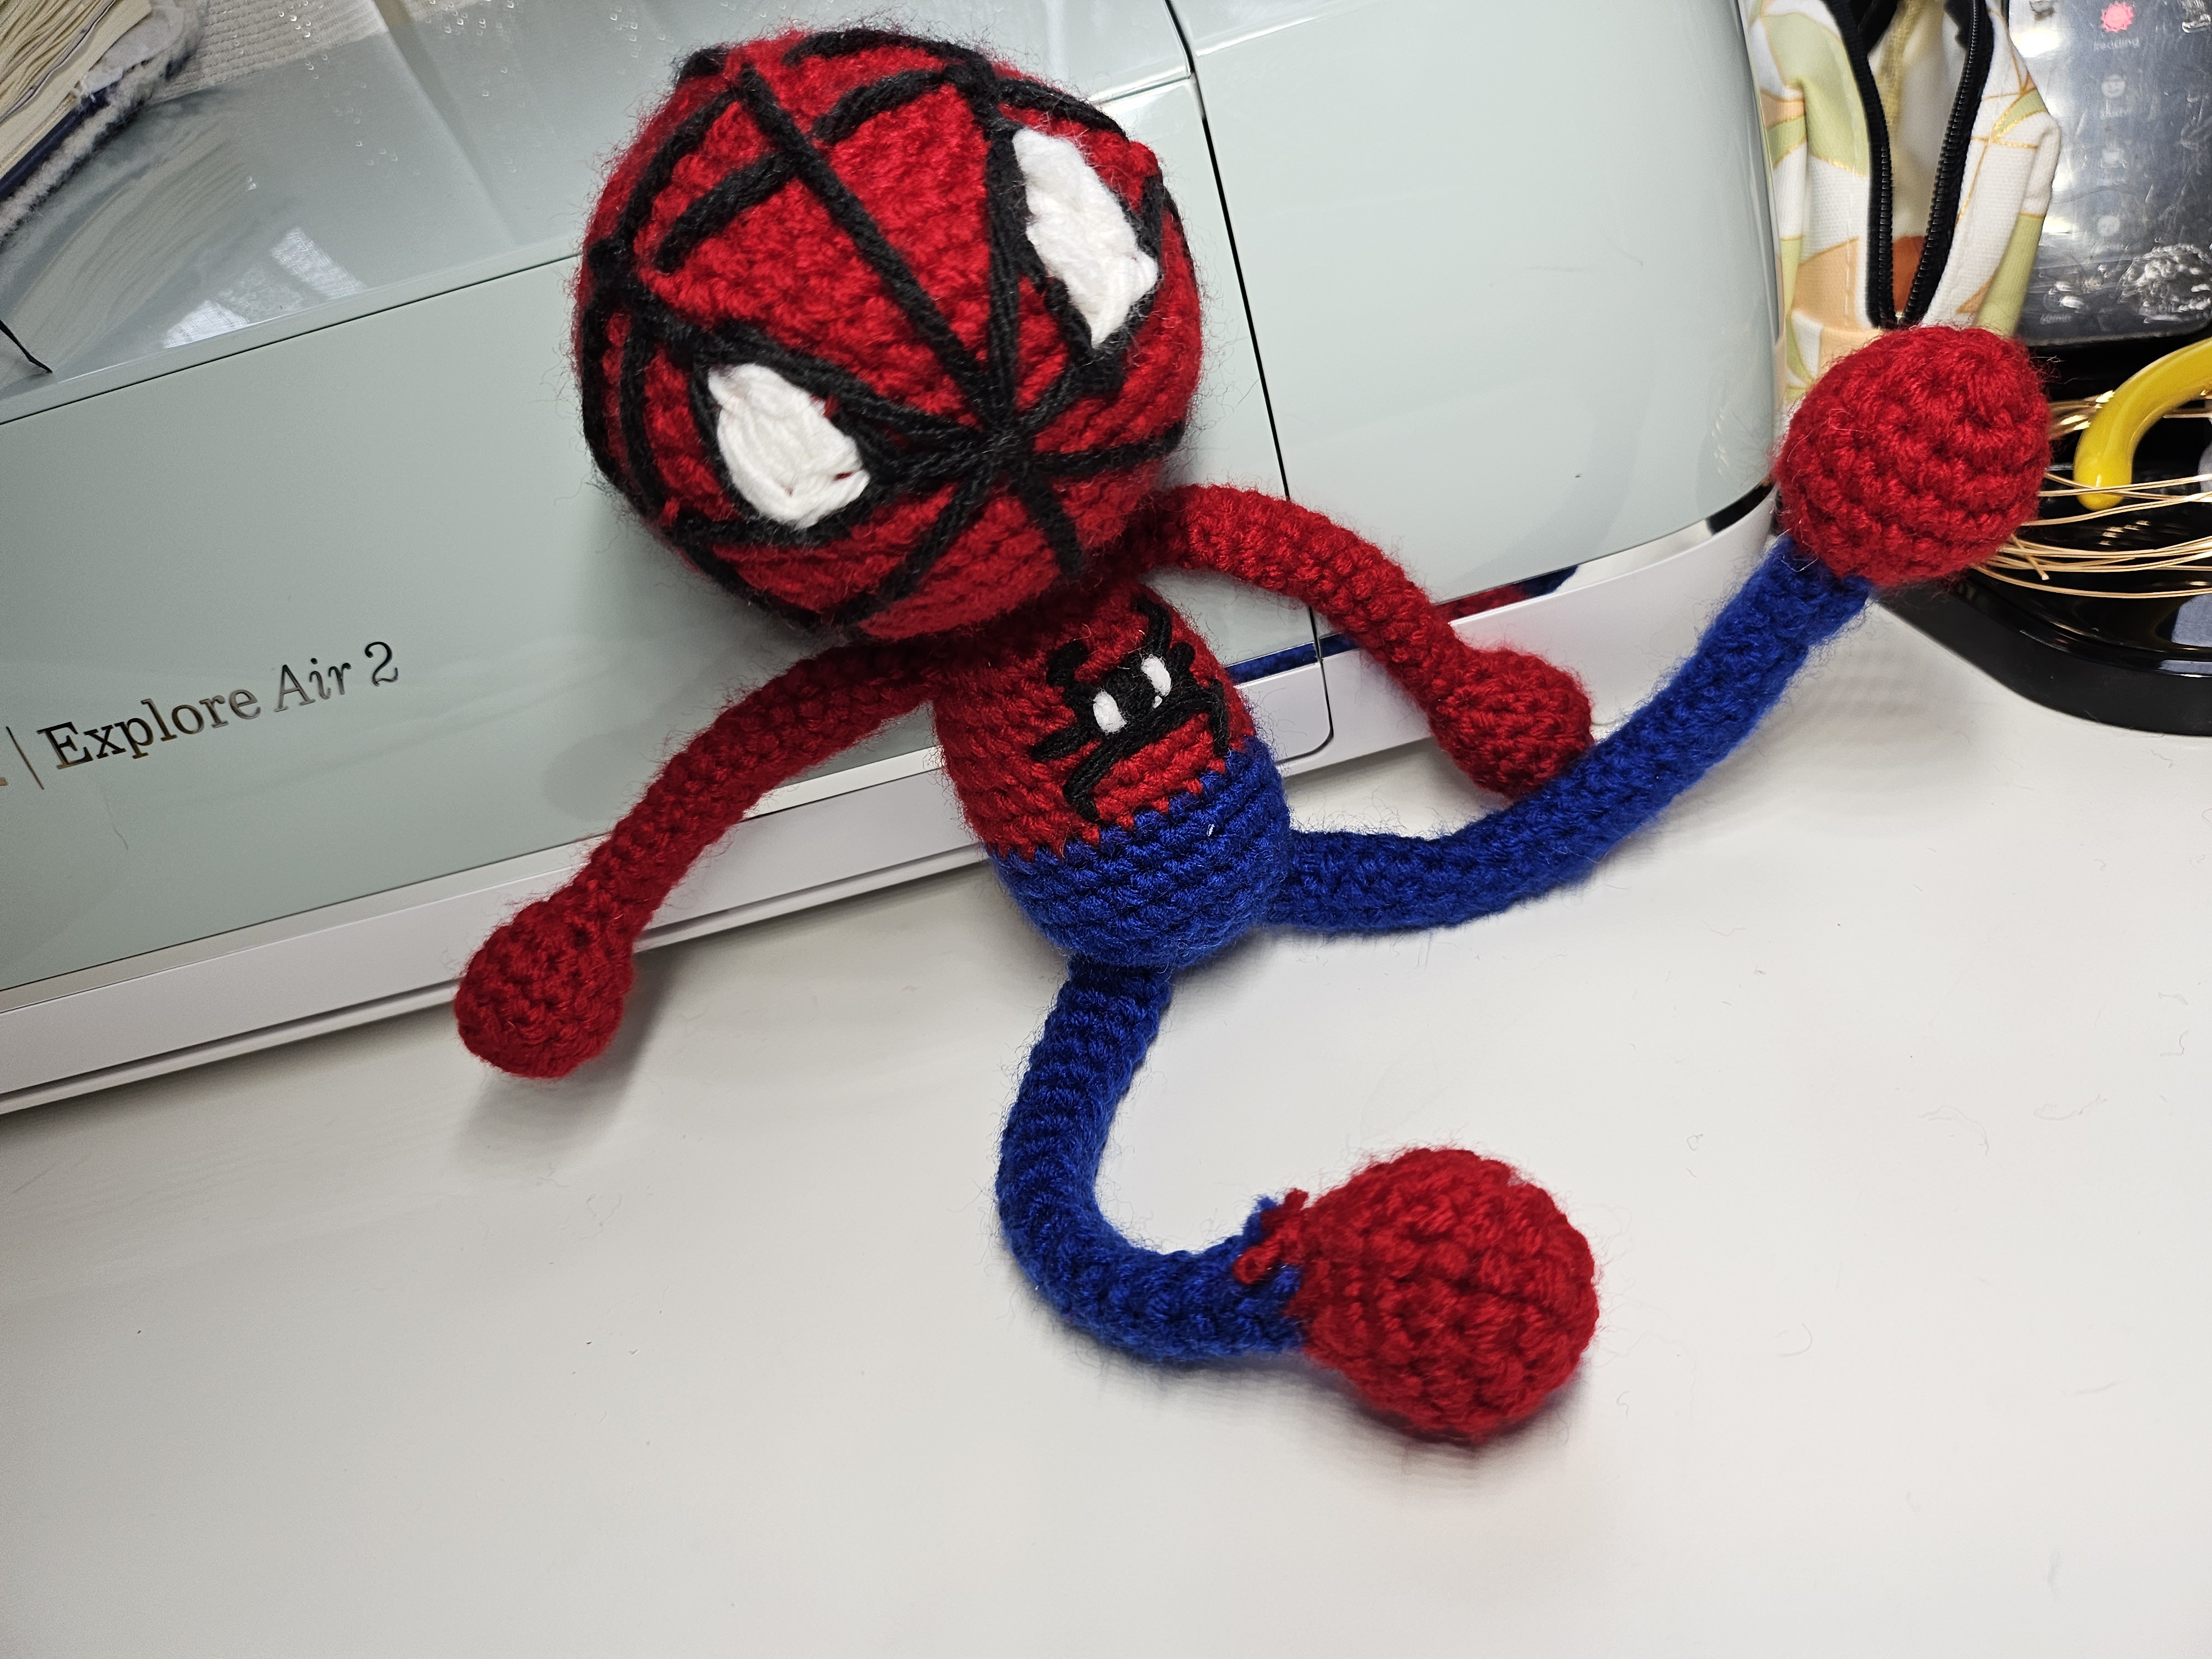
The written pattern below provides the stitch counts and construction order. For the facial embroidery, color placement, and final assembly, use it together with the complete video tutorial:
▶️ [Watch the Crochet Spider Hero video tutorial](https://youtu.be/rL4EmV5QXOc)
Project Overview
- Skill level: Beginner to advanced beginner
- Terminology: US crochet terms
- Construction: Separate arms and legs with a continuous head-and-body piece
- Main techniques: Magic ring, single crochet, increases, decreases, color changes, sewing, and surface embroidery
- Suggested use: Shelf sitter, desk decoration, monitor buddy, or handmade fan-art gift
Materials
The demonstration uses:
- Red yarn for the head, hands, feet, and upper suit
- Blue yarn in the same weight for the legs and lower suit
- Small amounts of white and black yarn or embroidery thread for the face
- A crochet hook suitable for creating firm amigurumi fabric
- Polyfill stuffing
- Tapestry needle
- Scissors
- Stitch marker
- Sewing pins, optional
The exact yarn brand, yarn weight, and hook size were not listed in the video description. For the cleanest result, use red and blue yarn of the same type and choose a hook slightly smaller than the yarn label normally recommends.
Abbreviations
- MR: Magic ring
- SC or X: Single crochet
- Inc or V: Work 2 single crochets in one stitch
- Dec or A: Single crochet 2 stitches together
- St/Sts: Stitch/Stitches
- R: Round
Work continuously in a spiral unless the pattern states otherwise. Place a stitch marker in the first stitch of each round.
Project Construction
This character is made in five main pieces:
- Two long arms
- Two long legs
- One continuous head-and-body piece
- Embroidered facial features
- Embroidered suit and web details
The hands and feet are lightly stuffed, but the narrow sections of the arms and legs remain unstuffed. This is what gives the finished character its loose, dangling shape.
Arms
Make two with red yarn.
- Round 1: Work 6 SC into a magic ring. (6)
- Round 2: Inc in every stitch. (12)
- Rounds 3–4: SC around. (12)
- Round 5: Dec around. (6)
- Rounds 6–20: SC around. (6)
Lightly stuff the rounded hand only. Leave the long arm unstuffed so it remains flexible.
Fasten off and leave a long yarn tail for sewing.
Legs
Make two. Begin with red yarn.
- Round 1: Work 6 SC into a magic ring. (6)
- Round 2: Inc in every stitch. (12)
- Round 3: Repeat (1 SC, Inc) 6 times. (18)
- Rounds 4–5: SC around. (18)
- Round 6: Repeat (1 SC, Dec) 6 times. (12)
- Round 7: Dec around. (6)
Lightly stuff the foot. Leave the remaining leg unstuffed.
Change to blue yarn.
- Rounds 8–25: SC around. (6)
Fasten off and leave a long tail for attaching the leg to the body.
Try to keep the tension on both legs consistent so they finish at approximately the same length.
Head
Begin with red yarn. The head and body are worked as one continuous piece.
- Round 1: Work 6 SC into a magic ring. (6)
- Round 2: Inc in every stitch. (12)
- Round 3: Repeat (1 SC, Inc) 6 times. (18)
- Round 4: Repeat (2 SC, Inc) 6 times. (24)
- Round 5: Repeat (3 SC, Inc) 6 times. (30)
- Round 6: Repeat (4 SC, Inc) 6 times. (36)
- Round 7: Repeat (5 SC, Inc) 6 times. (42)
- Rounds 8–14: SC around. (42)
- Round 15: Repeat (5 SC, Dec) 6 times. (36)
- Round 16: Repeat (4 SC, Dec) 6 times. (30)
- Round 17: Repeat (3 SC, Dec) 6 times. (24)
- Round 18: Repeat (2 SC, Dec) 6 times. (18)
- Round 19: Repeat (1 SC, Dec) 6 times. (12)
Stuff the head firmly and shape it as you work. The finished head should be round without large gaps forming between the stitches.
- Round 20: Dec around. (6)
- Rounds 21–22: SC around to form the neck. (6)
Do not fasten off. Continue directly into the body.
Body
Continue with red yarn.
- Round 23: Inc in every stitch. (12)
- Round 24: Repeat (1 SC, Inc) 6 times. (18)
- Round 25: Repeat (2 SC, Inc) 6 times. (24)
- Rounds 26–30: SC around. (24)
Change to blue yarn for the lower portion of the suit.
- Rounds 31–34: SC around. (24)
- Round 35: Repeat (2 SC, Dec) 6 times. (18)
- Round 36: Repeat (1 SC, Dec) 6 times. (12)
Stuff the body, adding small pieces of filling at a time.
- Round 37: Dec around. (6)
Fasten off and close the remaining opening by weaving the yarn tail through the front loops.
Assembly
Pin the arms to opposite sides of the upper body before sewing. Make sure both arms begin at the same height.
Position the legs along the bottom of the blue body section. The long blue portions should remain soft and unstuffed so the feet hang below the character.
Sew every piece securely using the long yarn tails. After attaching the limbs, place the character on the edge of a shelf to check how the arms and legs fall.
The exact attachment points are easier to understand visually:
▶️ [Watch the limb placement and assembly](https://youtu.be/rL4EmV5QXOc)
Adding the Spider-Hero Face
Use white yarn or embroidery thread to create two large, pointed eye shapes on the front of the red head. Outline the white shapes with black yarn to give the eyes stronger definition.
Before embroidering permanently:
- Mark the eye positions with pins.
- Check that both eyes are the same height.
- View the head from the front and from above.
- Adjust the spacing until the expression looks balanced.
After completing the eyes, use black yarn or embroidery thread to add the web design across the face. Begin with the longer lines radiating outward, then connect them with shorter curved stitches.
Keep the yarn firm enough to lie against the crochet fabric, but do not pull so tightly that it changes the shape of the head.
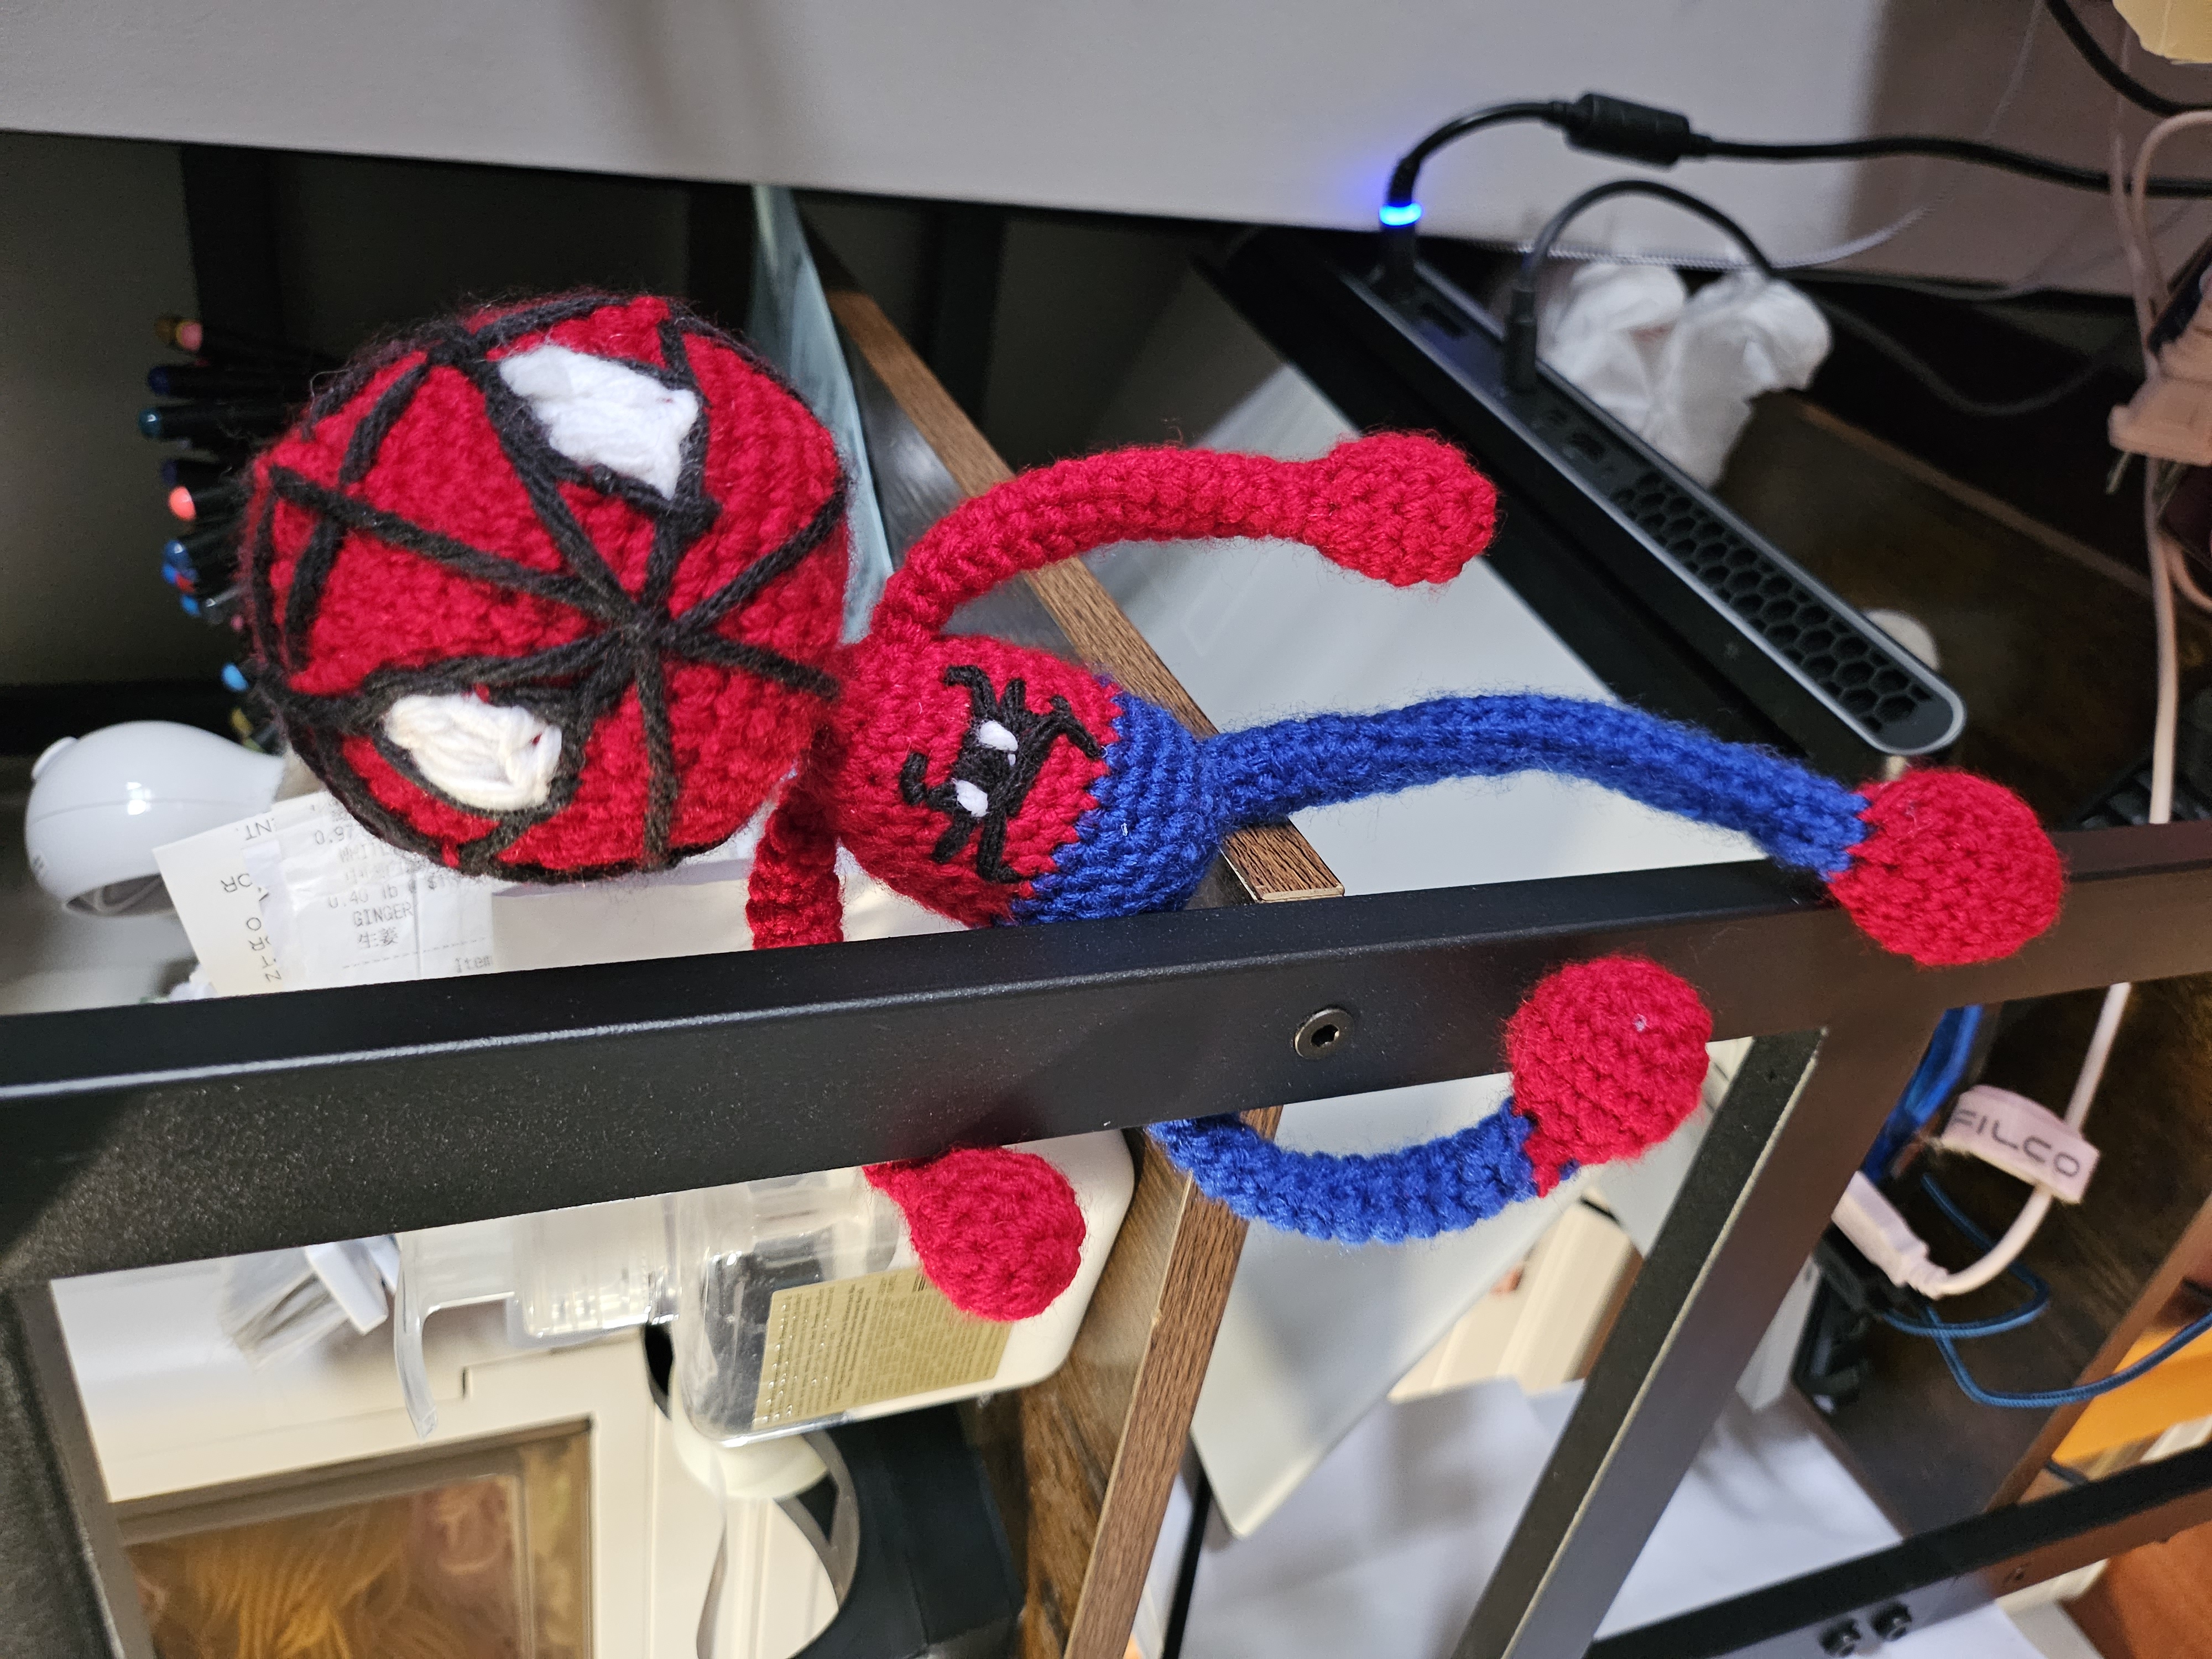
The web embroidery is the most visual part of this project, so I recommend following this section directly in the video rather than relying only on written instructions.
Optional Suit Details
You can continue the black web embroidery onto the red upper body, hands, or feet. A small spider-shaped detail can also be embroidered onto the chest or back.
For a simpler version, leave the body plain and use only the large white-and-black eyes. The recognizable red-and-blue color combination will still create a playful comic-book-inspired look.
Helpful Tips
- Use invisible decreases to keep the shaping smooth.
- Keep the arm and leg stitches slightly loose enough to remain flexible.
- Only stuff the hands and feet lightly.
- Use the same yarn weight for the red and blue sections.
- Complete the color change on the final yarn-over of the stitch before the new color begins.
- Pin the limbs in position before sewing.
- Sketch or mark the web lines before embroidering them.
- If the face looks uneven, remove the embroidery before securing the yarn ends and try again.
Color Variations
The construction can also be used to create your own original dangling hero:
- Black and red for a dramatic comic-book look
- Purple and black for a Halloween version
- Pink and aqua for a bright, playful character
- Green and navy for a completely original hero
- Use leftover yarn colors to turn it into a scrap-yarn project
Changing the colors and facial embroidery is an easy way to give the doll a different personality while keeping the same basic construction. 🧶
Watch the Complete Tutorial
The video shows the complete crochet process, including the long limbs, continuous head-and-body construction, color placement, assembly, and facial embroidery.
▶️ [Watch Crochet Spider Hero with Dangly Limbs on YouTube](https://youtu.be/rL4EmV5QXOc)
Discover more free crochet tutorials and written patterns at [Crochetnotes Studio](https://crochetnotesstudio.com).
This is an unofficial fan-inspired crochet project intended for personal crafting use. All character names, visual identities, and related trademarks belong to their respective owners.
Made with yarn, shared with love. 🧶💗
Watch every stitch up close
Pair these written notes with the complete video tutorial.
Made with yarn, shared with love. 🧶💗