
# Crochet Strawberry Cupcake Cup Holder with a Hidden Mesh Bag
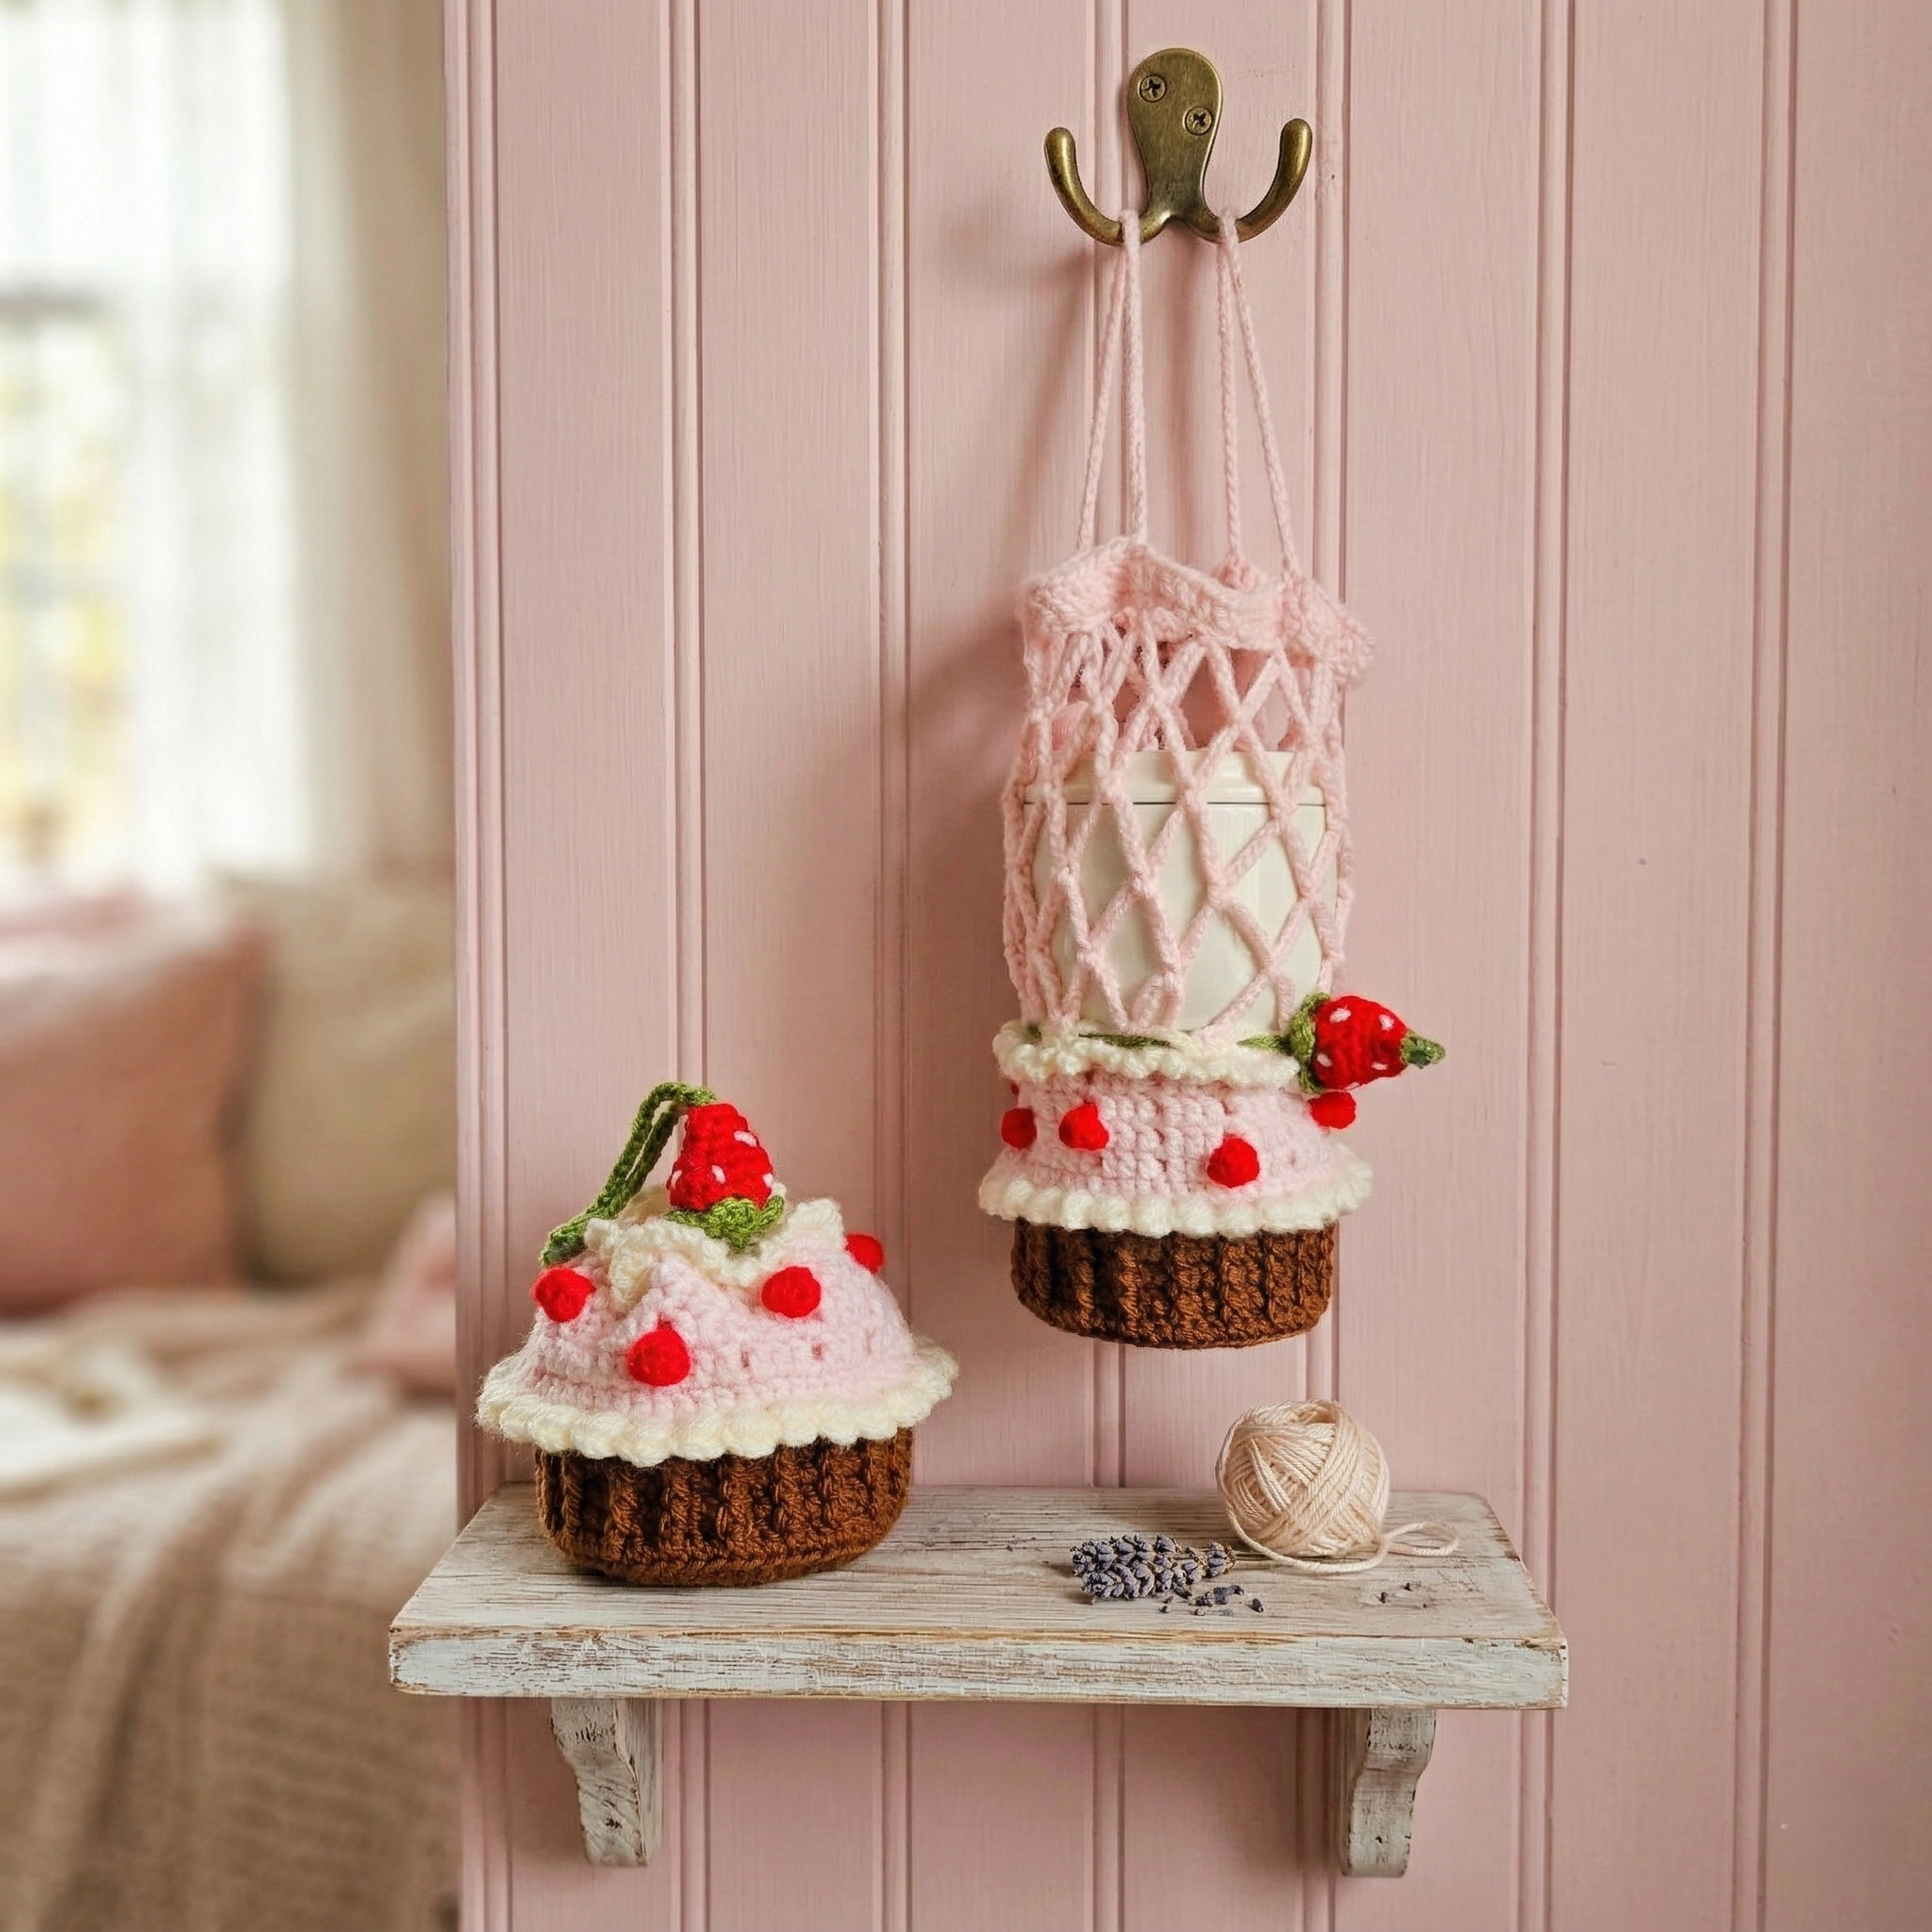
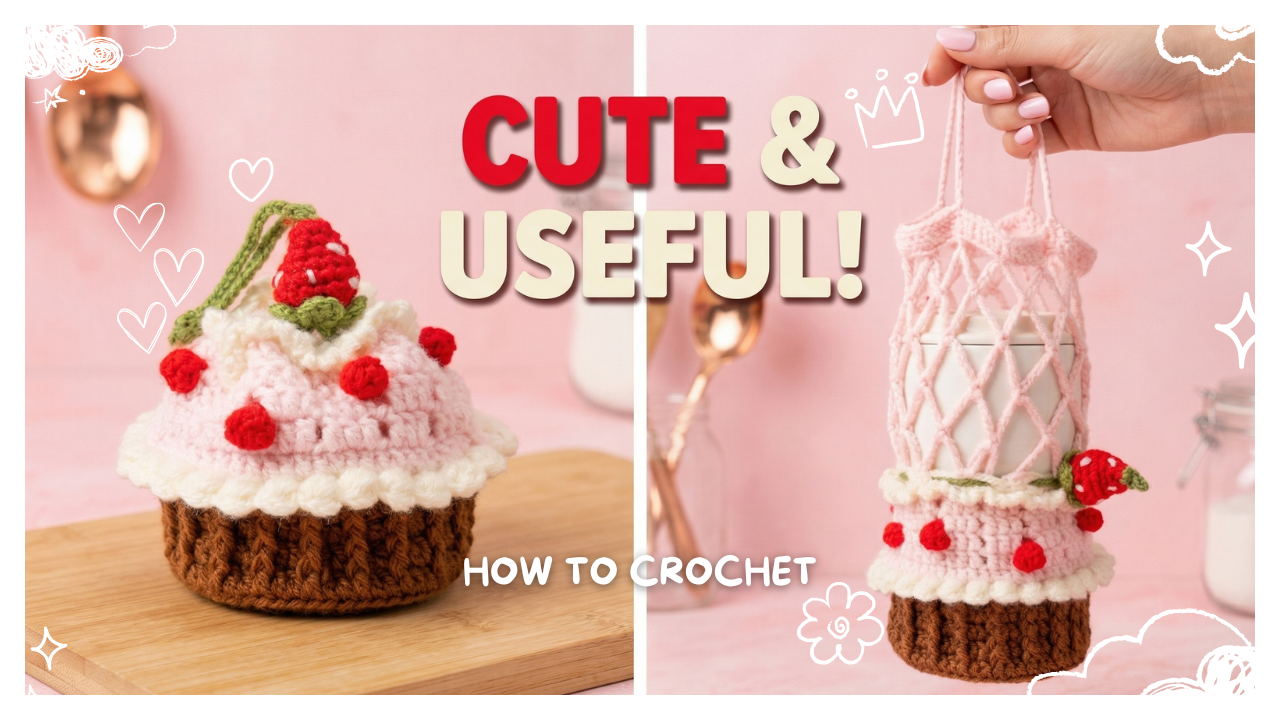
At first glance, this looks like a sweet little strawberry cupcake. Pull open the top, however, and you’ll discover a stretchy crochet mesh holder hidden inside. 🍓🧁
The net expands to hold an iced coffee cup, tumbler, or water bottle, while the ribbed base, ruffled frosting, strawberries, and green drawstring keep the entire project looking like a colorful cupcake.
It is a playful combination of amigurumi and a practical everyday accessory—and a fun handmade gift for anyone who always carries a drink.
Project Overview
- Skill level: Intermediate beginner
- Yarn weight: Worsted weight / Weight 4
- Hook size used: 2 mm
- Construction: Worked in rounds from the cupcake base upward
- Special features: Textured cupcake wrapper, frosting ruffle, drawstring opening, and expandable mesh
- Best for: Iced coffee cups, tumblers, reusable bottles, gifts, and craft markets
The final fit depends on your yarn, tension, and the number of mesh rows. Test the holder with your intended cup before fastening off the mesh.
Materials Used
- Worsted-weight brown yarn for the cupcake base
- Worsted-weight white yarn for the frosting and upper edging
- Worsted-weight pink yarn for the cake body and hidden mesh
- Worsted-weight red yarn for the strawberry and mini berries
- Worsted-weight green yarn for the leaves and drawstring
- 2 mm crochet hook
- Polyester fiberfill for the strawberry
- Stitch marker
- Yarn needle
- Scissors
US Crochet Abbreviations
- MR: Magic ring
- Ch: Chain
- SC: Single crochet
- HDC: Half double crochet
- DC: Double crochet
- Inc: Increase
- Dec: Decrease
- FPDC: Front post double crochet
- BLO: Back loop only
- FLO: Front loop only
- Sl St: Slip stitch
- St/Sts: Stitch/Stitches
- FO: Fasten off
Before You Begin
The cupcake base is worked in joined rounds. Mark the beginning of each round so the textured sections stay aligned.
A DC increase means working two double crochets into the same stitch.
For the ruffle, a 4-HDC puff stitch is made by beginning four half double crochets in the same stitch, leaving the final loops on the hook, then yarn over and pull through all the remaining loops together.
Part 1: Crochet the Cupcake Base
Use brown yarn.
Round 1: Work 12 DC into a MR. Join. (12) Round 2: Work 2 DC into every stitch around. Join. (24) Round 3: (1 DC, DC Inc) × 12. Join. (36) Round 4: (1 DC, DC Inc, 1 DC) × 12. Join. (48) Round 5: (3 DC, DC Inc) × 12. Join. (60) Round 6: Working in the BLO, make 60 DC. Join. (60)
Working only in the back loops creates a clear turning edge between the flat bottom and the sides of the cupcake wrapper.
Rounds 7–10: Repeat 2 DC followed by 1 FPDC around. (60)
The front post stitches form the vertical ridges that make the brown section resemble a real cupcake liner.
▶️ Watch the ribbed cupcake base from 0:20
Part 2: Add the Ruffled Frosting
Change to white yarn.
Round 11: Work 60 SC around. (60)
For the frosting ruffle, work into the front loops only:
Round 12: Repeat the following sequence around:
- Ch 2.
- Make one 4-HDC puff stitch in the next stitch.
- Ch 1.
- Skip one stitch.
- Sl St into the next stitch.
The unused back loops behind the ruffle will be used to continue the pink cake section.
Keep the puff stitches relaxed so the frosting looks soft rather than tightly compressed.
▶️ Watch the frosting ruffle from 4:25
Part 3: Crochet the Pink Cake Body
Join pink yarn to the unused back loops behind the white ruffle.
Round 12: Work 60 DC around in the remaining BLO. (60) Rounds 13–16: Repeat 3 DC, Ch 1, and skip one stitch around.
On Round 16, work into the front loops only, leaving the back loops available for attaching the hidden mesh later.
The small chain spaces in this section create a lighter cake texture and provide convenient attachment points for the mini berry bobbles.
▶️ Watch the pink cake body from 6:15
Part 4: Make the White Edging and Drawstring Channel
Join white yarn to the front loops along the upper pink edge.
Decorative edging
Repeat the following around:
- 1 SC
- Ch 3
- Skip one stitch
Drawstring channel
Join white yarn to the remaining back loops and work:
Round 1: 60 SC around. (60) Round 2: Repeat 3 SC, Ch 3, and skip two stitches around.
The chain spaces in Round 2 form the openings for the drawstring.
Drawstring
Using green yarn, Ch 85.
Fasten off and weave the chain through the drawstring openings. Leave an even length extending from both ends before attaching any decorative pieces.
Part 5: Crochet the Large Strawberry
Use red yarn.
Round 1: Work 6 SC into a MR. (6) Round 2: (1 SC, Inc) × 3. (9) Round 3: (1 SC, Inc, 1 SC) × 3. (12) Round 4: (3 SC, Inc) × 3. (15) Round 5: (2 SC, Inc, 2 SC) × 3. (18) Round 6: (5 SC, Inc) × 3. (21) Round 7: (1 SC, Dec) × 7. (14)
Add a small amount of fiberfill. Do not overstuff—the strawberry should remain soft and slightly pointed.
Round 8: Work 7 Dec around. (7)
Fasten off and close the remaining opening.
▶️ Watch the strawberry section from 9:15
Part 6: Crochet the Strawberry Leaves
Use green yarn.
- Make a MR.
- Repeat the following five times inside the ring:
- Ch 3
- 1 DC
- Ch 3
- Sl St
- Pull the ring closed.
- Fasten off, leaving a tail for sewing.
Arrange the five leaves across the top of the strawberry and sew them securely in place.
▶️ Watch the strawberry leaves from 12:10
Part 7: Add the Mini Berry Bobbles
Use red yarn and attach it to one of the Ch-1 spaces in the pink cake body.
For each mini berry:
- Ch 2.
- Begin 4 DC in the same space, leaving the final loop of each stitch on the hook.
- Yarn over and pull through all the remaining loops to close the bobble.
- Ch 2.
- Sl St into the same space.
- Fasten off and secure the yarn ends.
Space the berries evenly around the cupcake instead of filling every opening. Leaving some pink visible helps each red bobble stand out.
▶️ Watch the mini berries from 12:14
Part 8: Crochet the Hidden Mesh Holder
Join pink yarn to the unused back loops left inside Round 16.
Mesh Round 1
Repeat the following around:
- 1 SC
- Ch 12
- Skip four stitches
You should finish with 12 large chain loops.
Mesh Rounds 2 and Beyond
Work 1 SC into the top of each chain loop, then Ch 12 to create the next layer of mesh.
Continue repeating this round until the net is tall enough to hold your intended cup or bottle.
Check the length with the actual cup before fastening off. The mesh should stretch upward without pulling the cupcake base out of shape.
▶️ Watch the hidden mesh construction from 13:52
Finishing
- Weave in all loose yarn ends.
- Thread the green drawstring through the white channel.
- Attach the large strawberry to one end of the drawstring.
- Add a leaf, smaller berry, knot, or bead to the opposite end if desired.
- Place a cup inside the mesh and gently tighten the drawstring.
- Adjust the frosting so it sits evenly around the opening.
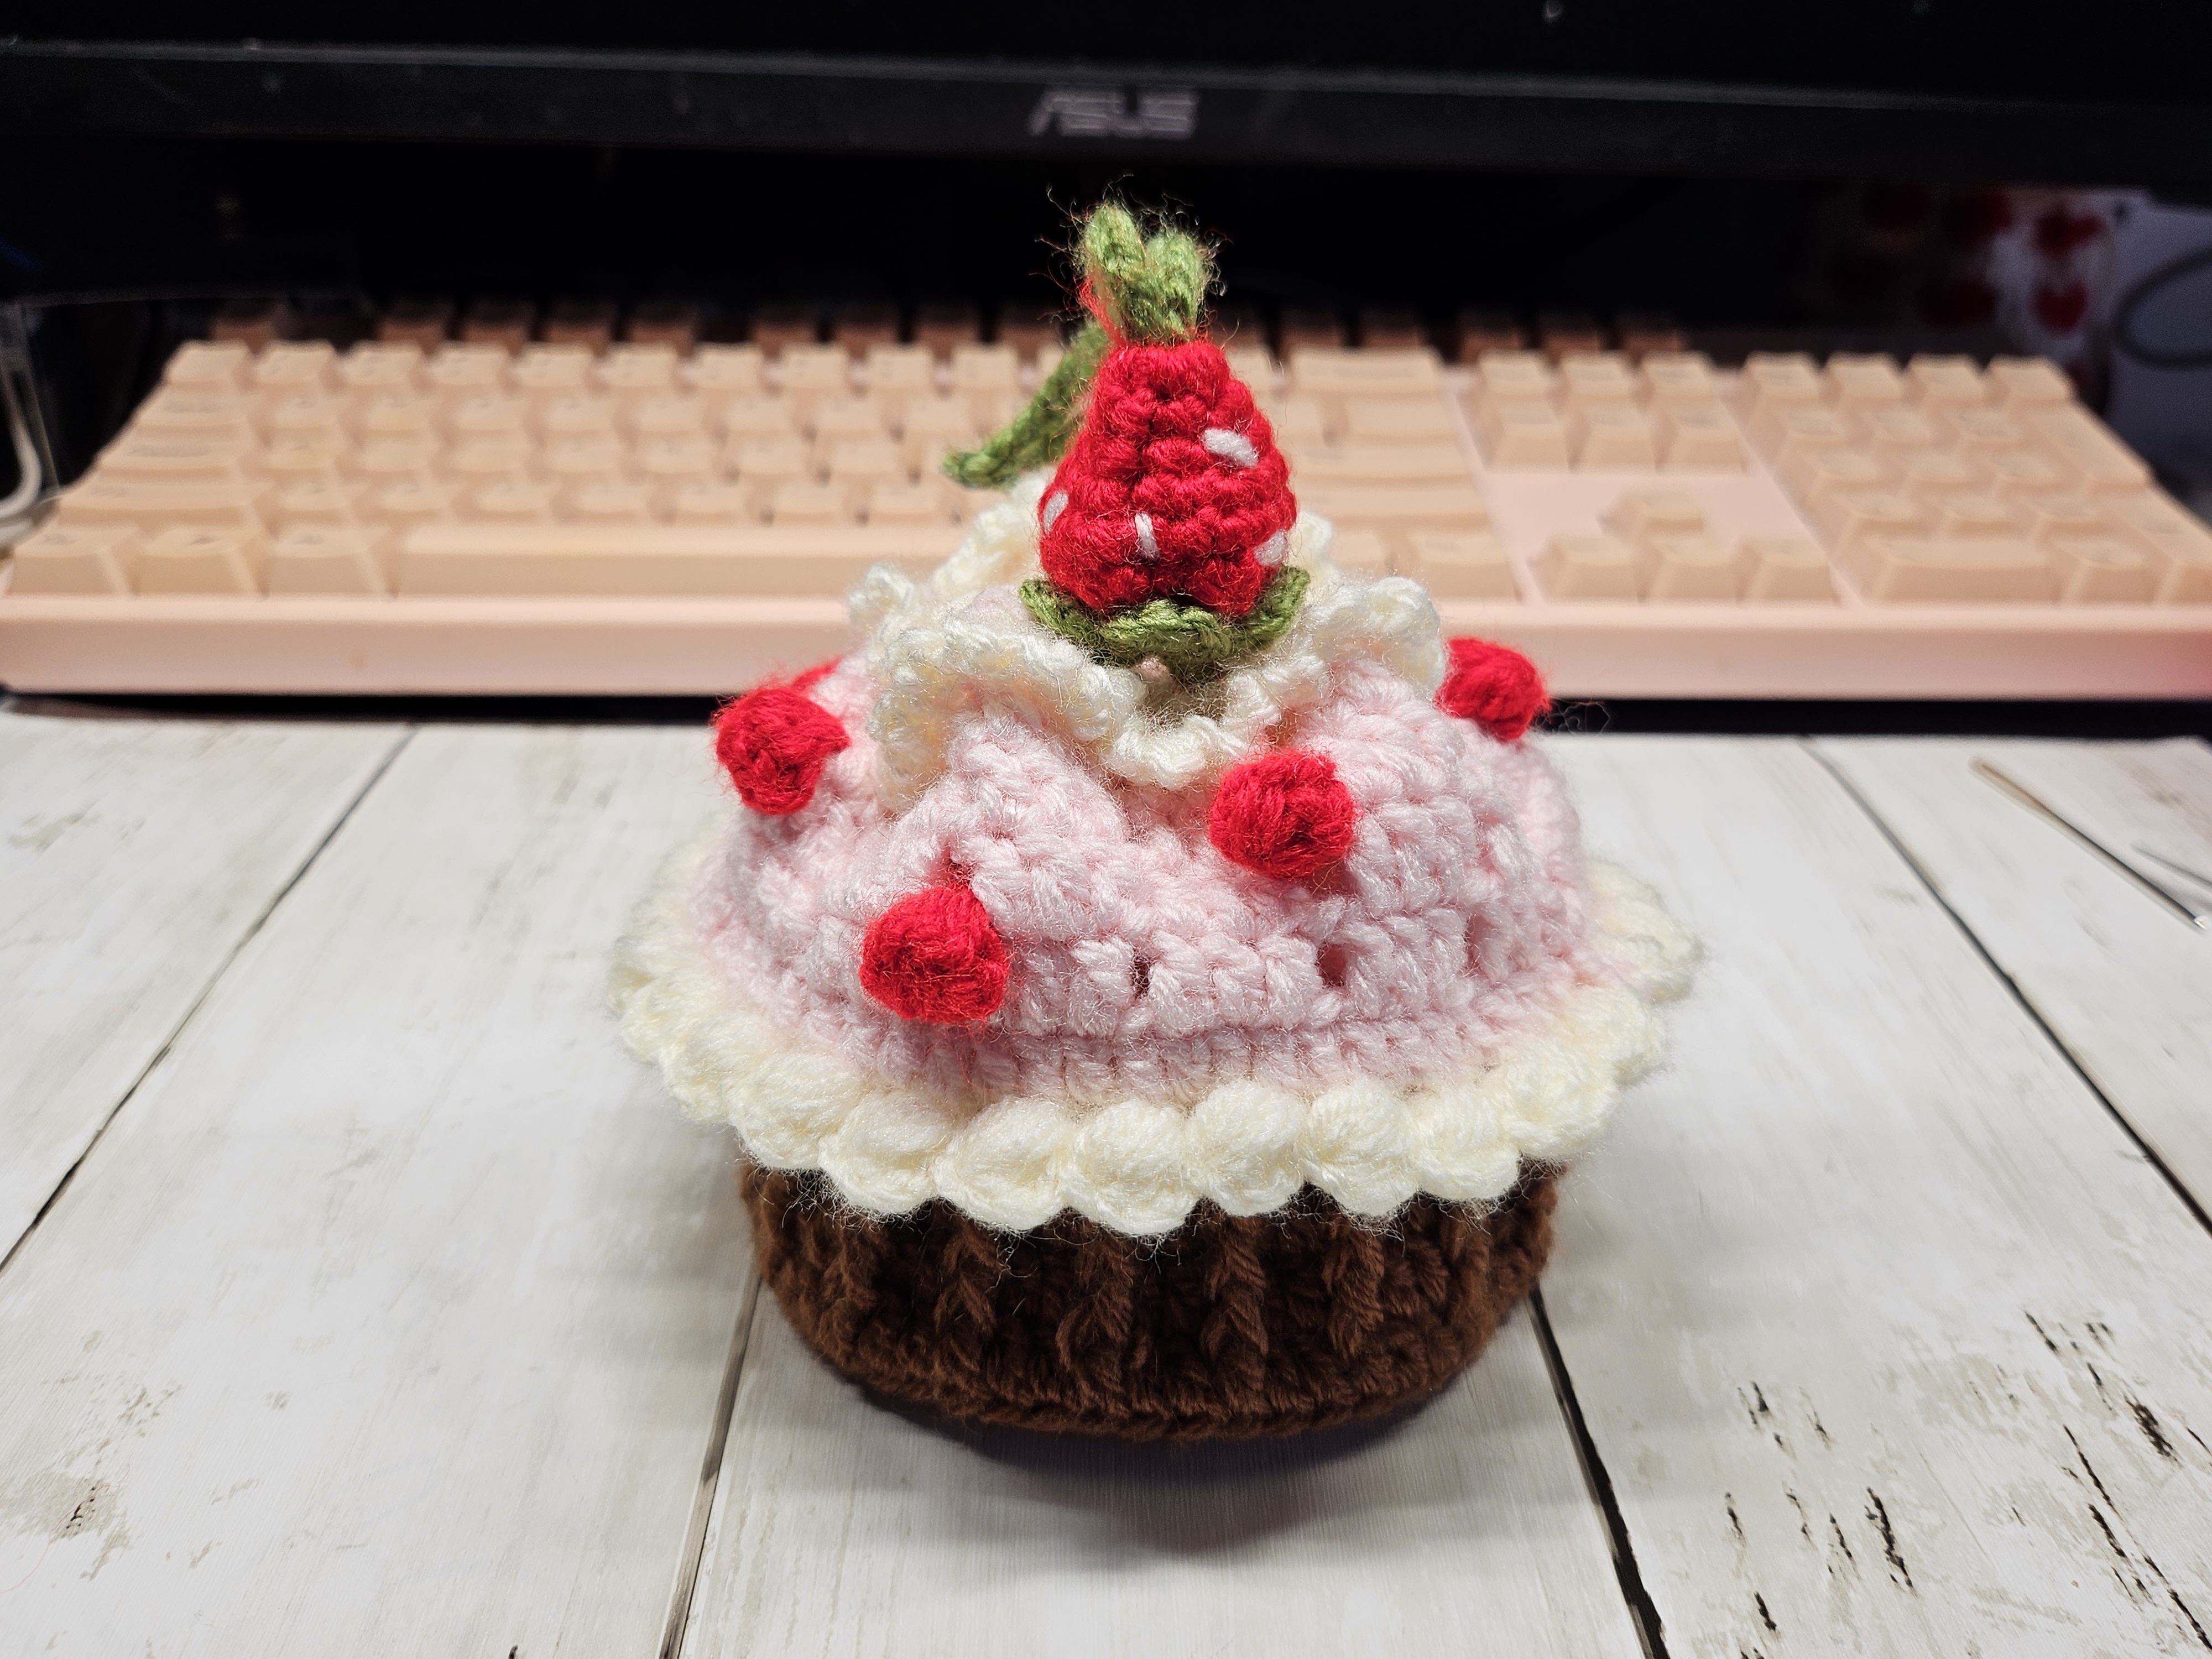
When the holder is empty, tuck the mesh back into the cupcake and loosen the drawstring. The project will return to its compact cupcake shape.
Fit and Safety Tips
- Measure the mesh using the cup you plan to carry most often.
- Add more mesh rounds for a tall bottle or fewer rounds for a shorter tumbler.
- Check the drawstring and decorations regularly if the holder is used every day.
- Hold the cup itself when carrying very hot drinks.
- Do not rely on the crochet holder to protect your hands from heat or prevent a lid from leaking.
- Wash by hand and reshape while drying to preserve the ruffle and strawberry.
Color Ideas
The same construction can become many different desserts:
- Chocolate base, cream frosting, and red strawberries
- Cream base with lavender frosting and purple berry bobbles
- Tan base with white frosting and tiny rainbow “sprinkles”
- Dark brown base with mint frosting for a chocolate-mint cupcake
- Red, green, and cream for a Christmas version
You can also match the frosting and drawstring to a favorite reusable cup. Which cupcake flavor would you make? 🧁
Watch the Complete Video Tutorial
The written pattern provides the stitch counts, while the video shows the FPDC texture, puff-stitch ruffle, drawstring channel, bobble construction, expandable mesh, and final assembly more clearly.
▶️ [Watch the complete Strawberry Cupcake Cup Holder tutorial on YouTube](https://youtu.be/CMueHIwv3dk)
If you make one, leave a comment on the video and tell me which cup—or cupcake flavor—inspired your colors.
Made with yarn, shared with love. 🧶💗
Watch every stitch up close
Pair these written notes with the complete video tutorial.
Made with yarn, shared with love. 🧶💗