
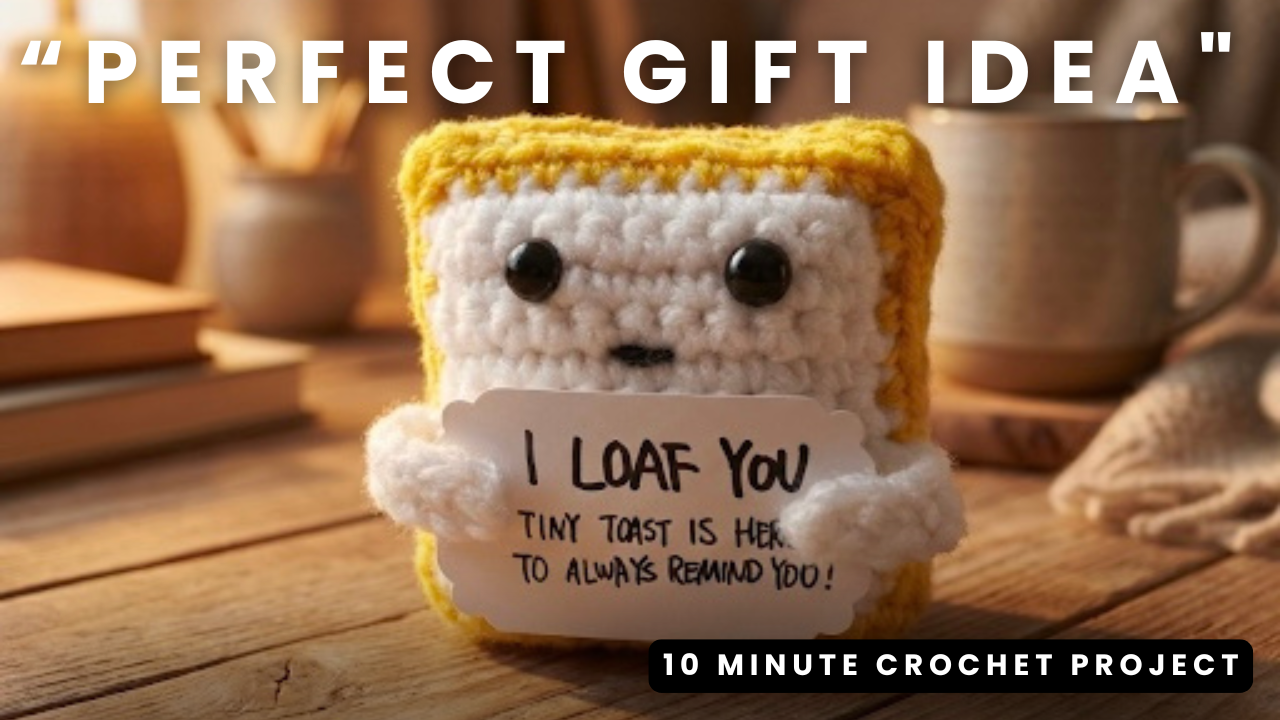
Looking for a handmade Valentine’s gift that is quick, cute, and guaranteed to make someone smile? This tiny crochet toast amigurumi holds an “I Loaf You” sign and turns a simple food pun into an adorable little keepsake. 🍞❤️
It is also a lovely scrap-yarn project. You only need small amounts of yarn, a little stuffing, and a few basic amigurumi supplies.
For the complete visual instructions and shaping demonstration, watch the full Crochetnotes video tutorial:
Watch the Crochet Toast Amigurumi Tutorial on YouTube
Project Overview
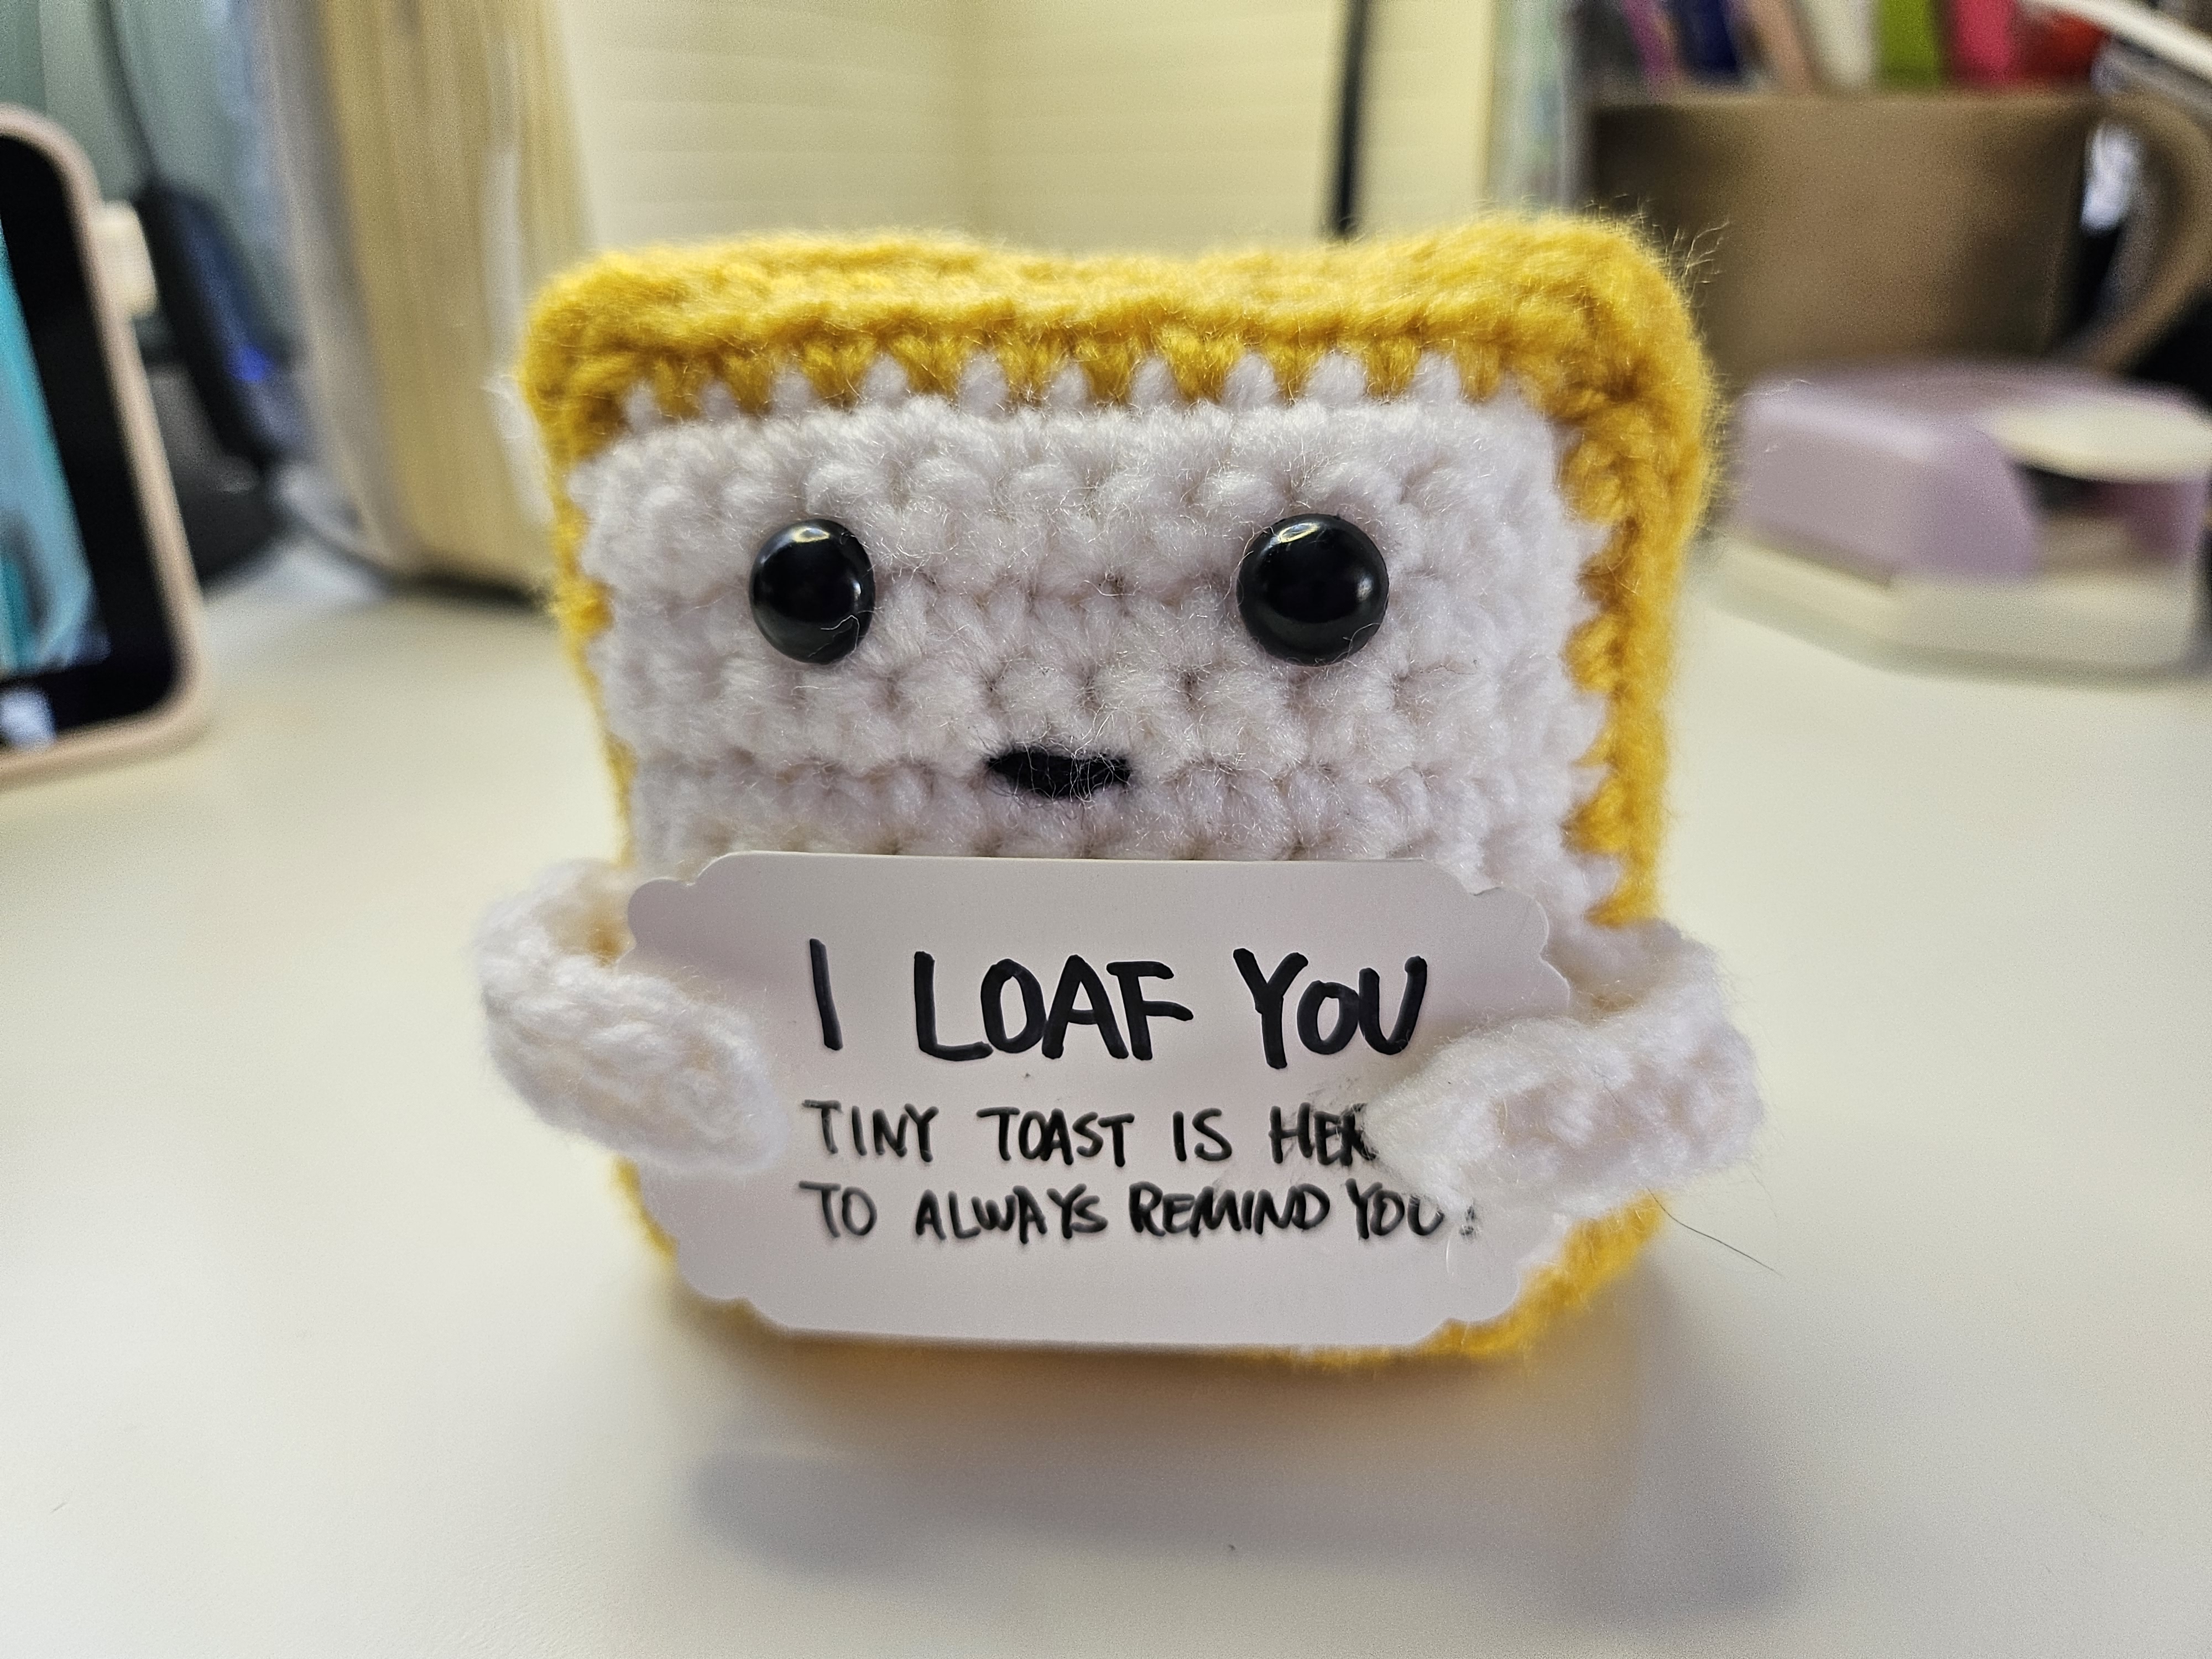
This crochet toast is made from two matching bread pieces. A contrasting border creates the crust, while light stuffing gives the finished project a soft shape without making it too bulky.
After joining the pieces, tiny arms and a handwritten “I Loaf You” sign complete the character.
This project is a good choice for:
- A last-minute Valentine’s gift
- A small desk or shelf decoration
- A cute addition to a gift basket
- Using leftover yarn from other projects
- Practicing simple amigurumi assembly
Materials
The exact yarn brand, yarn weight, and hook size were not listed with the original video. Choose a hook that works with your yarn and creates a dense fabric without visible gaps.
You will need:
- A small amount of white yarn for the bread
- A small amount of yellow yarn for the crust
- Black yarn or embroidery thread for the mouth and details
- Optional pink yarn or thread for the cheeks
- A crochet hook suitable for your yarn
- Two safety eyes
- Polyfill stuffing
- A tapestry needle
- Scissors
- Stitch markers
- A small piece of cardstock or sturdy paper
- A fine-tip pen for the “I Loaf You” message
Safety note: If the finished toast is intended for a child under three, embroider the eyes instead of using safety eyes.
How the Crochet Toast Is Constructed
1. Crochet the First Bread Slice
Begin with the white yarn and crochet the center of the first bread slice.
The shaping at the top creates the recognizable rounded toast silhouette. Keep your tension consistent so the piece stays flat and the sides remain even.
Follow the video closely while making the top corners, since this is the part that gives the toast its character.
2. Add the Contrasting Crust
Change from white to yellow yarn and work around the outside of the bread.
For a neater color change, begin the new color during the final yarn-over of the last white stitch. This helps prevent an obvious color step between the bread and crust.
Take a little extra care around the corners so the border follows the shape without pulling or ruffling.
3. Make a Second Matching Slice
Crochet a second bread piece using the same method.
Before fastening off, place both slices together and check that their size and shape match. If one piece has a noticeably different stitch count or tension, it is easier to correct it before assembly.
4. Add the Face
Attach the safety eyes to the front bread slice before joining the two pieces.
Embroider a small smile between the eyes. You can also add subtle pink cheeks for an extra kawaii finish. 😊
Make sure you are happy with the placement before securing the safety-eye backs, as they can be difficult to remove afterward.
5. Crochet the Tiny Hands
Create the small arms and hands shown in the tutorial.
Keep them light and flexible so the toast can hold its miniature sign naturally. Leave yarn tails long enough to sew the arms securely to the body.
6. Join and Stuff the Toast
Place the two bread slices together with the finished sides facing outward.
Join around the edge, keeping the stitches evenly spaced through both layers. Pause before closing the final section and add a small amount of polyfill.
Avoid overstuffing. The toast should feel soft but still keep its flat, recognizable silhouette.
A helpful trick is to lightly pin or clip the two slices together before joining them. This prevents the edges from shifting while you work.
7. Make the “I Loaf You” Sign
Cut a tiny rectangle from cardstock or sturdy paper and write:
I Loaf You
Cardstock works better than thin paper because it stays flat and is less likely to bend.
Position the sign between the toast’s hands and secure it carefully. If you would like the sign to remain removable, slide it under the arms rather than gluing it permanently.
Common Mistakes to Avoid
- Uneven bread slices: Count your stitches and compare the two pieces before joining.
- A wavy crust: Extra stitches around the border can cause ruffling.
- Visible stuffing gaps: Use a smaller hook or tighter tension if the fabric is too open.
- Overstuffing: Too much filling can hide the toast shape.
- Attaching the eyes too late: Install safety eyes before the body is closed.
- Using very thin paper: Choose cardstock so the little message remains readable.
Make It Your Own
Although the tutorial uses white and yellow, you can easily change the colors to create your own version.
Try a cream center with a warm tan crust for a more realistic toast, or add a small embroidered heart, strawberry jam detail, or butter square. You could even change the sign for a birthday, anniversary, or friendship gift.
What message would your crochet toast hold? 🍞💌
Watch the Complete Tutorial
The video shows the bread shaping, color change, face placement, stuffing, tiny hands, sign, and final assembly in detail.
Watch DIY Crochet Toast Amigurumi on YouTube
If you make your own “I Loaf You” toast, leave a comment on the video and tell me which colors you chose.
Visit Crochetnotes Studio for more free crochet tutorials, written project guides, and handmade gift ideas.
Project and tutorial by Crochetnotes. Please do not redistribute the complete instructions or project images as your own.
Made with yarn, shared with love. 🧶💗
Watch every stitch up close
Pair these written notes with the complete video tutorial.
Made with yarn, shared with love. 🧶💗