
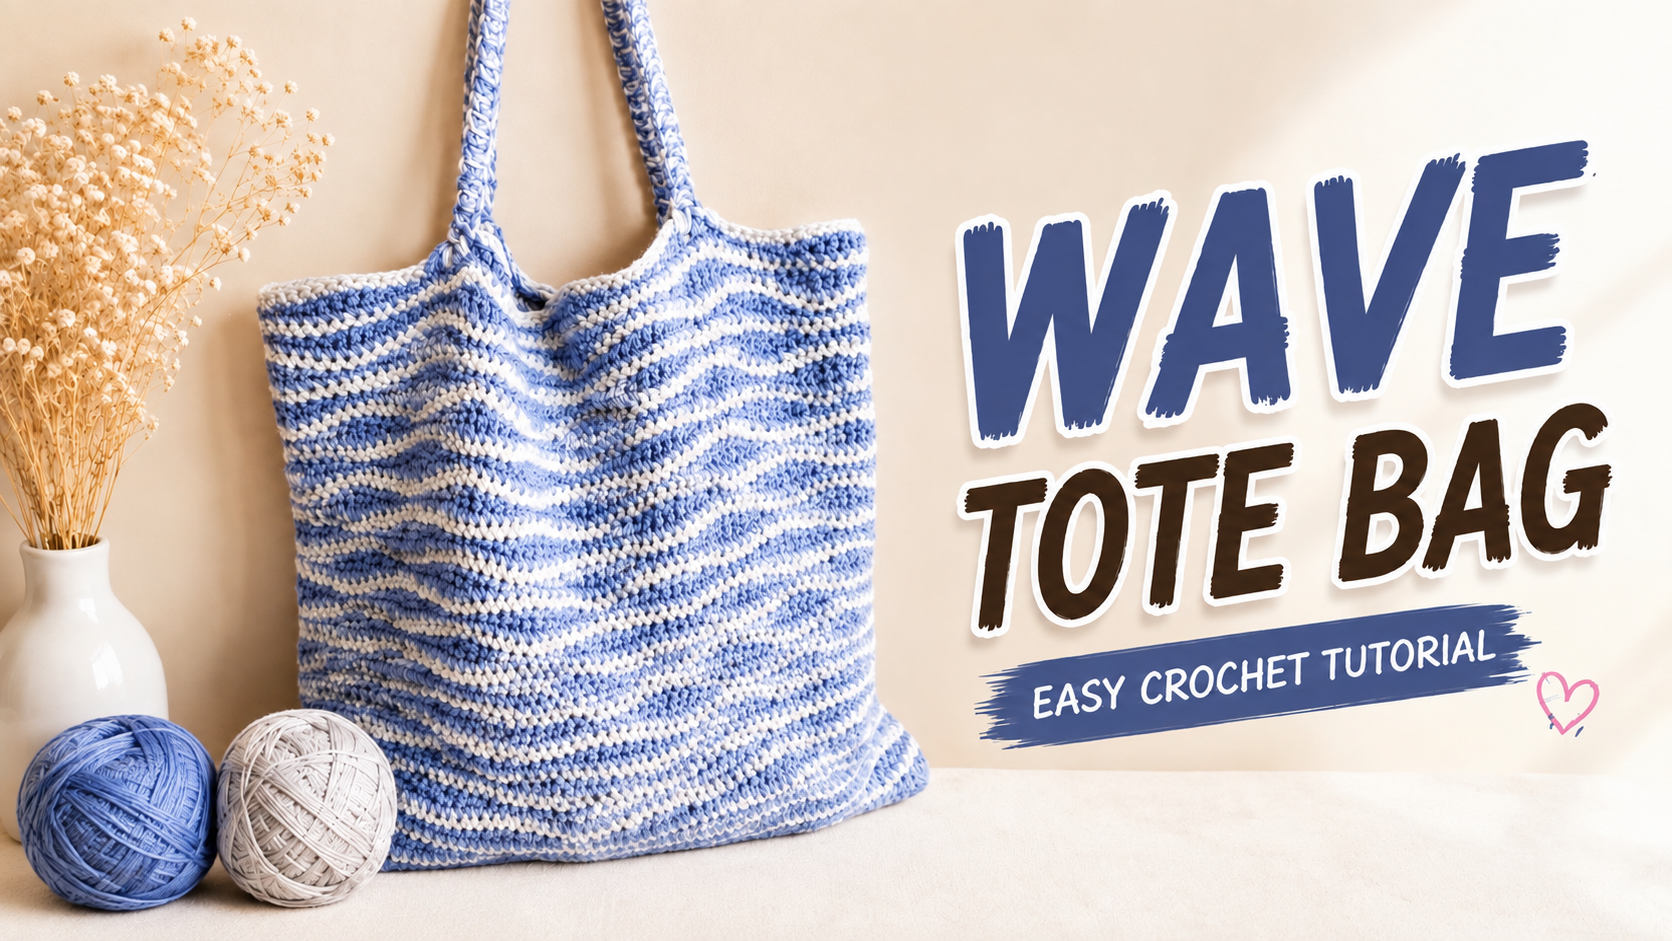
# Easy Crochet Bag Pattern | Wave Stitch Shoulder Bag Tutorial 🧶
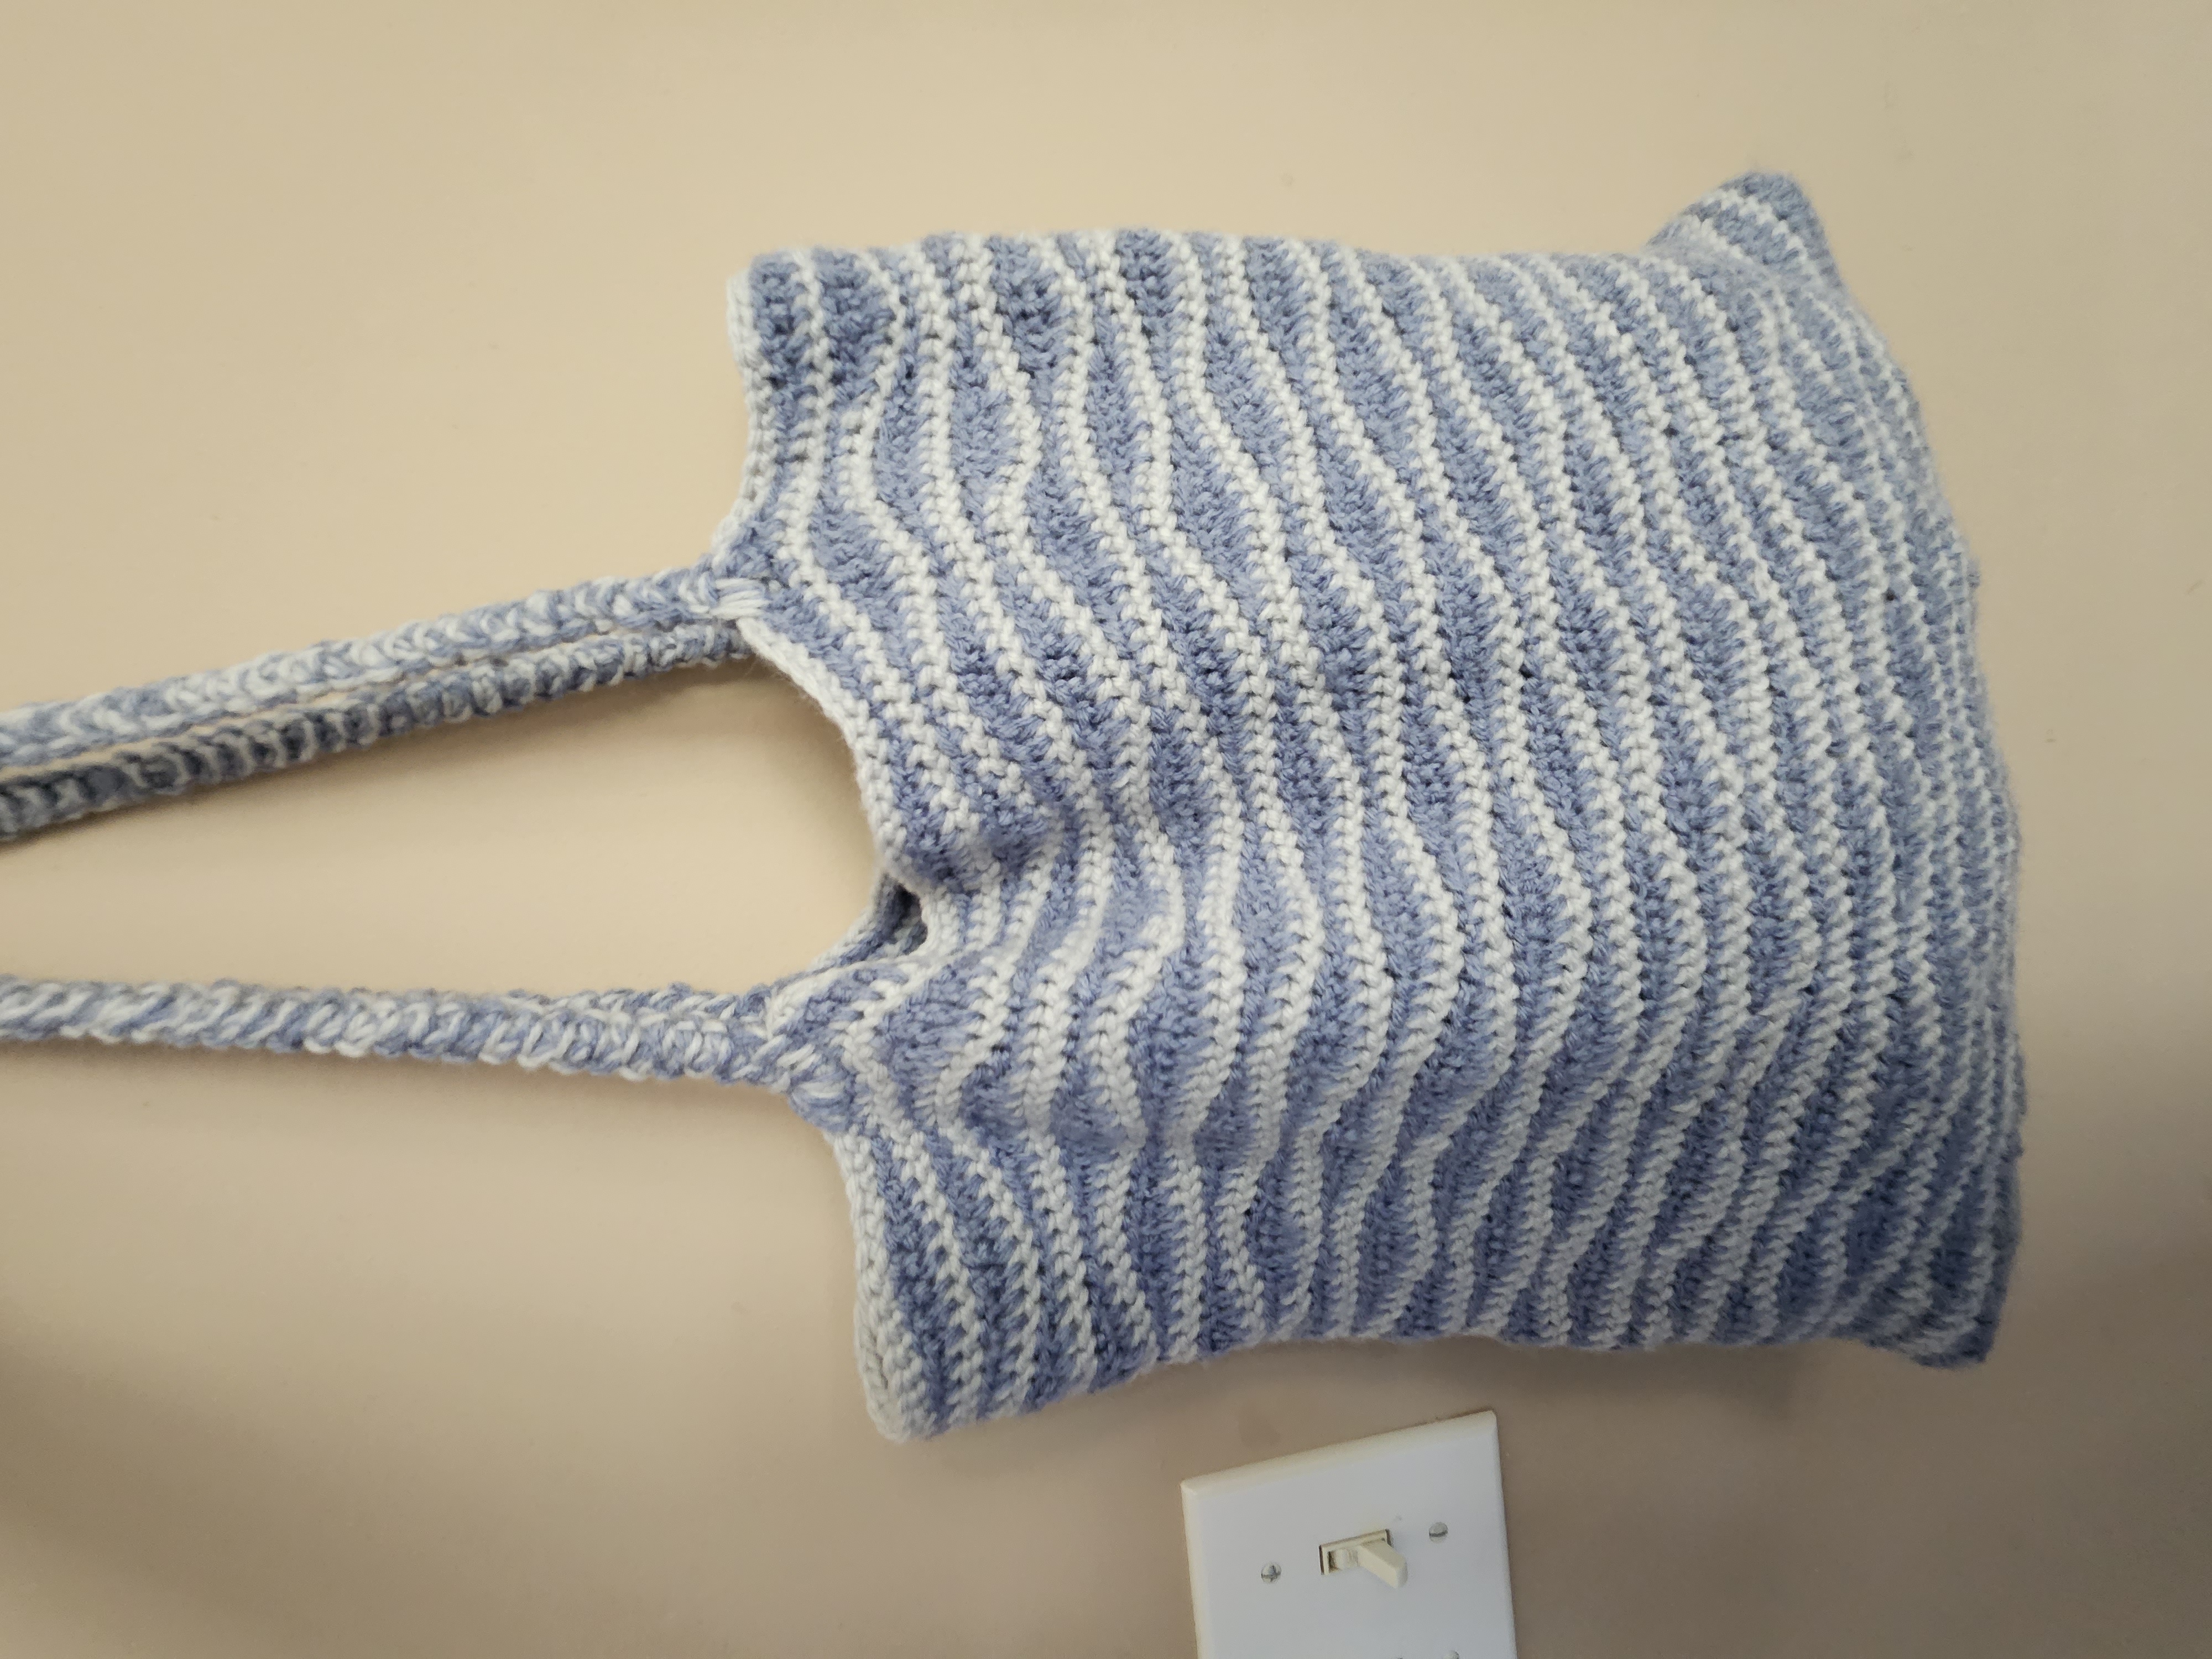
A simple shoulder bag can still have plenty of personality. This design combines an everyday shape with a rhythmic wave texture, making it a practical project with a beautiful handmade finish.
This post is a quick companion guide. For the complete visual walkthrough, stitch details, and finishing instructions, watch the full Crochet Notes tutorial:
Watch the full Wave Stitch Shoulder Bag tutorial on YouTube →
What You’ll Make
- A stylish crochet shoulder bag
- An eye-catching wave stitch texture
- A practical shape for everyday use
- A customizable color palette
- A video-led project that is easy to follow along with
Materials
- Yarn colors: 2 kinds
- Yarn weight and amount: worsted yarn(medium)
- Crochet hook: 5mm
- Tapestry needle
- Scissors
- Stitch markers, if needed
Use the same yarn and hook shown in the video so your finished bag has a similar size and drape.
Before You Begin
- Keep your tension as even as possible so the wave texture stays clear.
- Mark the side edges if you find it difficult to see where each row begins.
- Check the width and height as you work before continuing to the strap.
- If you change yarn weight or hook size, make a small test piece first.
1. Start the Bag Body
Begin with the foundation and first rows shown in the video. Work slowly through the beginning because these rows establish the width of the bag.
Keep both side edges neat and check your stitch placement before moving on to the main texture.
2. Build the Wave Stitch
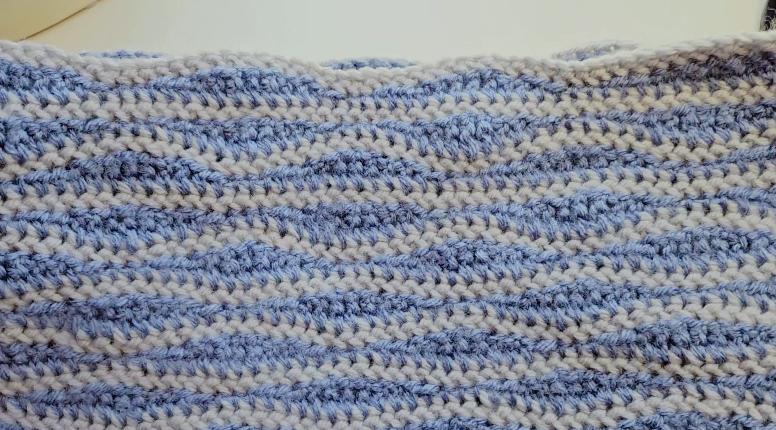
Continue with the repeating wave stitch pattern. Focus on keeping the raised and lowered sections aligned from row to row.
If the waves begin to shift, pause and compare your work with the close-up demonstration in the video. Consistent tension will help the texture look smooth and balanced.
3. Shape the Bag and Add the Strap
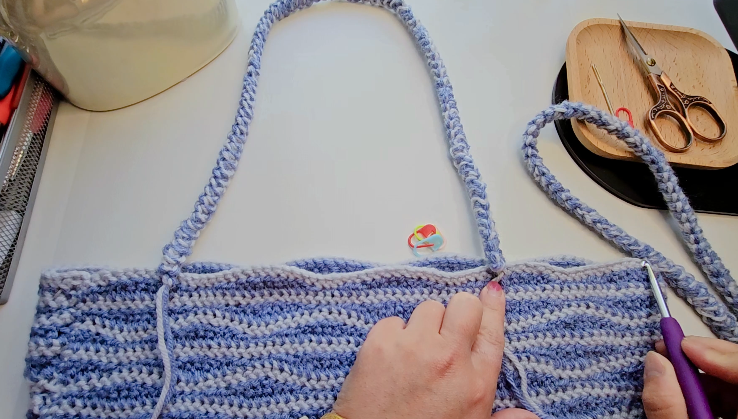
Once the body reaches the desired length, follow the video to complete the upper edge and strap.
You can adjust the strap length depending on whether you prefer a shorter shoulder bag or a longer crossbody style. Keep both strap joins secure and symmetrical.
4. Finish Your Bag
Weave in all loose ends and gently shape the bag. Before using it, check the strap joins and reinforce them if you plan to carry heavier items.
A light block or gentle steam treatment can help the stitches settle, depending on the yarn you choose.
Color Ideas
Try one of these combinations or create your own palette:
- White + beige + brown for a warm neutral look
- Sage + cream for a soft, natural feel
- Pink + white for a sweet and playful bag
- One color for a clean minimalist style
You can also use leftover yarn for a color-blocked version. Just keep the yarn weights similar so the bag maintains its shape.
Make It Your Own
This design is easy to personalize. Try changing the strap length, adding a simple lining, or attaching a wooden button or handmade label.
The written guide gives you the main construction checkpoints, while the video shows the stitch movement and finishing details more clearly.
Watch the Full Tutorial
Ready to make your own wave-stitch shoulder bag? Gather your yarn and follow the complete visual tutorial here:
Watch the full Crochet Notes tutorial →
If you make one, share your color combination in the comments. I would love to see whether you choose neutrals, soft pastels, or something completely different. 💗
Pattern & Photo Credits
This tutorial and sample are presented by Crochet Notes. All photos in this post should be original Crochet Notes photos.
Please do not reuse the photos without permission. If an image from another designer is ever used, obtain permission first or use an approved official embed, and credit the original source. Pattern links and credits do not replace permission to reuse copyrighted images.
Made with yarn, shared with love. 🧶💗
Watch every stitch up close
Pair these written notes with the complete video tutorial.
Made with yarn, shared with love. 🧶💗