
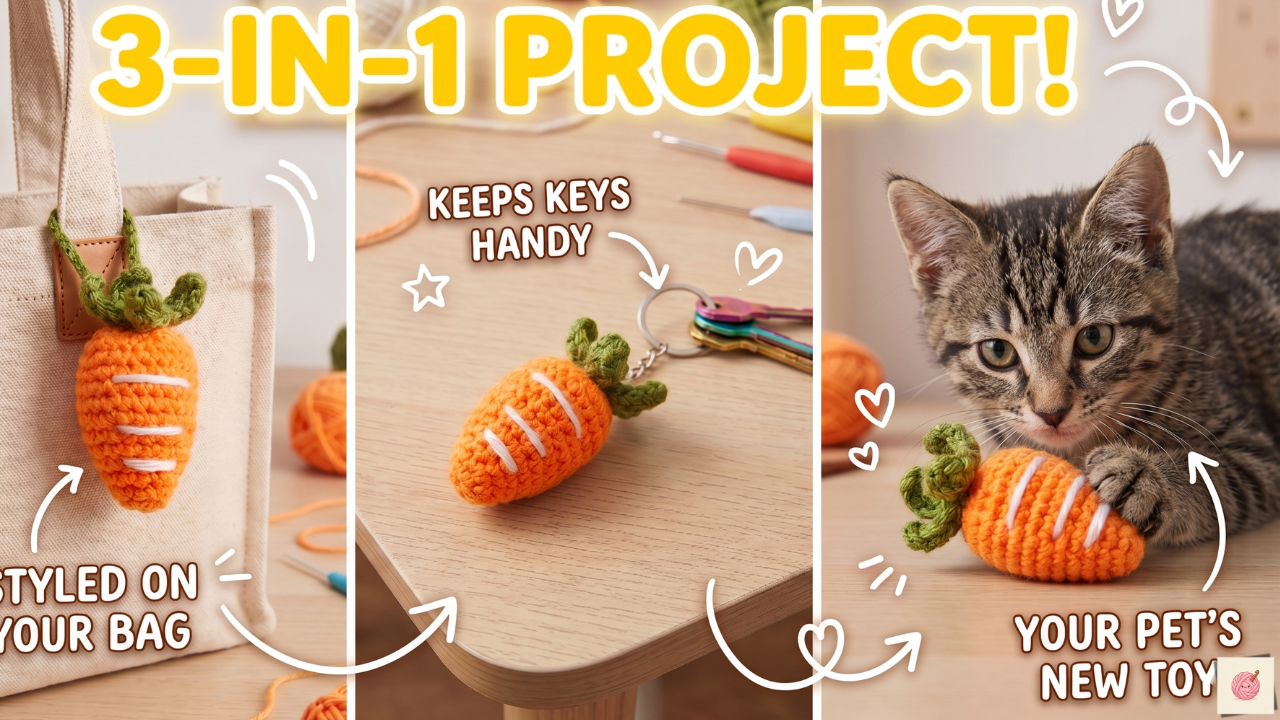
# Easy Crochet Carrot: Keychain, Bag Charm or Cat Toy 🥕
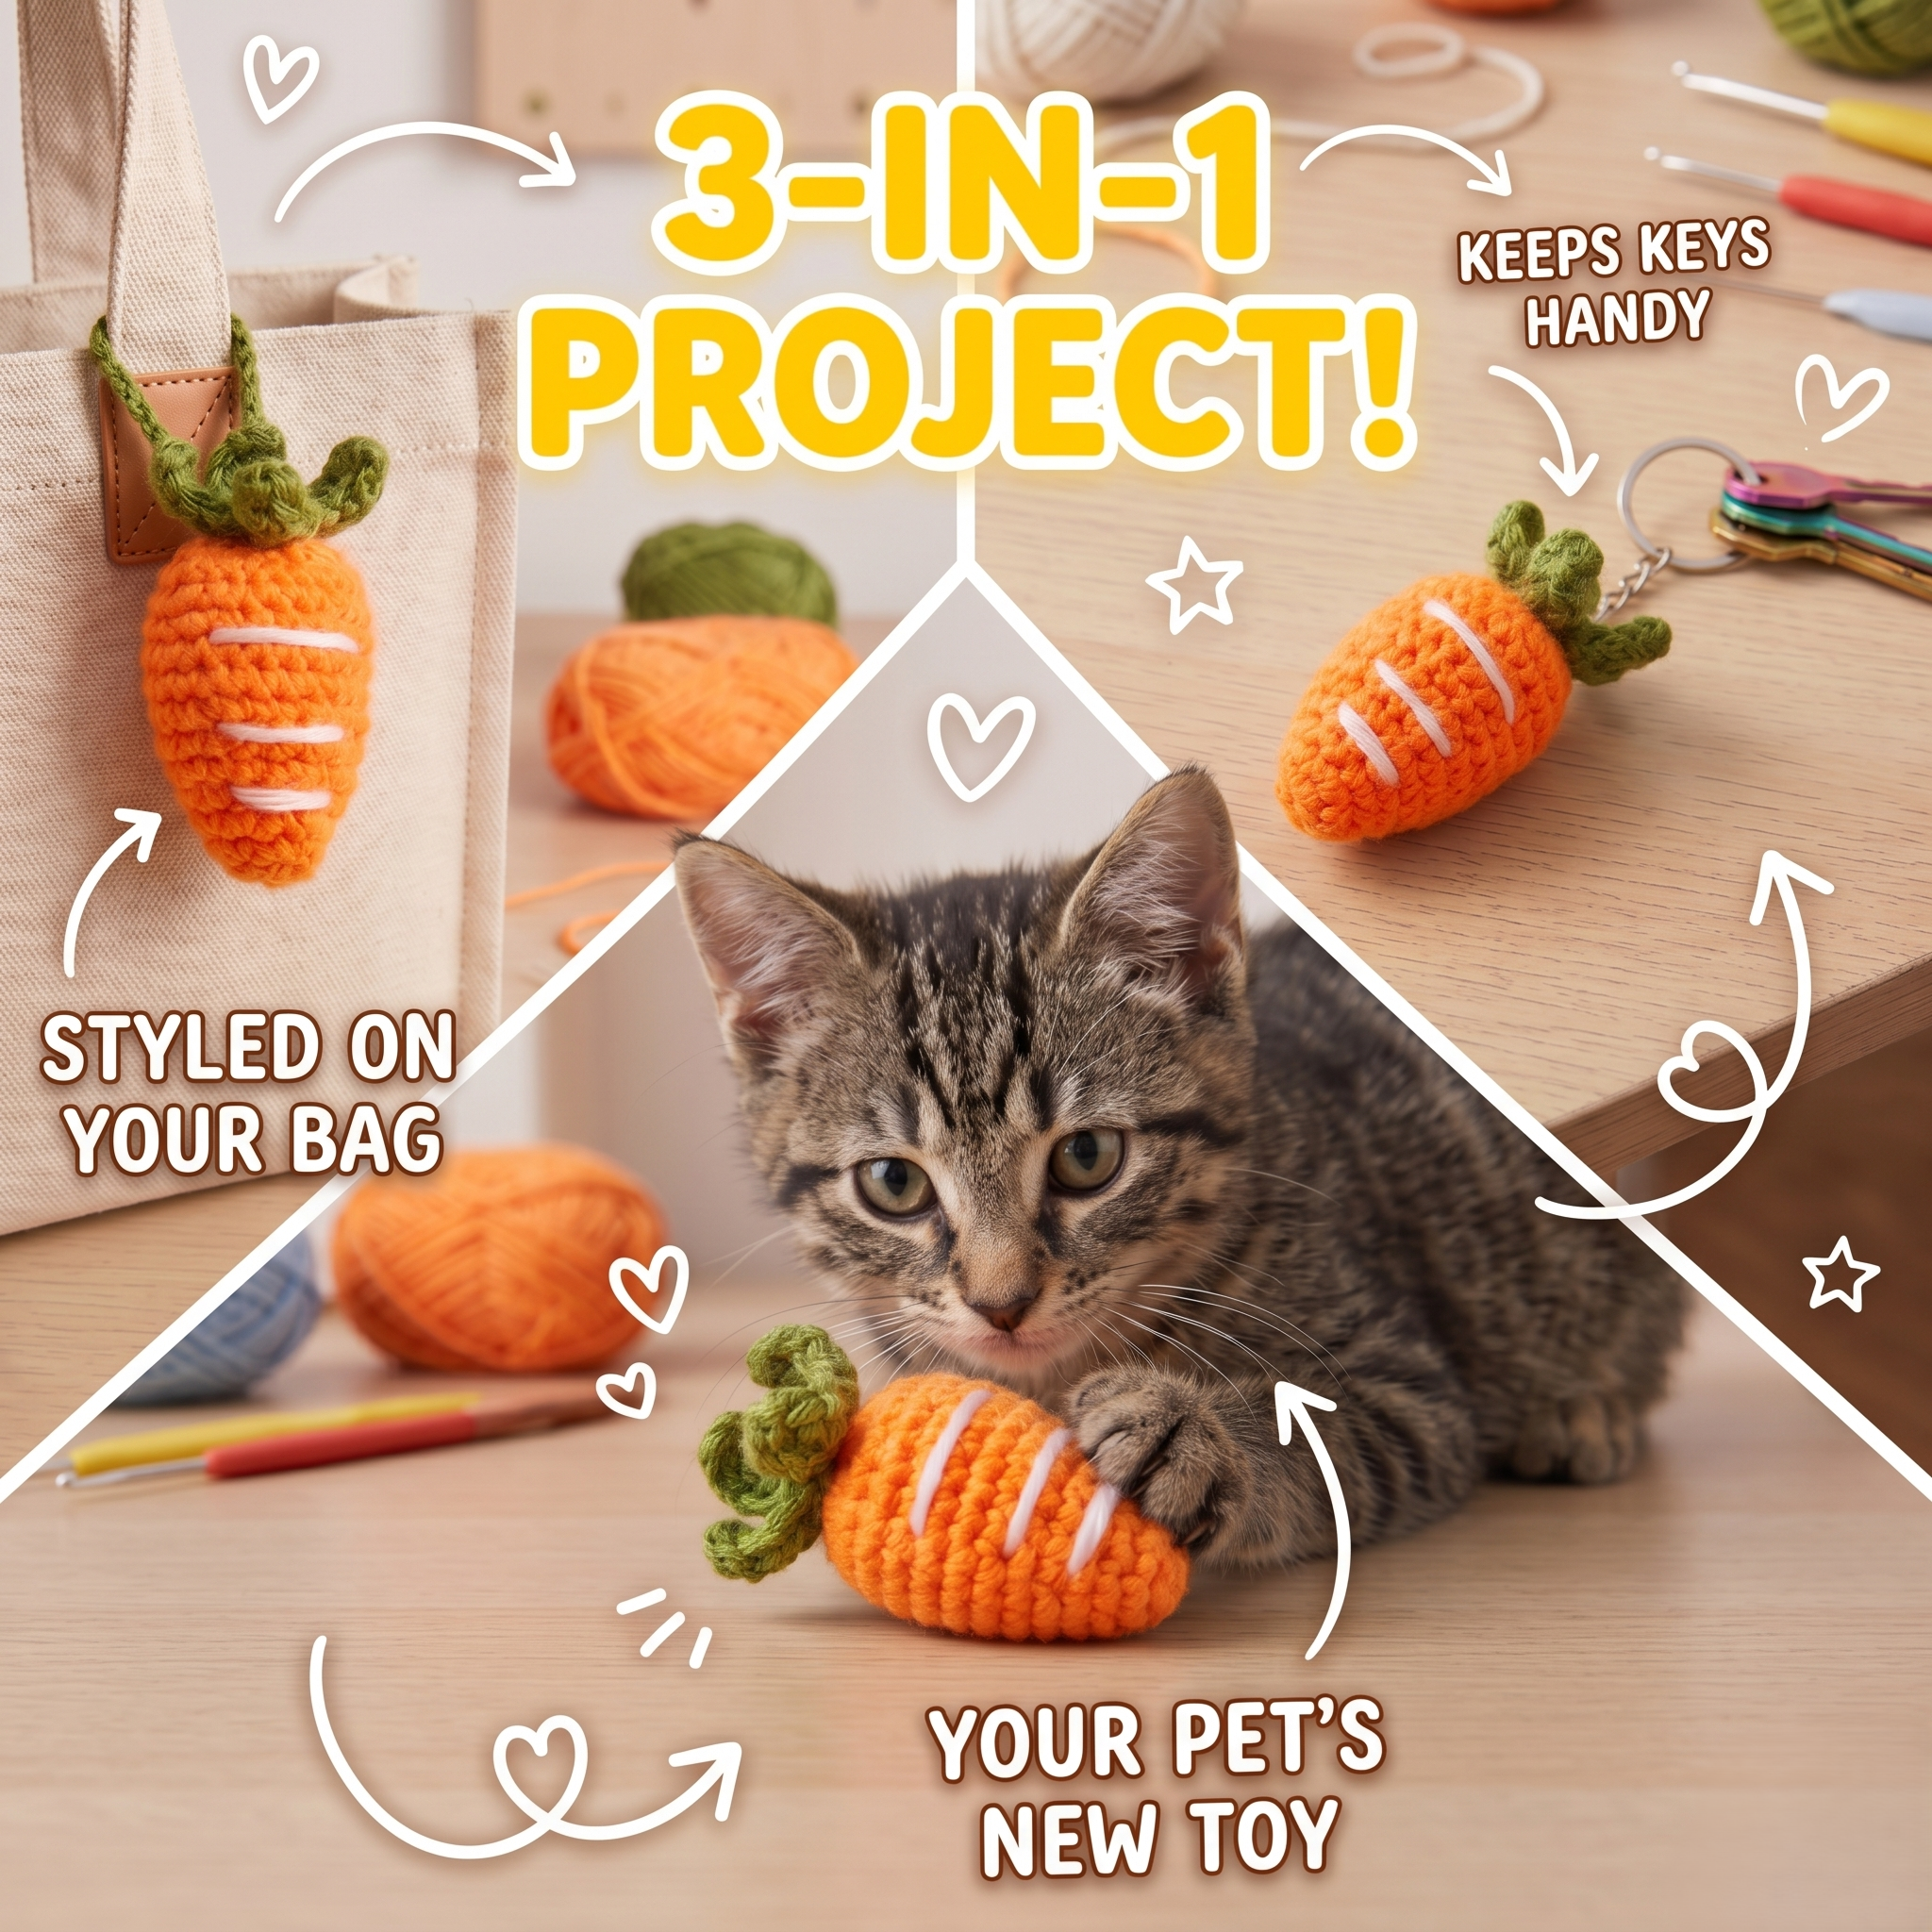
Small amounts of leftover yarn can become something surprisingly useful. This quick crochet carrot can be finished in three different ways: turn it into a cheerful keychain, attach it to your favorite bag, or fill it with catnip to make a playful handmade cat toy.
It is a compact, beginner-friendly amigurumi project that works well for scrap yarn, last-minute gifts and craft-market stock. The simple shape also makes it easy to personalize with different colors and embroidery details.
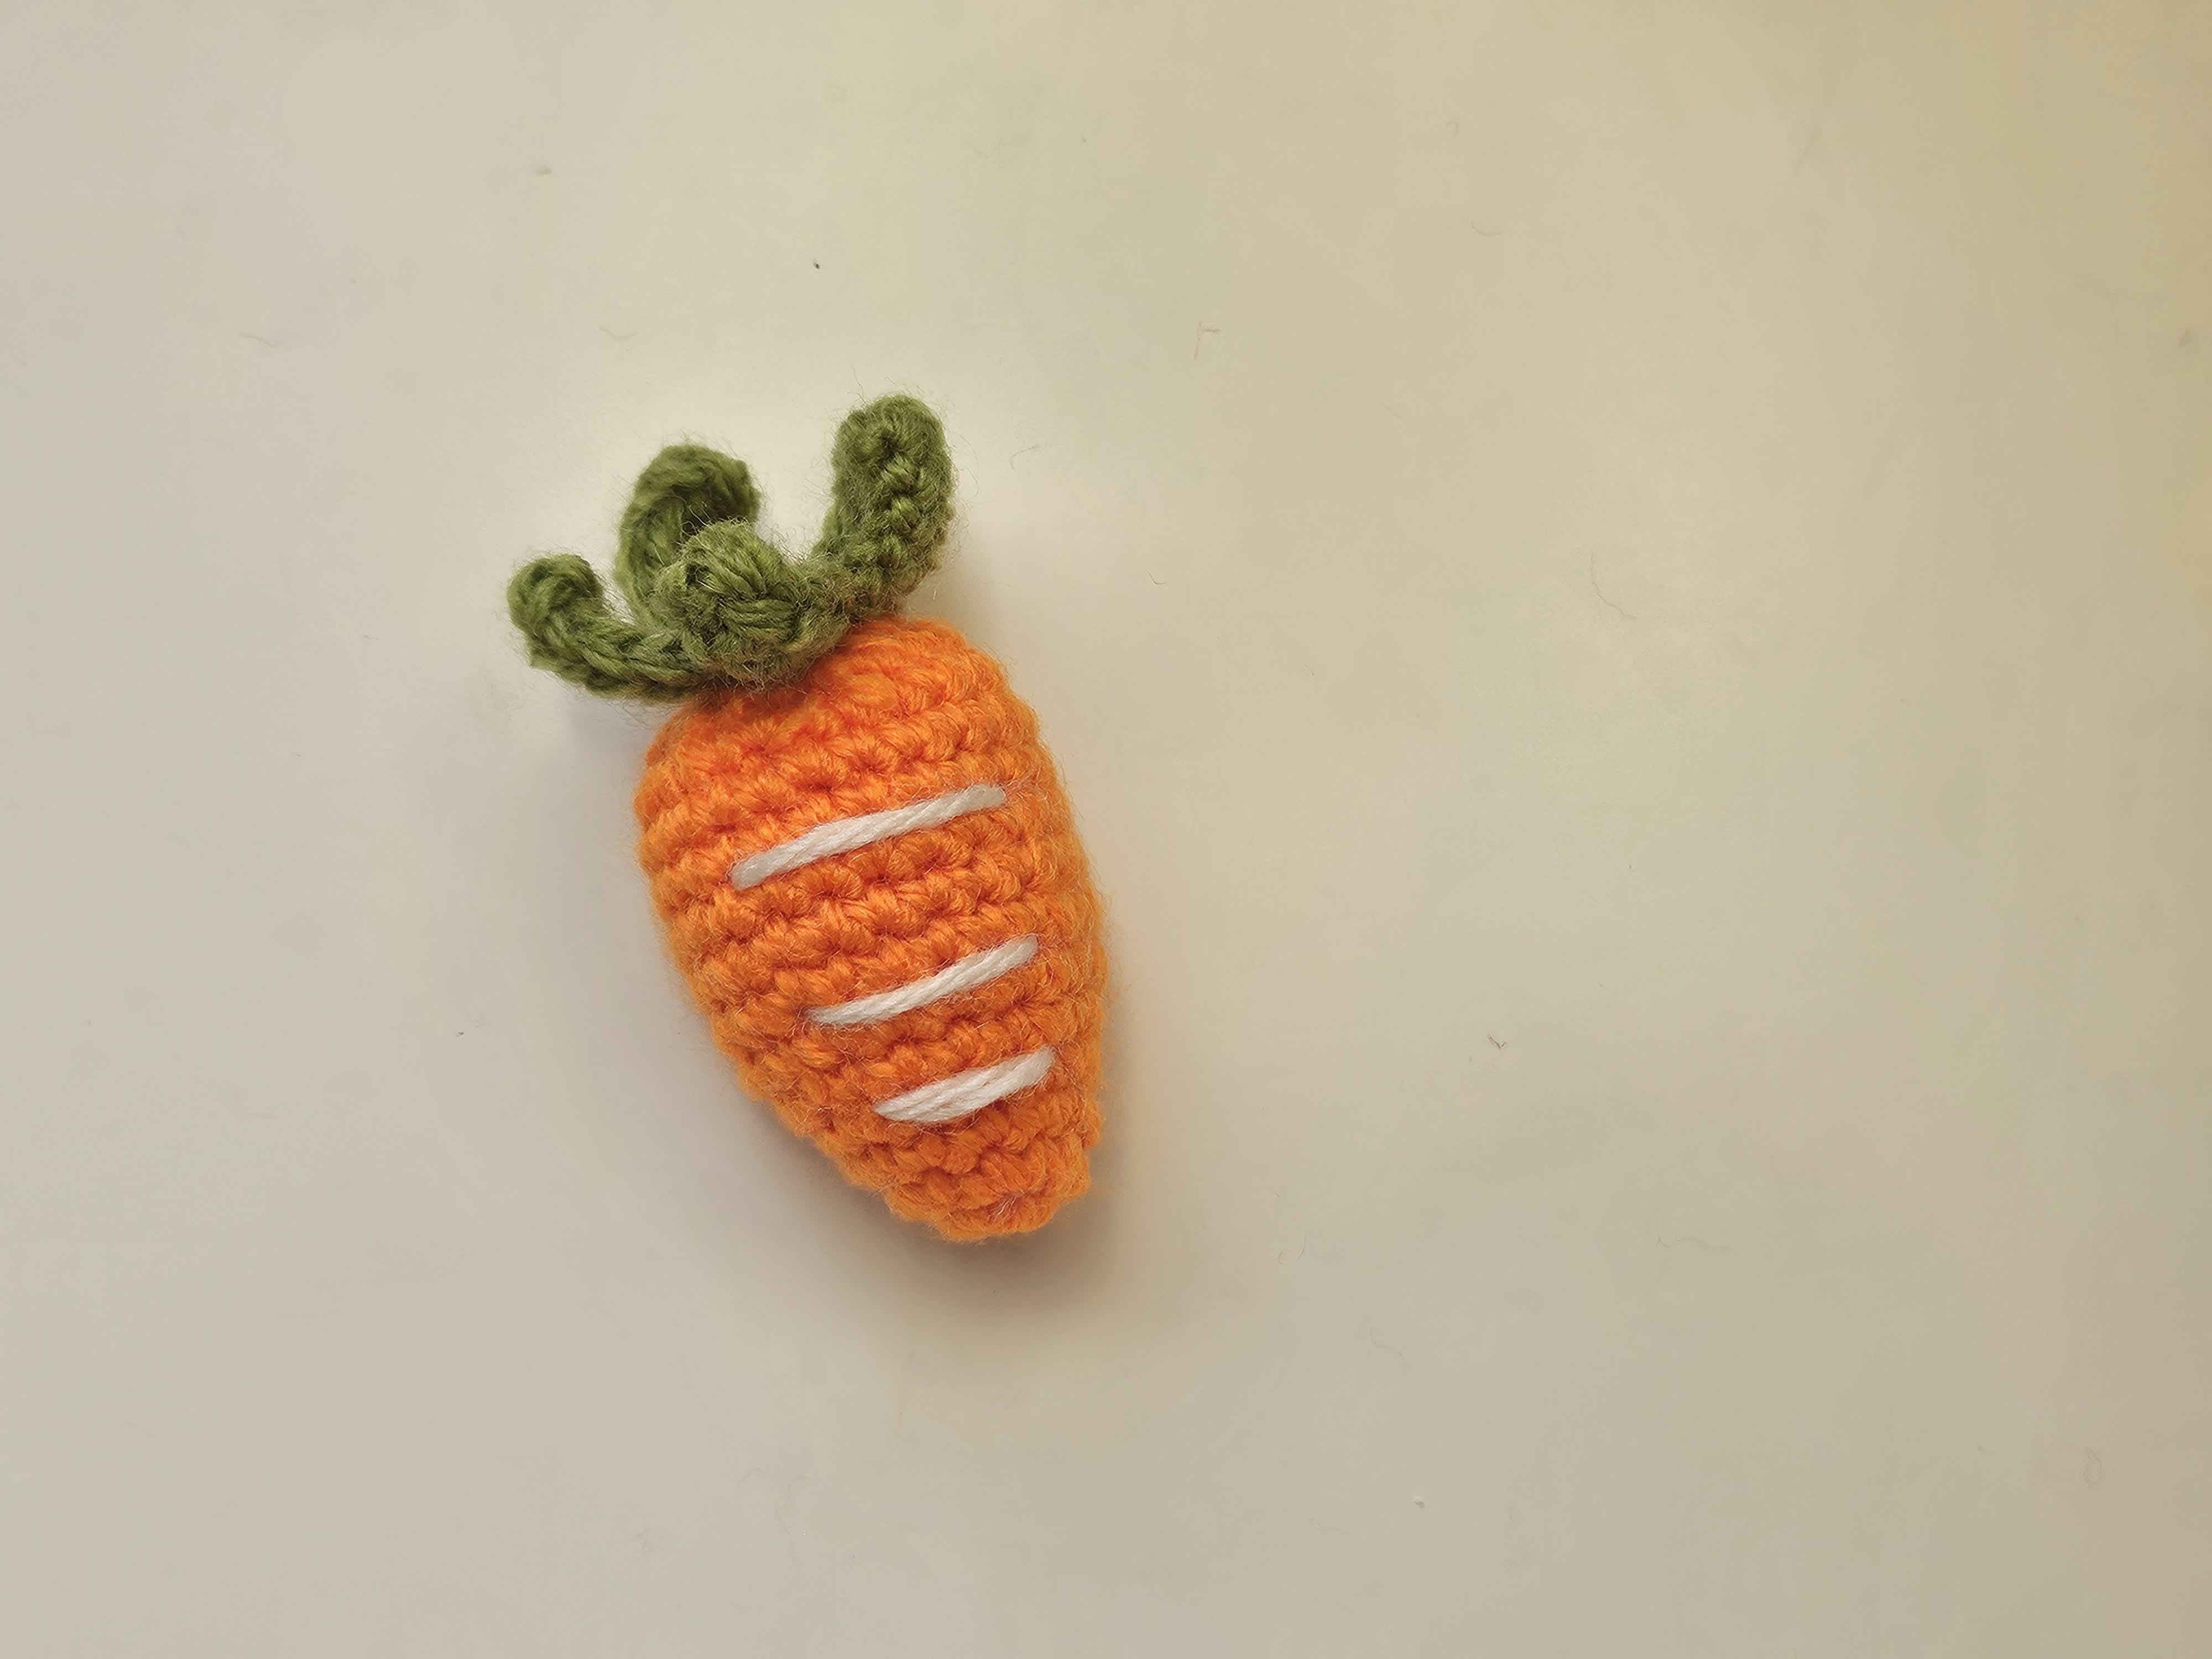
What You’ll Make
This tutorial creates one small stuffed crochet carrot with:
- A tapered orange amigurumi body
- A cluster of green crochet leaves
- Small white embroidered accents
- Three optional finishes: keychain, bag charm or cat toy
The full step-by-step process is demonstrated in the Crochetnotes video tutorial.
Materials Used
- Worsted weight yarn in orange
- Worsted weight yarn in green
- A small amount of white yarn for embroidery
- Crochet hook: [add the exact hook size used in your demonstration]
- Polyfill stuffing
- Yarn needle
- Scissors
- Stitch marker
- Keyring or bag-charm clasp, optional
- Catnip, optional for the cat-toy version
Because this is a small project, you only need a little of each color. It is a lovely way to use yarn left over from larger projects.
Before You Begin
Work the carrot body with firm, even tension so the stuffing does not show between the stitches. If your stitches are naturally loose, use a slightly smaller hook than you normally would for the same yarn.
Keep the beginning of each round marked. The carrot is worked in a continuous spiral, so you will not join or turn unless instructed in the video.
For the cat-toy version, do not attach a metal keyring, clasp or other hard decoration. Secure every yarn end carefully and supervise your cat while playing.
Step 1: Crochet the Carrot Body
Begin with the orange yarn and crochet the carrot body in continuous rounds. The body gradually changes from a rounded top into a narrow point, creating the recognizable carrot shape.
Keep the increases and decreases evenly spaced. This helps the carrot stay smooth instead of developing visible corners.
Watch the carrot-body section beginning at 0:30 in the video.
Step 2: Add Stuffing or Catnip
Before completing the final decreases, lightly fill the carrot with polyfill. Use small pieces of stuffing and gently push them toward the pointed end.
Avoid overstuffing. The carrot should feel softly rounded while still keeping its tapered shape.
To make the cat-toy version, add a small amount of catnip inside the stuffing. Placing the catnip in the center of the polyfill can help keep loose pieces away from the stitches.
See the filling and decreasing section at 5:32.
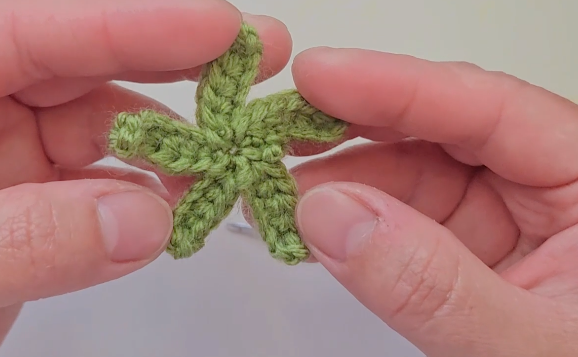
Step 3: Make the Green Leaves
Change to green yarn and create the cluster of leaves at the top of the carrot. The leaves add movement and make the tiny project instantly recognizable.
After completing the leaves, fasten off securely. If you plan to use the carrot as a bag charm or keychain, leave the top stitches accessible for attaching the hardware.
Follow the leaf section from 7:36.
Step 4: Add the Embroidery
Thread a yarn needle with a small amount of white yarn and add short decorative stitches across the orange body.
These little marks create extra texture and give the carrot a sweet, handmade personality. Keep the placement slightly irregular for a more natural look.
Watch the embroidery section at 9:05.
Choose Your Finish
Keychain
Attach a keyring securely through the top of the carrot. Check that the joining point is strong enough for everyday handling.
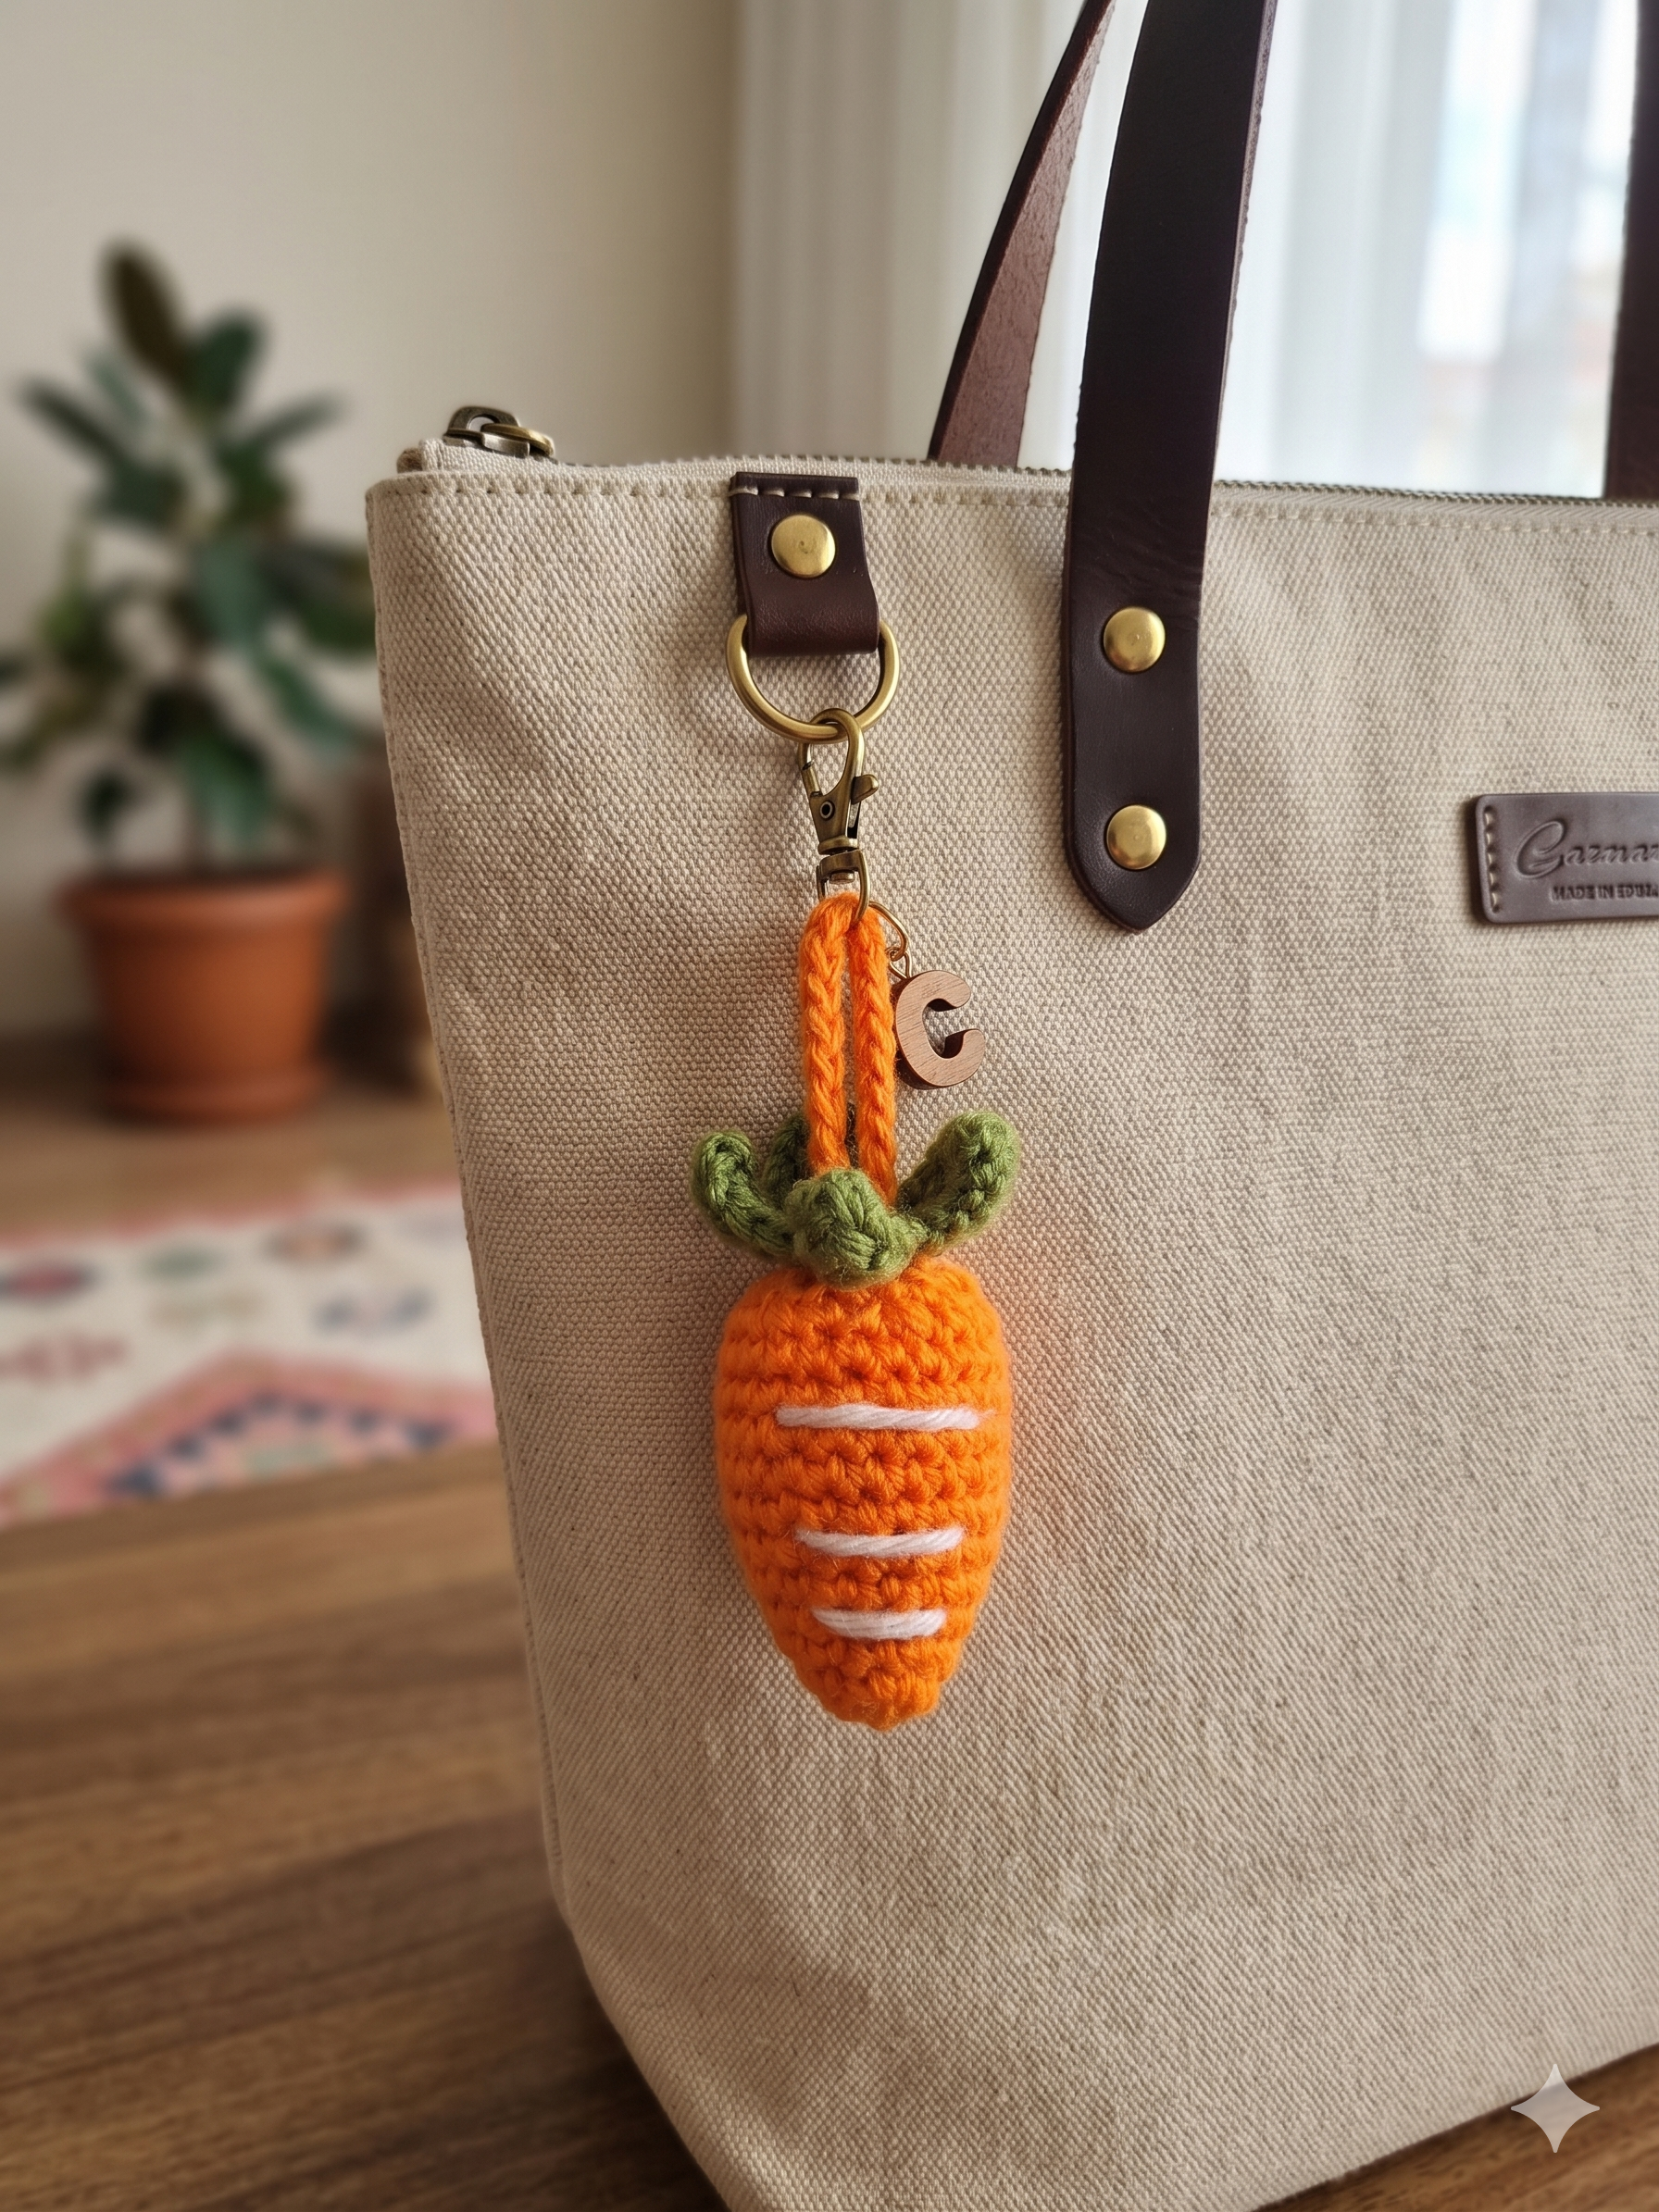
Bag Charm
Use a lobster clasp or short loop so the carrot can hang from a tote bag, backpack or project bag.
Cat Toy
Fill the carrot with catnip and polyfill, but leave off all metal hardware. You can also embroider the details instead of using buttons or beads.
Color Ideas
Orange and green create the classic carrot look, but this project does not have to stay traditional.
Try:
- Burnt orange with olive green for an autumn version
- Cream with sage leaves for a soft, neutral look
- Pink with mint leaves for a playful bag charm
- Purple with dark green for a Halloween variation
- Pastel colors for Easter baskets or spring gifts
You could also embroider tiny lines in cream, yellow or light brown instead of white.
Helpful Tips
- Use firm tension to keep the stuffing hidden.
- Add stuffing gradually so the pointed end stays defined.
- Keep the leaf cluster light and flexible rather than overly tight.
- Secure the attachment point especially well when making a keychain.
- Use embroidered details instead of small plastic pieces for a safer cat toy.
- Make several carrots at once in different colors for quick handmade gifts or craft-market sets.
Watch the Full Crochet Tutorial
The written guide gives you the project structure, but the video shows the exact stitch placement, shaping, decreases, leaf construction and embroidery technique in real time.
▶️ [Watch the complete Easy Crochet Carrot tutorial on YouTube](https://youtu.be/cSzuQBY-5vM)
Would you turn yours into a keychain, a bag charm or a cat toy? Choose your favorite color combination and make this little carrot your own. 🧶💗
Made with yarn, shared with love. 🧶💗
Watch every stitch up close
Pair these written notes with the complete video tutorial.
Made with yarn, shared with love. 🧶💗