
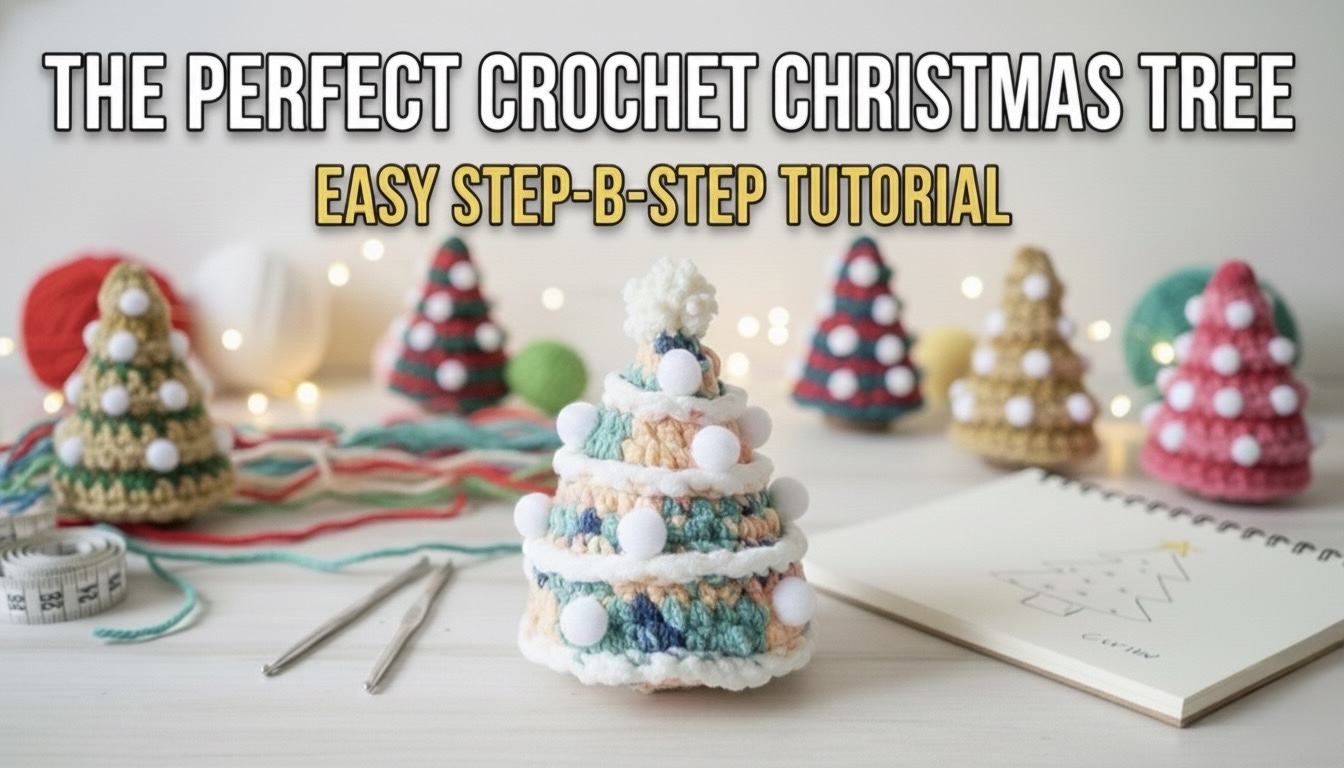
Easy Crochet Christmas Tree Ornament | 20-Minute Gift
A little crochet Christmas tree makes a lovely finishing touch for a wrapped gift—or a decoration you’ll want to bring out again next year. 🎄 This one has a three-dimensional tree body, a separate trunk, and a pom-pom topper. You can keep it simple or give each tree its own colors and decorations.
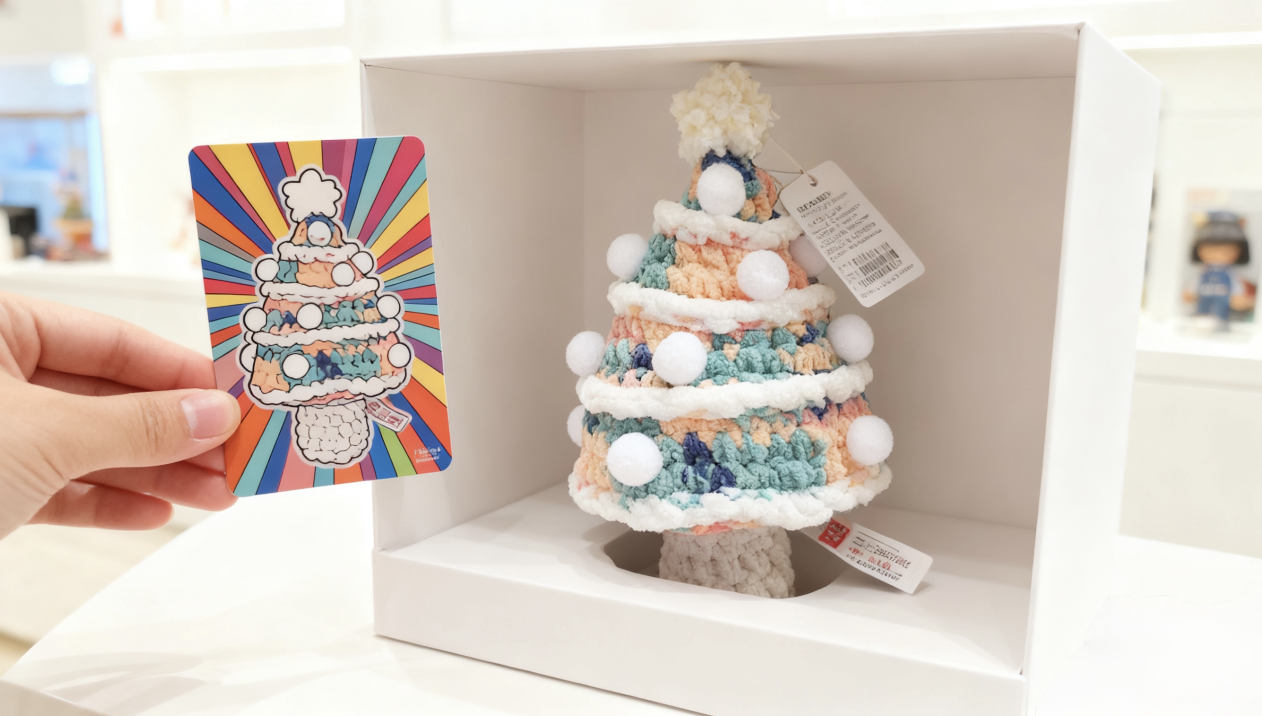
This guide covers what to prepare and how the pieces come together. For the exact stitches and shaping, follow my free Christmas tree ornament video tutorial.
What you’ll need
- Yarn in your chosen tree color
- A small amount of yarn for the trunk and pom-pom
- A crochet hook that suits your yarn
- Stitch marker, yarn needle, and scissors
- Stuffing, if needed for your preferred shape
- Yarn or cord for a hanging loop, if you plan to hang it
Choosing colors: Green and brown are classic, but this is also a chance to use up small amounts of yarn. Try a pale pink tree with a cream topper, or make several trees in different shades of green.
Stitches used in the video
The tutorial uses US crochet terms: sc (single crochet), inc (two single crochets in one stitch), dec (decrease), ch (chain), and sl st (slip stitch). It also refers to BLO and FLO, meaning you work into the back or front loop only. Keep a stitch marker at the start of a round so it’s easier to follow the shaping.
How to make your Christmas tree
- Crochet the tree body
Begin with the main tree shape and follow the increases and decreases shown in the video. Pause occasionally to check that the sides look even. If you’re adding stuffing, use a little at a time so the stitches keep their shape without stretching.
- Crochet the trunk
Make the trunk as a separate piece. Before sewing, hold it against the bottom of the tree to find the center. A centered trunk helps the ornament sit—and hang—more neatly.
- Join the pieces
Sew the trunk securely to the tree body and weave in the yarn ends. If you’re making a hanging ornament, add a loop at the top and give it a gentle tug to check that it’s secure.
- Add the pom-pom and finishing details
Attach the pom-pom topper, then decorate the tree however you like. A few small accents are enough; keeping them light helps the finished ornament hang well. ✨
Ways to use it
Make one for your own tree, tie it onto a gift bag, or crochet a little set as handmade presents. If you’re making several, try changing just the tree color or topper color—each one will feel a bit different without learning a new project.
Ready to crochet yours? Watch the full step-by-step video here to see the stitch counts, shaping, pom-pom, and assembly clearly. Tell me in the comments which color you’d make first! 🧶
Watch every stitch up close
Pair these written notes with the complete video tutorial.
Made with yarn, shared with love. 🧶💗