
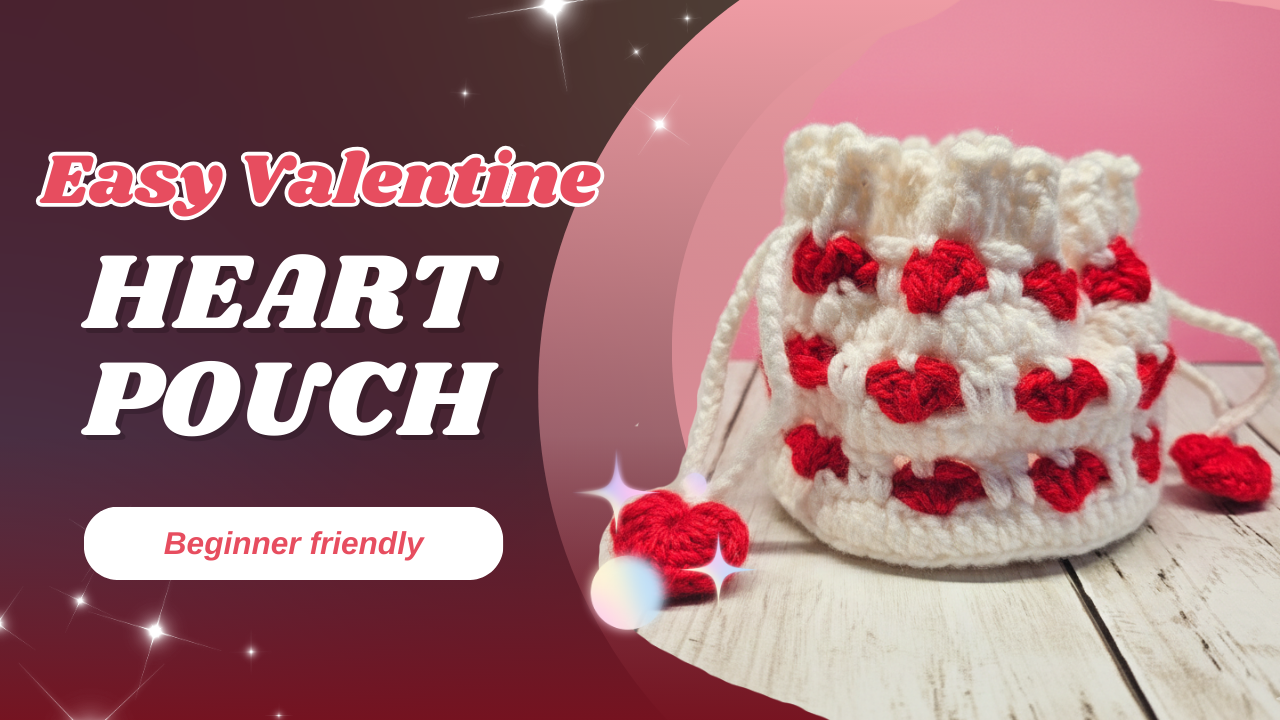
This crochet heart pouch combines a practical drawstring bag with rows of soft, raised heart stitches. The red-and-white color combination feels especially sweet for Valentine’s Day, but the pouch can be used throughout the year for jewelry, earbuds, candy, small keepsakes, or a tiny handmade gift. ❤️
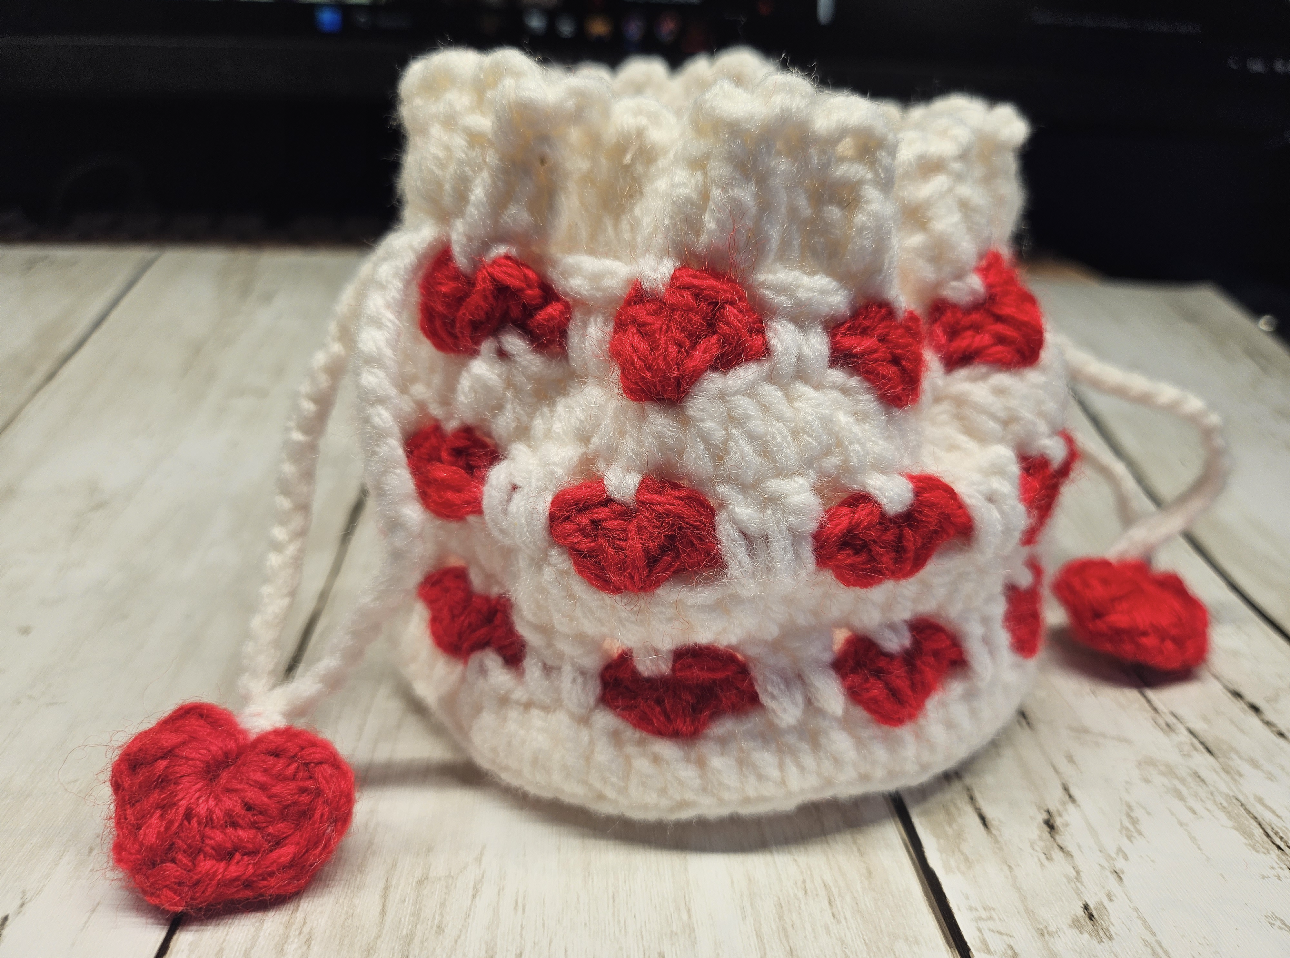
The pouch begins with a flat double-crochet base. A back-loop round creates a clean fold before the textured body begins. Rows of red shells and long white double crochets then form the puffy heart design.
The written pattern provides the stitch counts and construction order. For the unusual long double crochets and heart placement, watch the video alongside the instructions:
▶️ Watch the complete Crochet Heart Pouch tutorial
Project Overview
- Skill level: Advanced beginner
- Terminology: US crochet terms
- Construction: Worked in joined or continuous rounds from the bottom upward
- Main techniques: Magic ring, double crochet, increases, back-loop crochet, shells, long double crochet, color changes, and drawstring construction
- Heart motifs: 10 hearts in each textured heart round
- Suggested uses: Jewelry pouch, earbud case, candy bag, gift-card packaging, or small keepsake bag
Materials
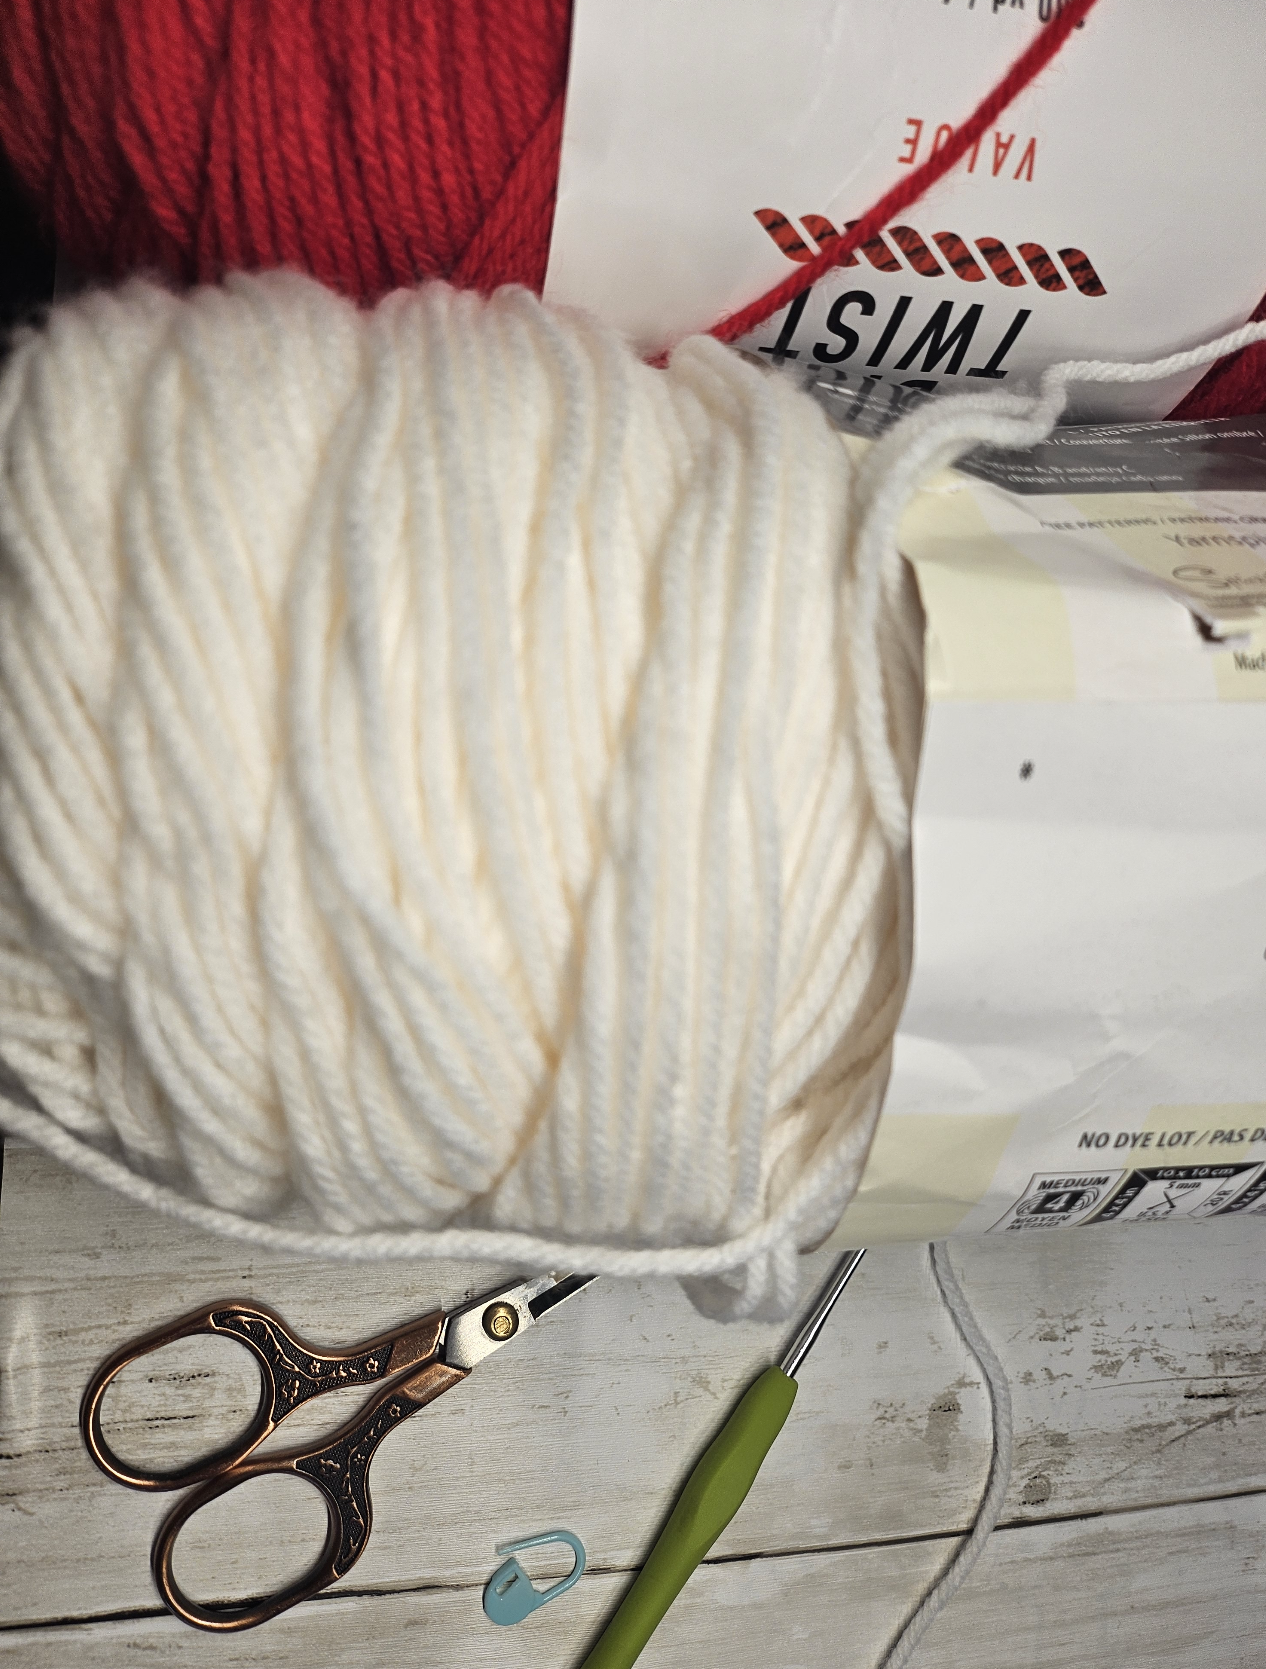
The pouch shown in the tutorial uses:
- White yarn for the base, background, and drawstring area
- Red yarn in the same weight for the raised hearts
- A crochet hook that produces a neat but flexible fabric with your chosen yarn
- Tapestry needle
- Scissors
- Stitch marker
- Optional sewing pins
The exact yarn brand, yarn weight, and hook size are not listed on the public video page. Use red and white yarn of the same weight so the heart motifs remain even.
This is a useful scrap-yarn project because the raised red hearts and tiny decorations require only small amounts of yarn.
Abbreviations
- MR: Magic ring
- Ch: Chain
- Sl st: Slip stitch
- SC: Single crochet
- DC: Double crochet
- Tr: Treble crochet
- Inc: Work 2 double crochets in one stitch
- BLO: Back loop only
- Long DC: An elongated double crochet worked into a lower round
- St/Sts: Stitch/Stitches
- R: Round
Beginning chains may count as the first stitch unless you use your preferred seamless-round method.
Crochet the Base
Use white yarn.
- Round 1: Work 14 DC into a magic ring. (14)
- Round 2: Work 2 DC in every stitch. (28)
- Round 3: Repeat (1 DC, Inc) 14 times. (42)
- Round 4: Repeat (1 DC, Inc, 1 DC) 14 times. (56)
- Round 5: Repeat (3 DC, Inc) 14 times. (70)
- Round 6: Working in the back loops only, DC around. (70)
Round 6 creates a visible turning line between the flat base and the sides of the pouch. Make sure Round 5 contains exactly 70 stitches before continuing—the heart pattern is based on ten seven-stitch repeats.
First 3D Heart Round
Change to red yarn.
Round 7: Red Shells
In the first stitch, work:
Ch 3, 1 DC, Ch 1, 2 DC
This creates the first shell.
Next:
- Ch 2.
- Skip 6 stitches.
- In the following stitch, work (2 DC, Ch 1, 2 DC).
- Ch 2 and skip the next 6 stitches.
Repeat the shell and skipped-stitch sequence around until you have 10 red shells.
Join the round carefully without twisting the work.
Round 8: Form the Hearts
Change to white yarn.
For each red shell:
- Work 1 SC into the shell’s Ch-1 space.
- Ch 2.
- Work 2 long DC into the center of the six skipped stitches, inserting the hook approximately two rounds below.
- Ch 2.
Repeat this sequence for all 10 shells.
The long double crochets pull the lower section upward between the two sides of the red shell, transforming it into a raised heart.
This is the most visual part of the pattern. The video shows exactly where to insert the hook and how much height to leave in each long stitch:
▶️ Watch the 3D heart stitch demonstration
Round 9: Solid Background Round
Continue with white yarn.
Work 70 DC around, placing one double crochet into each stitch and chain-space position as demonstrated in the tutorial. (70)
Count your stitches before beginning the next heart round.
Complete the Pouch Body
Repeat Rounds 7, 8, and 9 two more times:
- Round 10: Repeat the red shell pattern from Round 7.
- Round 11: Repeat the white heart-forming pattern from Round 8.
- Round 12: Work the solid white DC round from Round 9.
- Round 13: Repeat the red shell pattern.
- Round 14: Repeat the white heart-forming pattern.
- Round 15: Work the solid white DC round.
You should now have three rows of raised red hearts.
- Round 16: With white yarn, DC around. (70)
When changing colors, complete the final yarn-over of the previous stitch with the new color. This creates a cleaner transition between the white background and red hearts.
Drawstring Eyelets
Continue with white yarn.
- Round 17: Repeat (1 SC, Ch 3, skip 1 stitch) around.
The chain spaces form the openings for the drawstrings.
Keep the chain loops relaxed and consistent. Tight chains can make the top edge difficult to gather.
Make the Drawstrings
Make two cords long enough to travel around the pouch with extra length remaining for tying.
For a simple crocheted cord:
- Make a foundation chain longer than the pouch circumference.
- Test the length before fastening off.
- Leave yarn tails for attaching the tiny hearts.
Thread the first cord through every eyelet, beginning and ending on one side of the pouch.
Thread the second cord through the same eyelets from the opposite side. When the two cords are pulled away from each other, the pouch should close evenly.
If the top gathers only on one side, check that the cords begin on opposite sides.
Tiny Heart Decorations
Make four with red yarn.
Into a magic ring, work:
- Ch 2
- 3 DC
- 2 Tr
- 1 DC
- 2 Tr
- 3 DC
- Ch 2
- Sl st into the magic ring
Pull the magic ring closed and fasten off.
Attach one tiny heart to each of the four cord ends. These hearts add a finished look while also helping prevent the cords from slipping back through the eyelets.
Finishing
- Weave in all loose yarn ends.
- Gently shape the flat base with your hands.
- Arrange each raised heart so its two upper curves remain visible.
- Pull both drawstrings to test the closure.
- Secure the tiny hearts firmly to the ends of the cords.
If desired, lightly steam-block the pouch without pressing directly onto the raised heart stitches. Avoid flattening the textured motifs.
Helpful Tips
- Count all 70 stitches before beginning each heart-pattern repeat.
- Use a stitch marker to identify the beginning of the round.
- Do not pull the long double crochets too tightly.
- Keep the red shells evenly spaced around the pouch.
- Use the same yarn weight for both colors.
- Work the BLO base round consistently to create a clean edge.
- Weave the two drawstrings in opposite directions.
- Attach the tiny hearts only after confirming the cord length.
- If a heart leans to one side, check the placement of the two long double crochets beneath it.
Color Ideas
The same pattern can create many different styles:
- Dusty rose hearts with a cream background
- Red hearts with a pale pink background
- Lavender hearts with a soft gray background
- Pastel rainbow hearts on white
- Black hearts on cream for a modern version
- Green hearts on white for a small spring gift pouch
You can also use a different color for every heart round to use up leftover yarn. 🧶
Gift Ideas
Fill the finished pouch with:
- Wrapped candy
- Jewelry
- Lip balm
- Earbuds
- A gift card
- Stitch markers
- A handwritten note
- Other small handmade items
It can also replace disposable gift wrapping for a small present.
Watch the Complete Tutorial
The video demonstrates the BLO base, raised heart construction, long double-crochet placement, drawstring threading, and tiny heart assembly.
▶️ Watch Easy Crochet Heart Pouch on YouTube
Find more free written crochet patterns and video tutorials at Crochetnotes Studio.
Pattern and tutorial by Crochetnotes. Please do not republish the complete pattern or use the tutorial photographs as your own. You are welcome to share your finished project with a link to this article or the original video.
Made with yarn, shared with love. 🧶💗
Watch every stitch up close
Pair these written notes with the complete video tutorial.
Made with yarn, shared with love. 🧶💗