
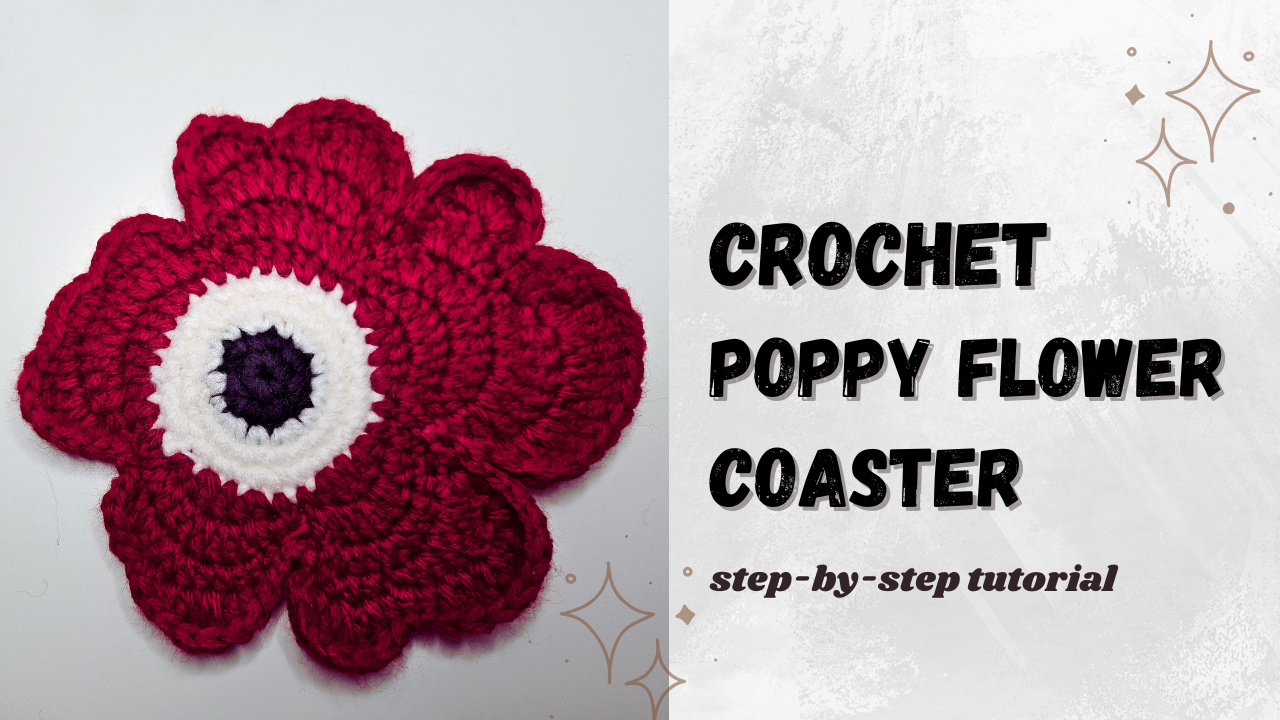
Bring a bright handmade flower to your coffee table with this dimensional crochet poppy coaster. 🌺
The design combines a dark textured center, a white petal layer and rich red outer petals. The contrasting colors make every section of the flower easy to see while giving the finished piece the dramatic appearance of a poppy or anemone.
It is also a useful scrap-yarn project. You only need small amounts of each color, and the finished flower can be used in several different ways.
For the complete stitch placement and petal demonstration, follow the Crochetnotes video tutorial:
Watch the Crochet Poppy Flower Tutorial on YouTube
Project Overview
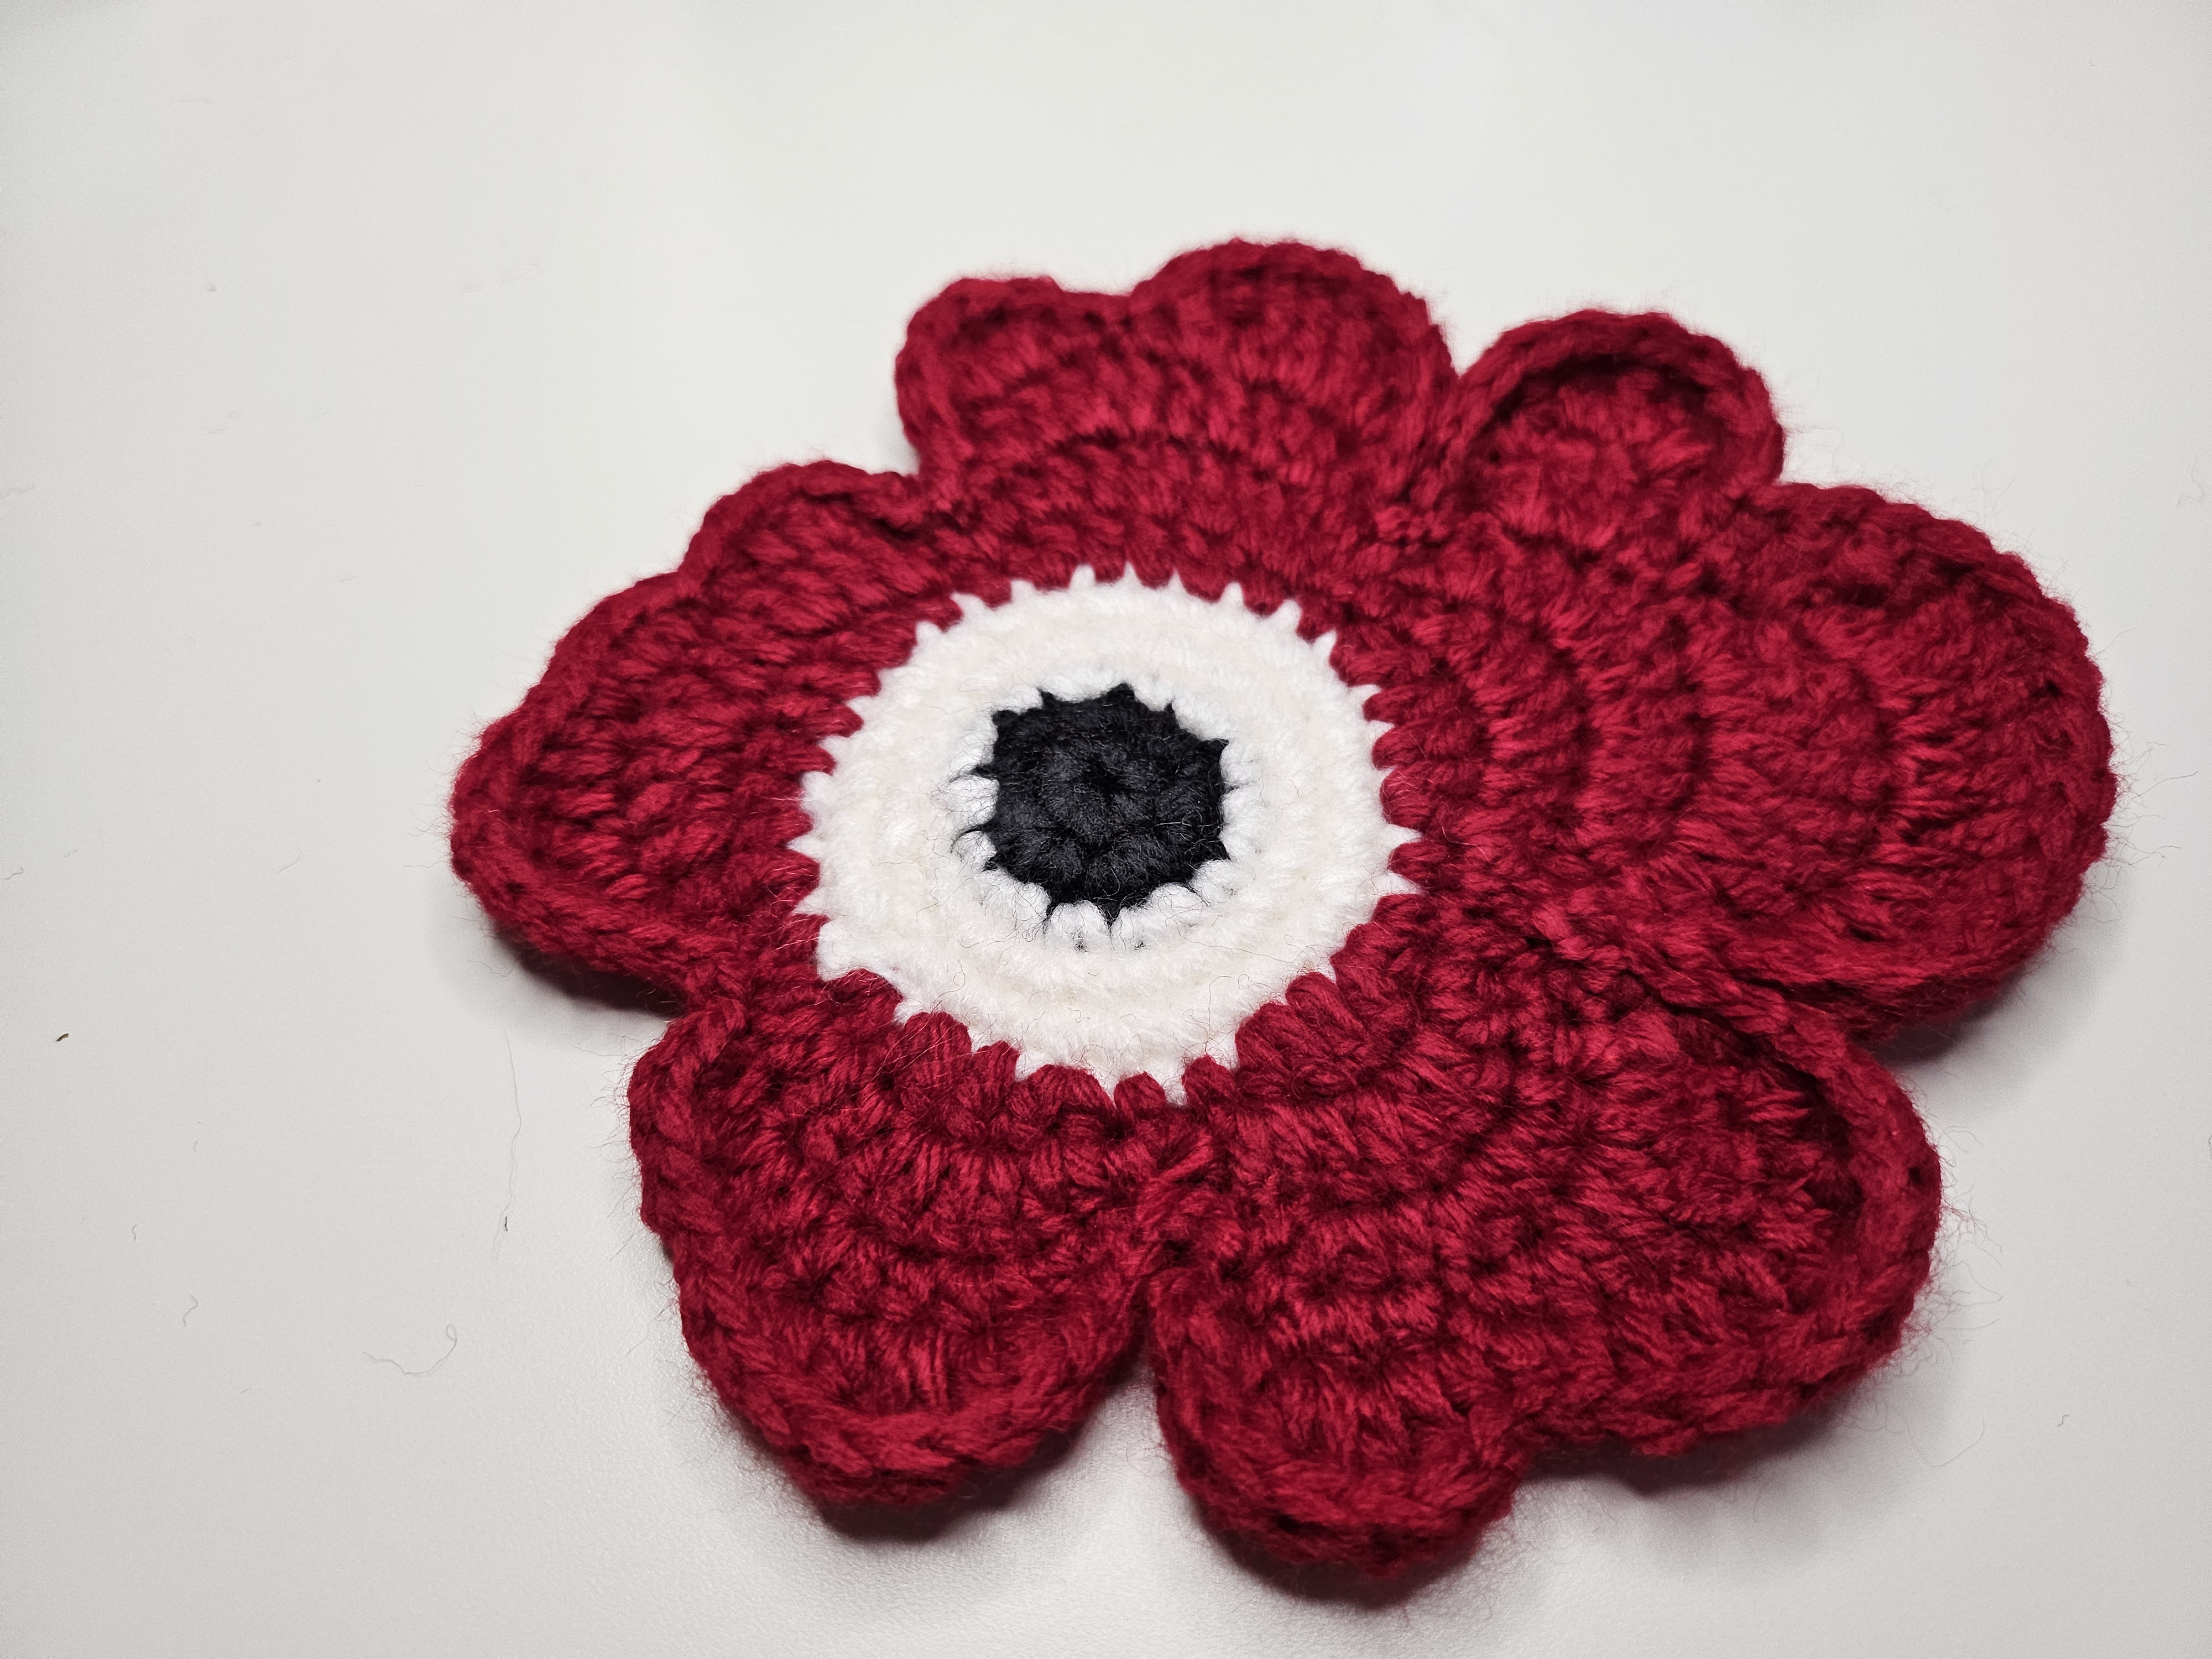
The flower is crocheted from the center outward in three main color sections:
- A black circular center
- A white petal foundation
- A red outer petal layer
The layered construction adds dimension without requiring stuffing or complicated assembly.
The completed flower can be used as:
- A drink coaster
- A decorative table accent
- An appliqué for a bag or cushion
- Part of a crochet flower garland
- A decorative wall hanging
- A gift-box topper
- A motif for a larger blanket or runner
Materials
The exact yarn brand, yarn weight and crochet-hook size were not listed in the public video description. Select a hook that works with your chosen yarn and produces defined stitches without making the flower overly stiff.
You will need:
- Black yarn for the center
- White yarn for the first petal layer
- Red yarn for the main petals
- A crochet hook suitable for your yarn
- A tapestry needle
- Scissors
- Stitch markers
- Optional blocking pins
Cotton yarn is the most practical choice if you plan to use the flower as a coaster. It absorbs moisture, keeps the stitches defined and generally tolerates warmth better than acrylic yarn.
This project is designed as a drink coaster—not a potholder or hot-pan mat. Always check the heat resistance of your yarn before placing very hot cookware on it.
Skills Practiced
This project is suitable for beginners who are comfortable with basic crochet stitches and want to practice:
- Working in the round
- Changing yarn colors
- Increasing evenly
- Crocheting into designated spaces
- Building layered petals
- Working stitches of different heights
- Weaving in several yarn ends
- Shaping and lightly blocking crochet
Use a stitch marker if you find it difficult to identify the beginning of a round.
How the Poppy Coaster Is Constructed
1. Crochet the Black Flower Center
Begin with black yarn and create the center of the flower.
Keep the starting loop secure, but avoid pulling it so tightly that inserting the first stitches becomes difficult. Work the center evenly so it remains circular and lies flat.
Count the stitches at the end of every round. An extra or missing stitch in the center can affect the placement of all the later petals.
If the center begins to cup upward, your tension may be too tight. If it waves around the edge, there may be too many stitches or your tension may be too loose.
Before changing colors, check that the circle can rest flat without being stretched.
2. Change to White for the First Petal Layer
Join the white yarn using the color-change method demonstrated in the video.
For a cleaner transition, complete the final yarn-over of the preceding stitch with the new color. This helps prevent a visible step where black changes to white.
The white section establishes the first petal structure and creates contrast beneath the red outer petals.
Work each repeated petal section carefully and count the stitches within every repeat. Keeping the repeats consistent is more important than crocheting quickly.
Do not worry if the petals curl slightly while you work. The shape will become clearer after the next layer is completed and the flower is gently arranged.
3. Add the Red Poppy Petals
Change to red yarn for the main petal layer.
The taller stitches and grouped sections create the broad, softly ruffled poppy shape. Work into the correct loops or spaces shown in the video so the red petals sit over the white foundation instead of covering it unevenly.
After finishing each petal, pause and compare it with the previous one. Similar tension will help all the petals reach approximately the same size.
Allow the petals to overlap naturally. A slight difference between them gives the flower a more organic appearance.
Helpful tip: If a petal looks noticeably smaller, check whether you accidentally skipped a stitch or worked into the wrong space before continuing.
4. Finish and Shape the Flower
Once the final red petal is complete, fasten off and weave in the yarn ends securely.
Weave each end through stitches of the same color whenever possible. This prevents dark or contrasting yarn tails from showing through the front of the coaster.
Arrange the petals with your fingers, separating any sections that have folded underneath one another.
If the finished coaster does not lie flat, lightly dampen it and pin it into shape. Allow it to dry completely before removing the pins.
Avoid stretching the petals too aggressively. The finished flower should retain some soft dimension rather than becoming perfectly flat.
Color-Changing Tips
Clean color transitions make the three-layer design look more polished.
Try these tips:
- Introduce the new color during the final yarn-over of the previous stitch.
- Leave a yarn tail long enough to weave in securely.
- Tighten the first stitch in the new color gently.
- Do not knot the yarn tightly at the back.
- Weave ends within matching-color stitches.
- Check the front of the flower before trimming any yarn tail.
If a color change looks loose, use the yarn tails to adjust the tension before weaving them in.
Common Problems and Easy Fixes
The center forms a bowl
Your tension may be too tight, or the round may need more space. Relax your grip and check the stitch count.
The center becomes wavy
The round may contain too many stitches. Count carefully before beginning the petal layer.
The petals are different sizes
Make sure every repeated petal section contains the same sequence of stitches. Place a marker after each completed repeat if necessary.
The white layer disappears
Check the placement of the red stitches. The outer petals should sit over the foundation while still allowing some white to remain visible.
The coaster will not lie flat
Gently block the finished flower and avoid over-tightening the final rounds.
Yarn ends show through the front
Weave each tail through the back of matching-color stitches and change direction at least once before trimming.
Make a Coordinated Coaster Set
One flower is lovely, but a small set makes a beautiful handmade gift.
You could create:
- Four matching red poppies
- Two red and two white flowers
- A mixed garden in red, pink, peach and burgundy
- A remembrance-themed set with traditional red petals
- A spring set using softer pastel colors
Tie the finished coasters together with ribbon or yarn and add a small handmade label.
Because the design uses several short lengths of yarn, it is a practical way to use leftovers from larger projects.
Alternative Color Ideas
The same construction can create flowers with very different personalities.
Try:
- Burgundy, cream and black
- Coral, pale pink and brown
- White, light grey and mustard
- Purple, lavender and deep plum
- Peach, cream and dark brown
- Pink, white and golden yellow
You can also use the same color for both petal layers. The layered structure will still create texture, but the overall result will feel softer and more minimal.
More Ways to Use the Flower
Bag Appliqué
Sew one finished flower onto a plain crochet tote or market bag.
Flower Garland
Make several flowers and attach them to a long crochet chain for spring or summer decoration.
Cushion Decoration
Arrange multiple flowers on the front of a simple cushion cover.
Gift Topper
Attach one flower to a wrapped present and allow the recipient to reuse it later.
Wall Art
Mount several flowers inside a shadow box or embroidery hoop.
Blanket Motif
Join multiple flowers with leaves or neutral crochet sections to create a larger decorative panel.
If the flower will be attached to another project, leave a long yarn tail instead of weaving in the final end immediately.
Caring for the Finished Coaster
Follow the washing instructions on your yarn label.
For most small cotton coasters:
- Hand wash gently in cool or lukewarm water.
- Press out excess water without twisting the petals.
- Reshape the flower with your fingers.
- Dry it flat.
- Lightly block it again if needed.
Dark red yarn can sometimes release excess dye during the first wash. Wash the coaster separately before placing it on a light-colored tablecloth.
Watch the Complete Tutorial
The video demonstrates the black center, white petal foundation, red outer petals and finishing process step by step.
Watch How to Crochet a Poppy Flower
If you crochet your own flower coaster, leave a comment on the video and tell me which color combination you chose. 🌺
Visit Crochetnotes Studio for more free crochet tutorials, flower projects and practical scrap-yarn ideas.
Project, photographs and video tutorial by Crochetnotes. Please do not reproduce or redistribute the complete instructions, images or video as your own.
Made with yarn, shared with love. 🧶💗
Watch every stitch up close
Pair these written notes with the complete video tutorial.
Made with yarn, shared with love. 🧶💗