
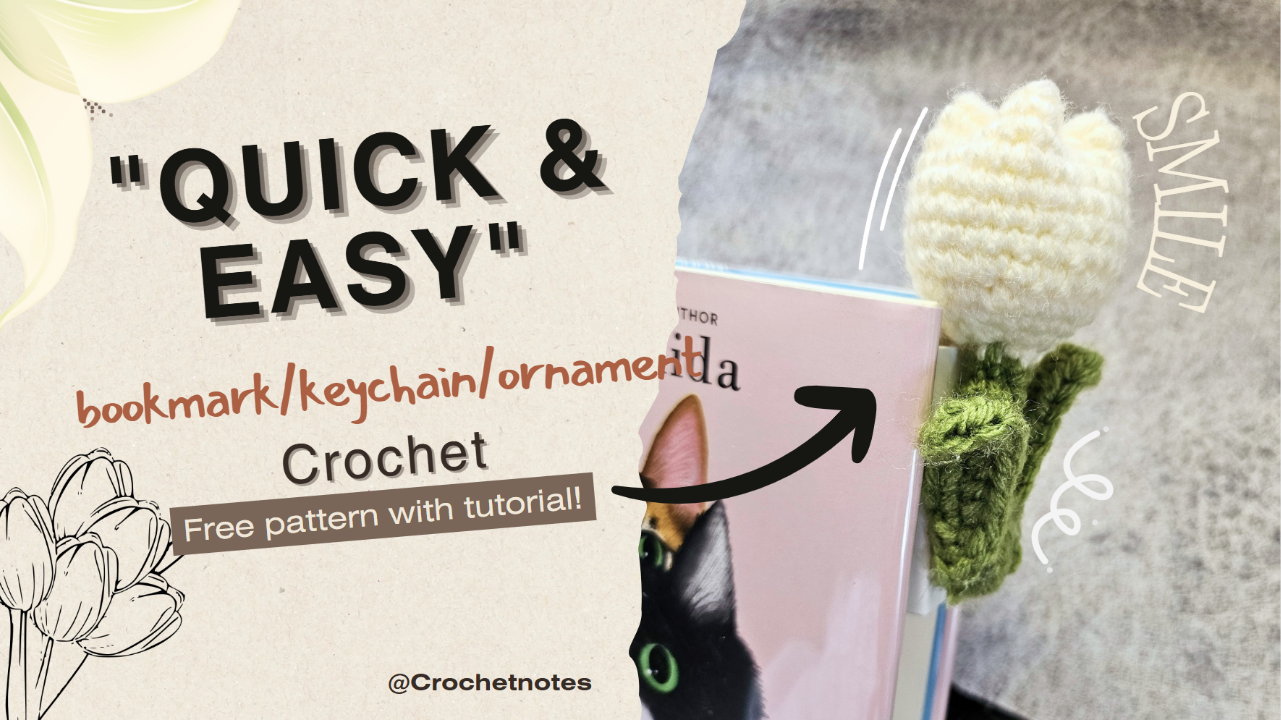
A handmade bookmark becomes even sweeter when it looks like a little flower growing between the pages. 🌷📚
This crochet tulip bookmark combines a soft 3D flower head with a slim green stem and two differently sized leaves. The flower stays visible above the book while the stem marks your page.
It uses only small amounts of yarn, so it is an excellent scrap-yarn project and a thoughtful gift for teachers, friends and anyone who loves reading.
For the complete stitch-by-stitch demonstration, watch the Crochetnotes video tutorial:
Watch the Crochet Tulip Bookmark Tutorial on YouTube
Project Overview
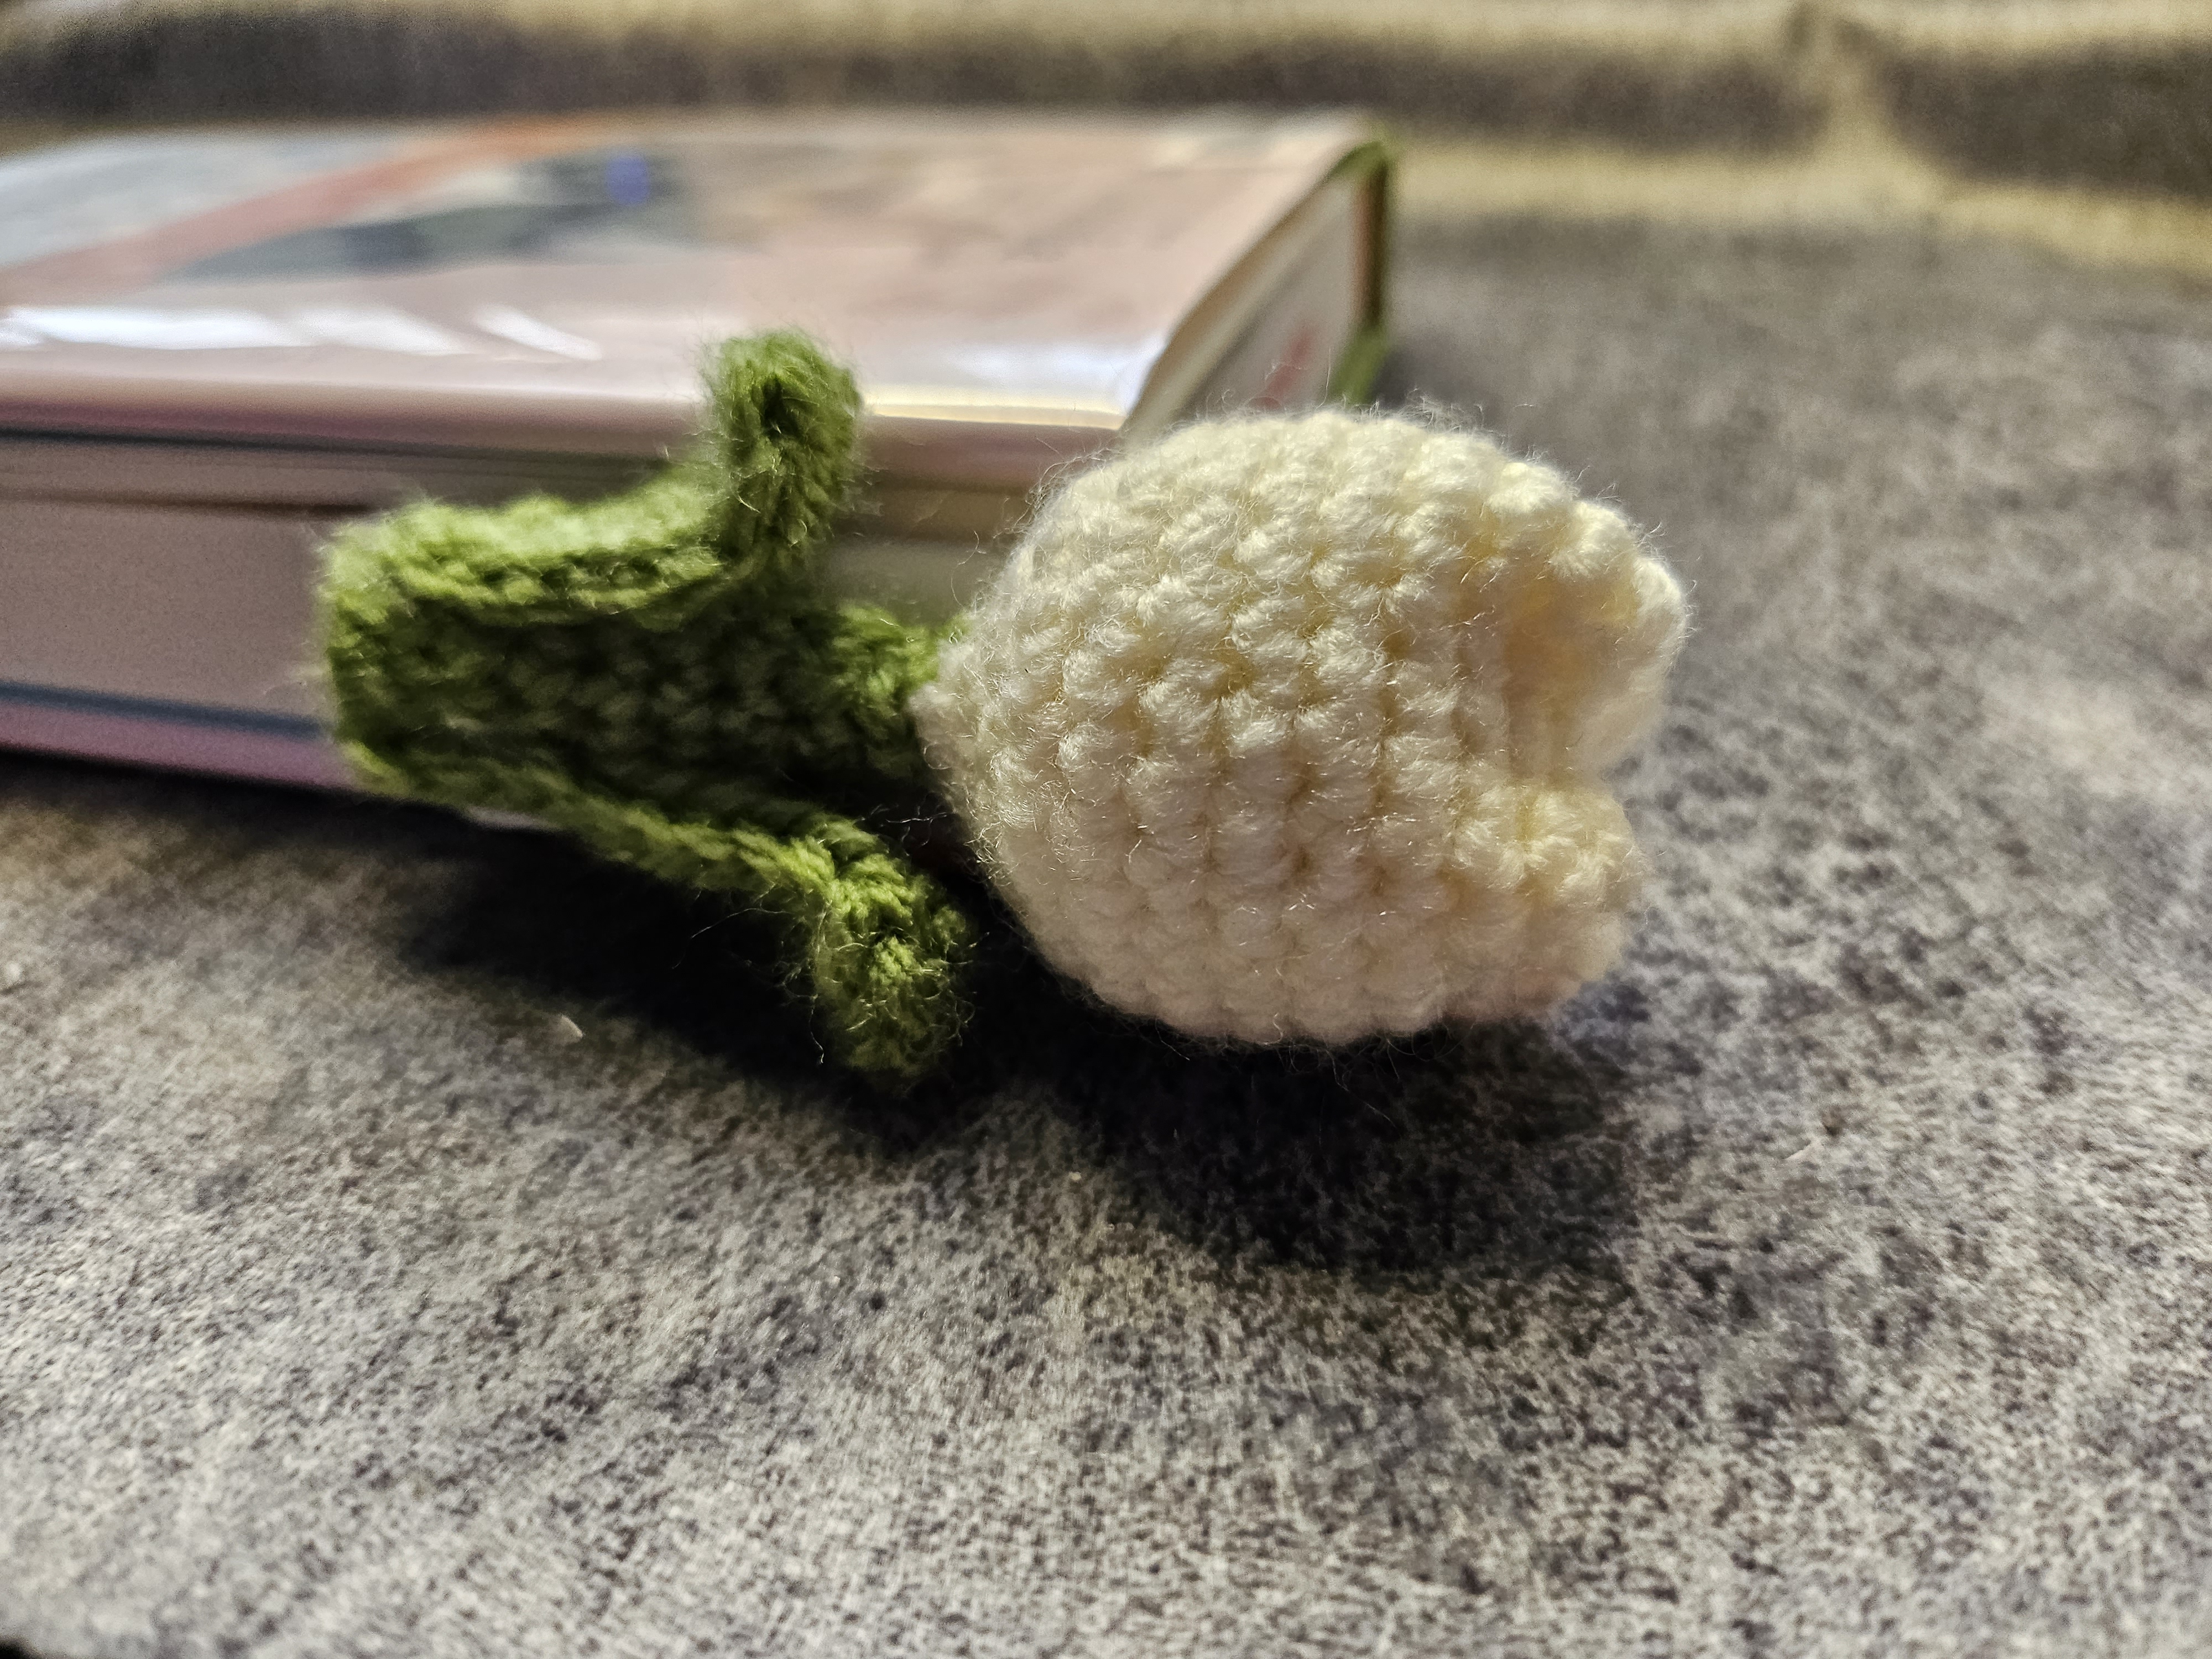
The bookmark is made in four main sections:
- One puffy 3D tulip head
- One small leaf
- One larger leaf
- One long green stem
The individual pieces are crocheted separately and assembled at the end. This construction makes it easy to change the flower color or adjust the stem length.
The completed tulip can be used as:
- A functional bookmark
- A teacher appreciation gift
- A small addition to a book gift
- A Mother’s Day present
- A spring party favor
- A flower ornament
- A keychain or bag charm
Materials
The exact yarn brand, yarn weight and hook size were not listed in the public video description. Choose a hook that works well with your yarn and produces neat stitches without large gaps.
You will need:
- A small amount of yarn in your preferred tulip color
- Green yarn for the stem and leaves
- A crochet hook suitable for your yarn
- A small amount of polyfill for the flower head
- A tapestry needle
- Scissors
- Stitch markers
- Optional keychain ring or lobster clasp
Cotton yarn is a practical choice when you want crisp leaves and a stem that holds its shape. Softer acrylic yarn creates a slightly puffier, more relaxed flower.
Whichever fiber you choose, use yarns of approximately the same weight for every section.
Skills Used
This project practices several useful beginner crochet skills:
- Working in rounds
- Increasing and decreasing
- Crocheting small shaped pieces
- Making leaves
- Working a narrow stem
- Lightly stuffing amigurumi
- Sewing crochet pieces together
- Hiding yarn ends neatly
Use a stitch marker when working in continuous rounds so you do not lose the beginning of the round.
How the Tulip Bookmark Is Constructed
1. Crochet the 3D Tulip Head
Begin with your chosen flower color and crochet the tulip head following the shaping shown in the video.
The increases create the width of the flower, while the later shaping forms the rounded, dimensional body. Keep your tension consistent so the stuffing does not show between the stitches.
Before closing the flower, add a small amount of polyfill.
The tulip head should feel soft and lightly rounded. Avoid packing in too much filling, as overstuffing can make it difficult to create the recognizable tulip shape at the top.
Once the filling is evenly distributed, shape and secure the upper section as demonstrated in the tutorial.
Helpful tip: Use several small pieces of stuffing instead of pushing one large piece into the flower. This produces a smoother result.
2. Make the Small Leaf
Change to green yarn and crochet the smaller leaf.
The small leaf adds detail without making the bookmark too bulky. Keep the starting chain relaxed so the finished leaf does not curl tightly.
Work carefully around both sides of the foundation chain. When crocheting into the opposite side, make sure you use the remaining loops rather than accidentally working into the same loops twice.
Before fastening off, gently shape the pointed end with your fingers.
Leave a long yarn tail if the leaf will be sewn to the stem.
3. Crochet the Larger Leaf
Make the second leaf using the larger shape demonstrated in the video.
The difference in size makes the finished tulip look more natural. Compare the two leaves before assembly so you can decide which side of the stem looks most balanced.
If the larger leaf curls slightly, place it under a book for a short time before assembly. Avoid heavy blocking if you want the leaf to retain some natural dimension.
4. Make the Green Stem
The stem needs to be narrow enough to sit comfortably between book pages but sturdy enough to support the flower and leaves.
Follow the video to crochet the long green section. Maintain even tension along its full length so one section does not become noticeably wider than another.
Before fastening off, test the stem inside a book.
It should be long enough for the tulip head to rest above the top edge while part of the stem remains visible below the pages. If you regularly read large hardcovers, you may prefer a slightly longer stem.
Practical tip: A very thick stem may leave an impression on delicate pages. Use firm stitches, but avoid making the bookmark unnecessarily bulky.
Assemble the Tulip
Once all the parts are complete, arrange them before sewing.
A simple assembly order is:
- Attach the top of the stem securely to the bottom of the tulip head.
- Pin the larger leaf along one side of the stem.
- Position the smaller leaf slightly higher or on the opposite side.
- Check the arrangement inside a closed book.
- Sew the leaves to the stem with small, secure stitches.
- Hide every yarn end inside the nearest crochet piece.
Staggering the two leaves usually looks more natural than placing them at exactly the same height.
After assembly, gently shape the flower and leaves with your fingers.
How to Keep the Bookmark Neat
A bookmark is handled often, so finishing details matter.
- Weave yarn ends through several stitches before trimming.
- Reinforce the connection between the flower and stem.
- Keep leaf attachment stitches small and close to the stem.
- Avoid leaving loose loops that could catch on page corners.
- Do not overstuff the flower head.
- Store the bookmark flat when it is not being used.
If the stem twists, lightly dampen it, straighten it by hand and allow it to dry flat.
Common Problems and Easy Fixes
The flower does not resemble a tulip
Check the placement of the final shaping stitches and use less stuffing. Too much filling can turn the flower into a round ball.
Stuffing is visible
Try a smaller crochet hook or slightly tighter tension. Insert the stuffing in small amounts so it does not push through the fabric.
The leaves curl too much
Relax the starting chain and make sure you are not pulling the stitches too tightly along one side.
The stem is uneven
Count the stitches carefully and pause occasionally to check the width. Consistent tension is more important than working quickly.
The flower leans to one side
Reinforce the stem-to-flower connection with several small stitches placed evenly around the base.
The bookmark feels too bulky
Use a finer yarn for your next version or reduce the amount of stuffing inside the tulip head. The flower remains outside the book, but the stem and leaves should stay relatively flat.
Color Ideas
The original flower can be recreated in any tulip-inspired color. Try:
- Dusty pink with sage green
- Bright red with deep green
- Cream with olive green
- Lavender with soft green
- Peach with eucalyptus green
- Yellow with fresh spring green
- Burgundy with forest green
You can also use variegated yarn for the flower head while keeping the stem and leaves in a solid green.
For a gift set, make three or four tulips in different colors and tie them together like a miniature bouquet. 💐
Turn It Into a Different Project
The tulip head is useful beyond bookmarks.
Keychain
Shorten the stem or leave it off completely, then attach a keychain ring to the flower.
Bag Charm
Make a shorter stem and add a lobster clasp at the top.
Spring Ornament
Add a hanging loop to the tulip head and use it as seasonal decoration.
Gift Topper
Attach the finished tulip to a wrapped book instead of using a disposable ribbon or bow.
Mini Bouquet
Crochet several flowers and arrange them in a small vase or handmade gift package.
A Sweet Gift for Book Lovers
Pair the bookmark with a favorite novel, journal or bookstore gift card for an easy handmade present.
A small paper tag could say:
A little flower to save your place.
Because this project uses so little yarn, it is also suitable for craft fairs or last-minute teacher gifts. Make several stems at once, then add different flower colors to create a coordinated collection.
Watch the Complete Video Tutorial
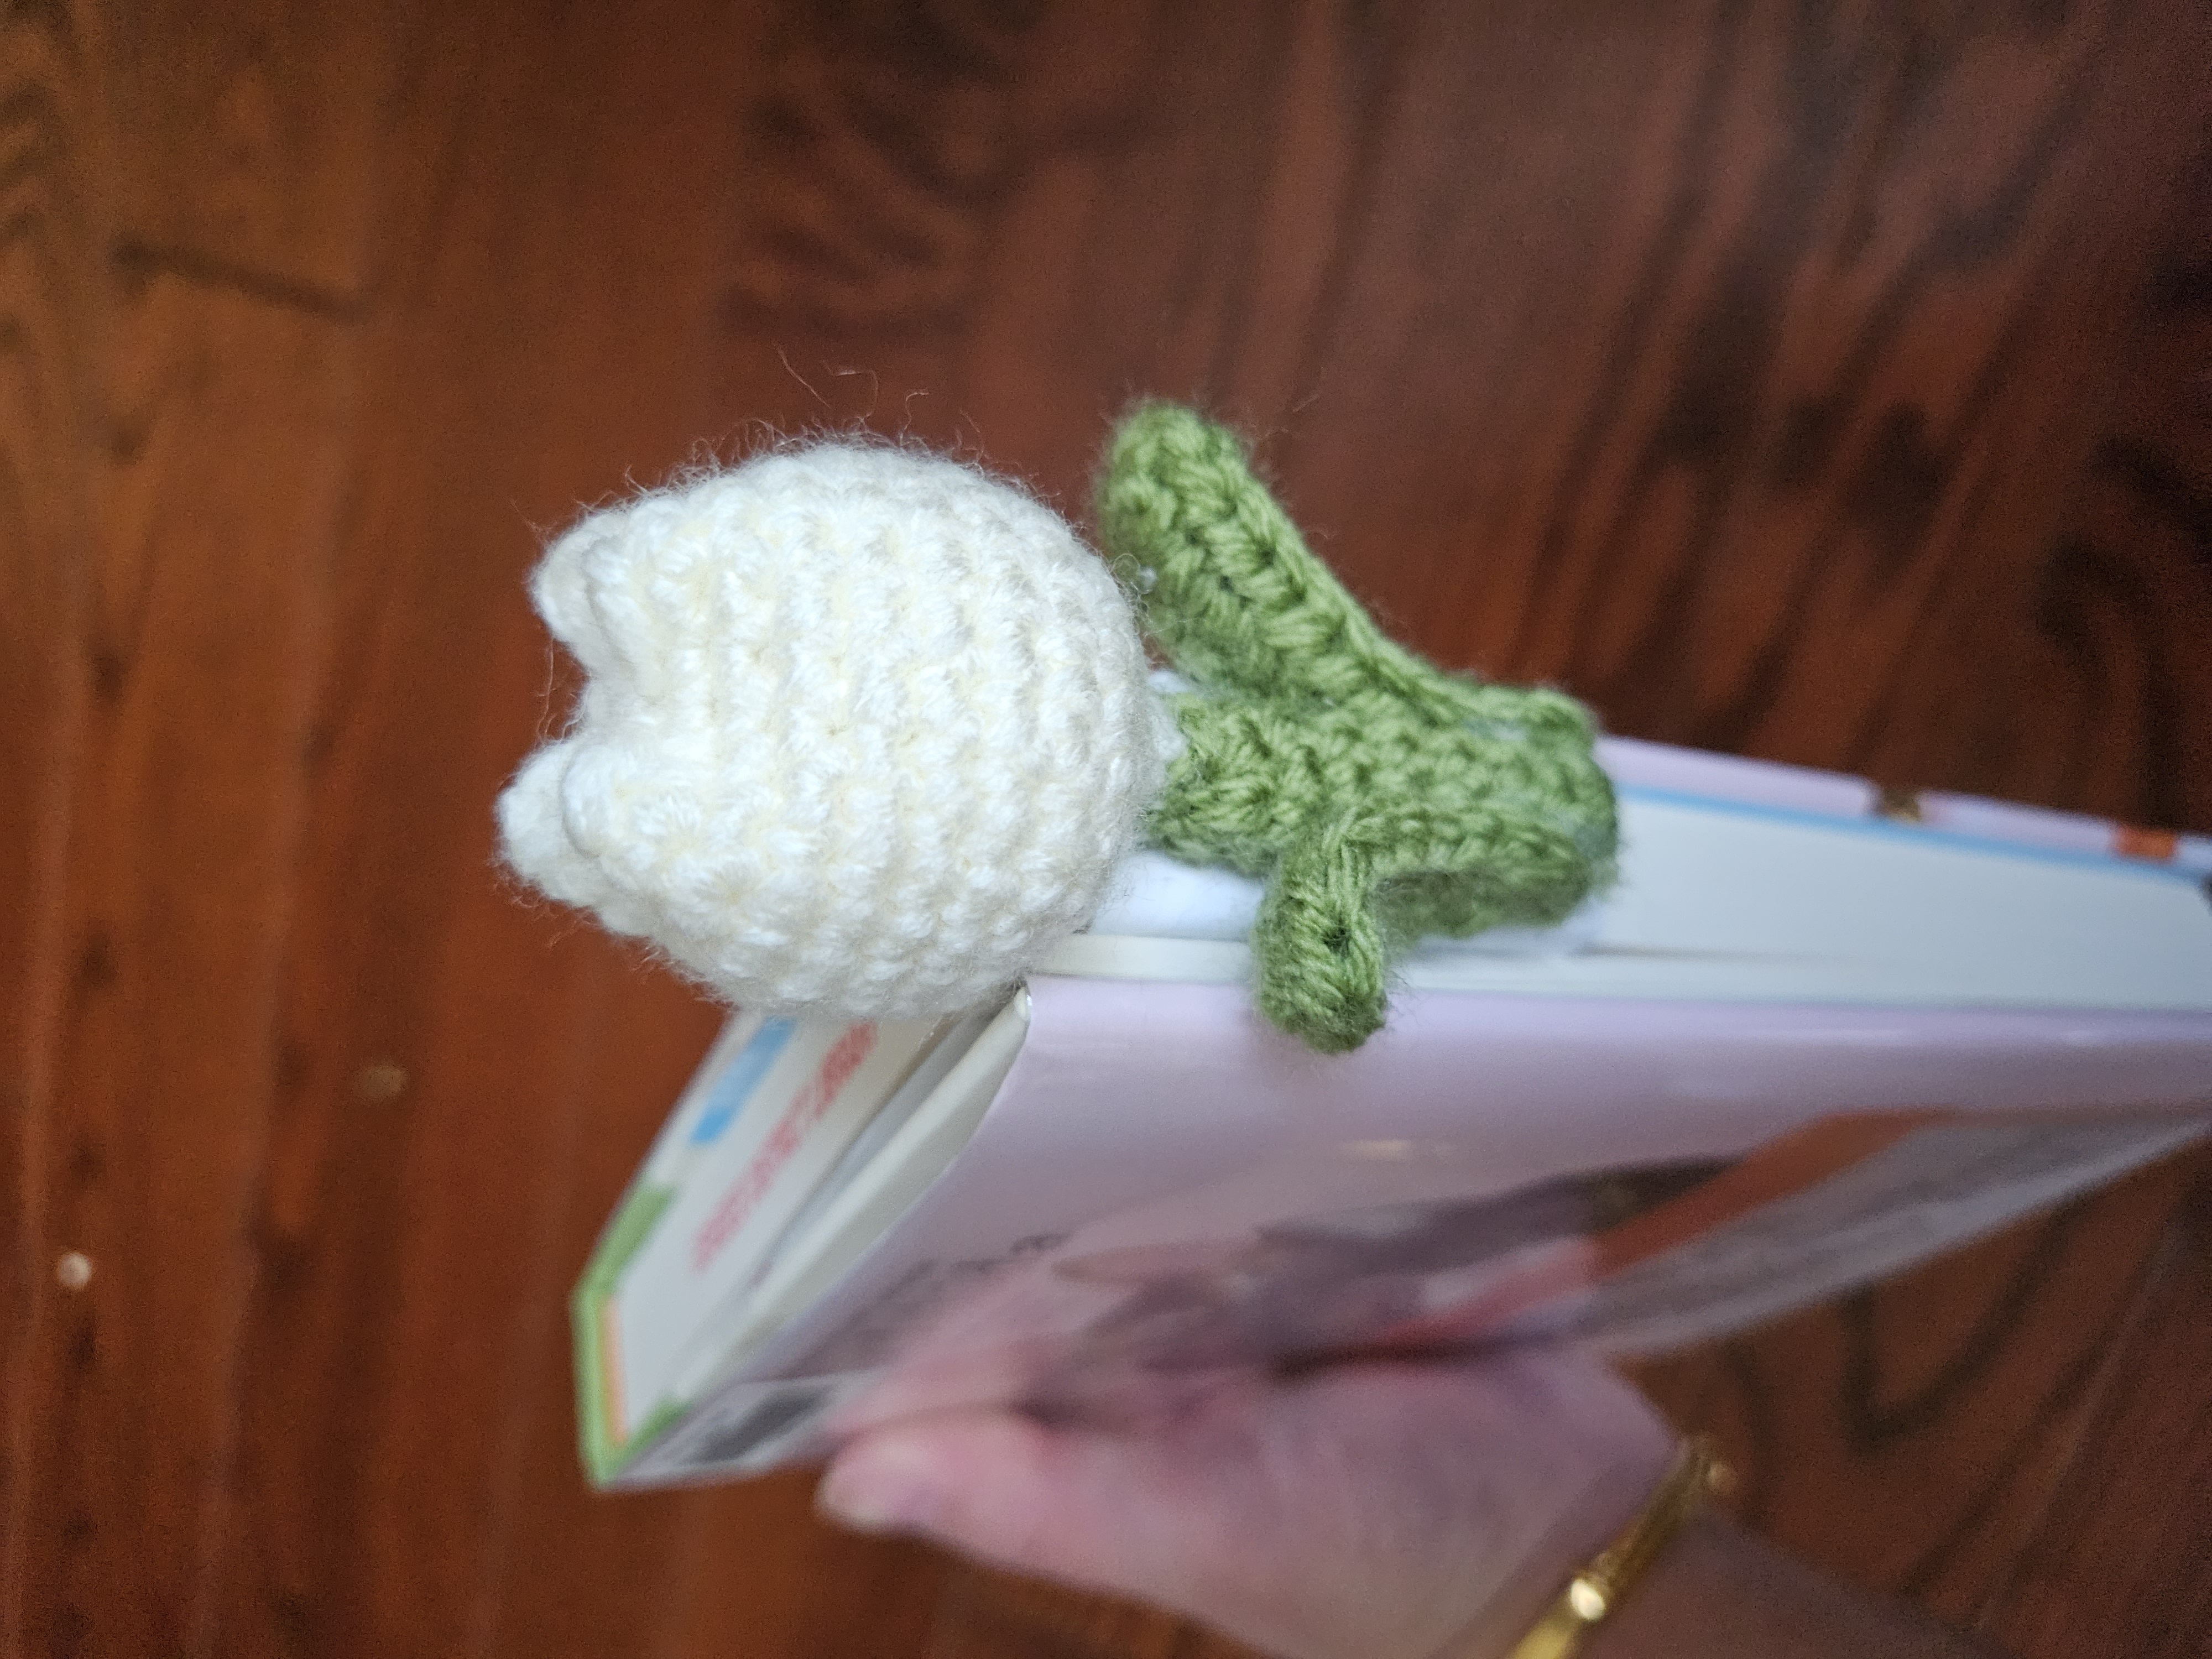
The video shows how to crochet the dimensional flower head, small leaf, large leaf and sturdy stem, followed by the complete assembly process.
Watch Make This Adorable Crochet Tulip Bookmark
If you make your own tulip bookmark, leave a comment on the video and tell me which flower color you chose. 🌷
Visit Crochetnotes Studio for more free crochet tutorials, small handmade gifts and practical scrap-yarn projects.
Project, photographs and video tutorial by Crochetnotes. Please do not reproduce or redistribute the complete instructions, images or video as your own.
Made with yarn, shared with love. 🧶💗
Watch every stitch up close
Pair these written notes with the complete video tutorial.
Made with yarn, shared with love. 🧶💗