
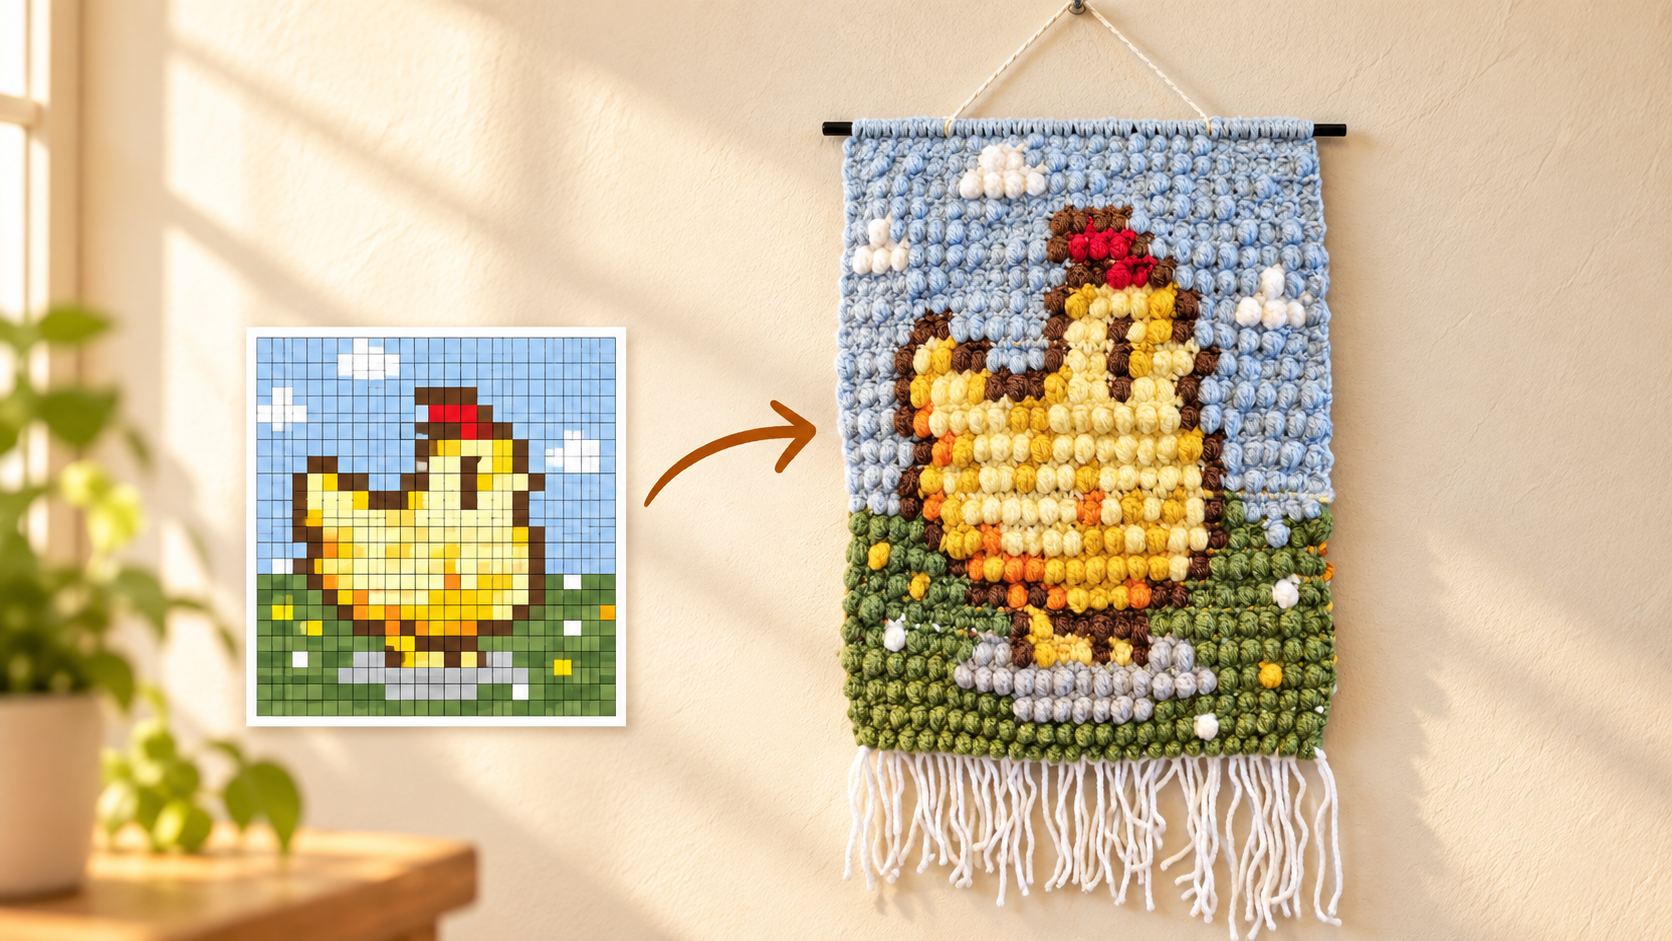
Turn a simple pixel chart into a soft, textured crochet wall hanging! This Stardew Valley–inspired chicken is made with raised bobble stitches, creating a playful three-dimensional version of traditional pixel art.
This post covers the most important points you need before starting. For the complete step-by-step demonstration, watch the video tutorial included below.
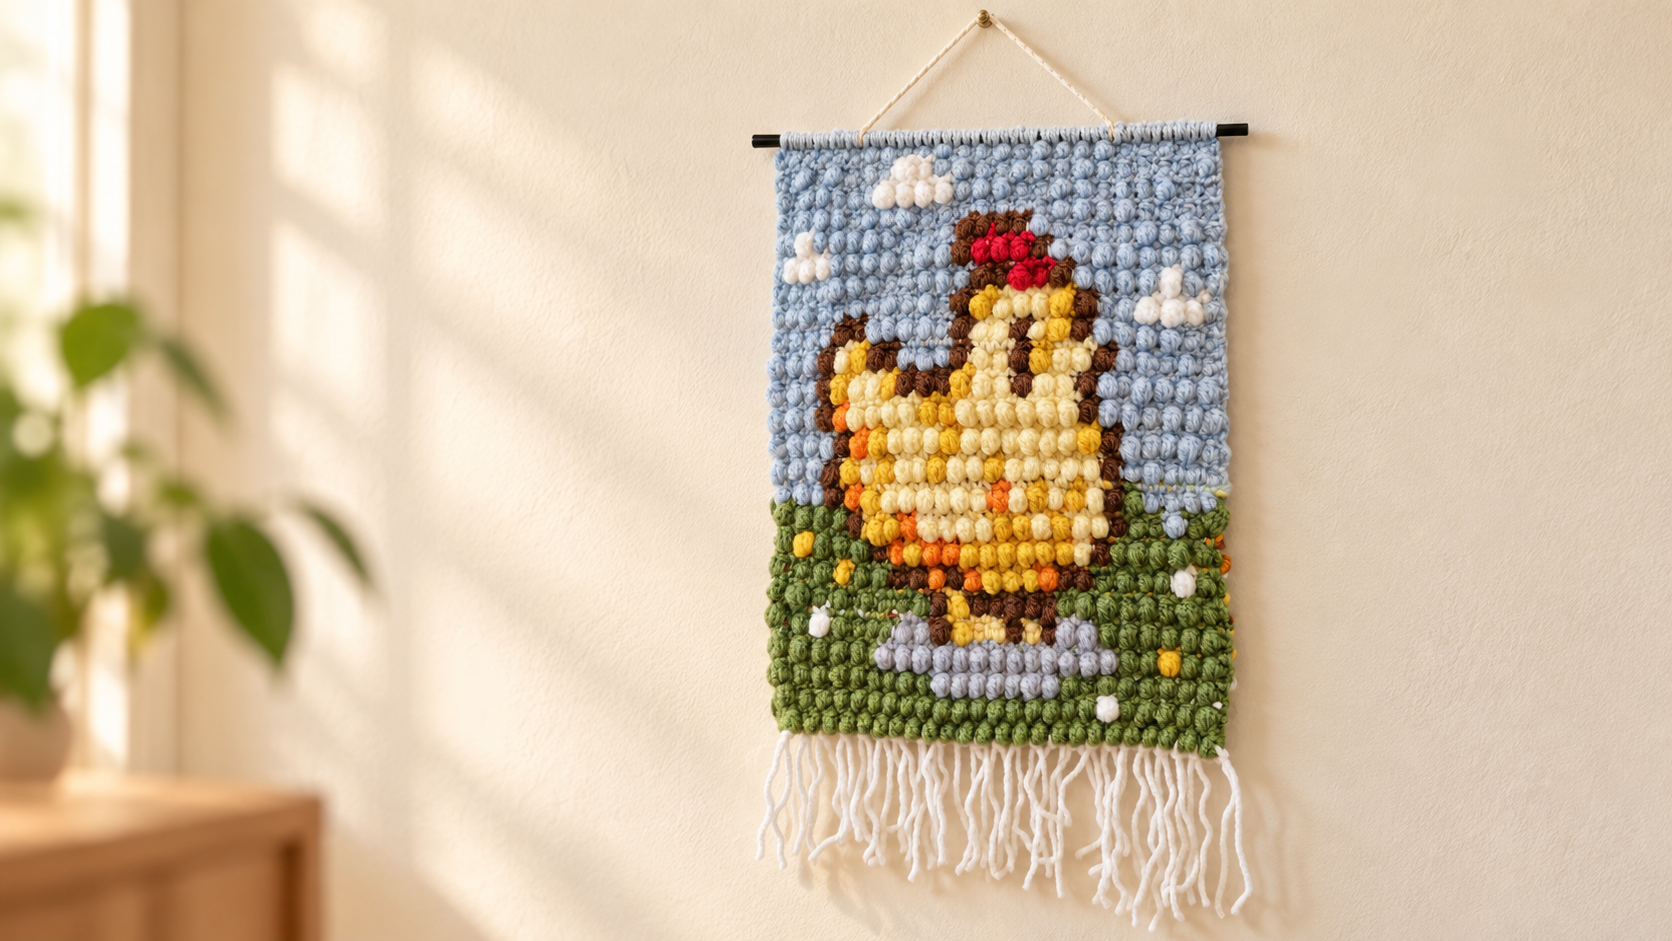
How the Bobble Pixel Method Works
Each pixel square uses:
Two stitches across
Two crochet rows
One four-double-crochet bobble
Three single crochet stitches
On the bobble row, work one single crochet followed by one bobble.
After turning, work two single crochets over the same pixel section. These two crochet rows complete one full row of the pixel chart.
The piece is worked as one panel, turning back and forth after every row.
Starting-Stitch Formula
Use this formula for any pixel chart:
Number of pixels across × 2 + 2
This chicken chart is 24 pixels wide:
24 × 2 + 2 = 50 starting stitches
The additional two stitches create one edge stitch on each side. Keep the turning chain separate and do not count it as a working stitch.
Important Tips
Work the chart from the bottom upward, beginning with chart row 24 and finishing with row 1.
Use slightly firm tension if you want the pixels to remain square.
Loose bobble loops can make the finished design look vertically stretched.
Change color during the final pull-through of the previous stitch.
Keep unused yarn on the back of the wall hanging.
Carry yarn loosely across short sections, or cut and rejoin it whenever preferred.
Do not pull the unused yarn tightly, as this may cause the panel to curl.
The return row uses the same colors as the bobble row, but the color order is worked in reverse after turning.
Free 24×24 Color Chart
Use the chart below to follow the chicken design.
Each square on the chart represents one completed bobble pixel—not one individual crochet stitch.
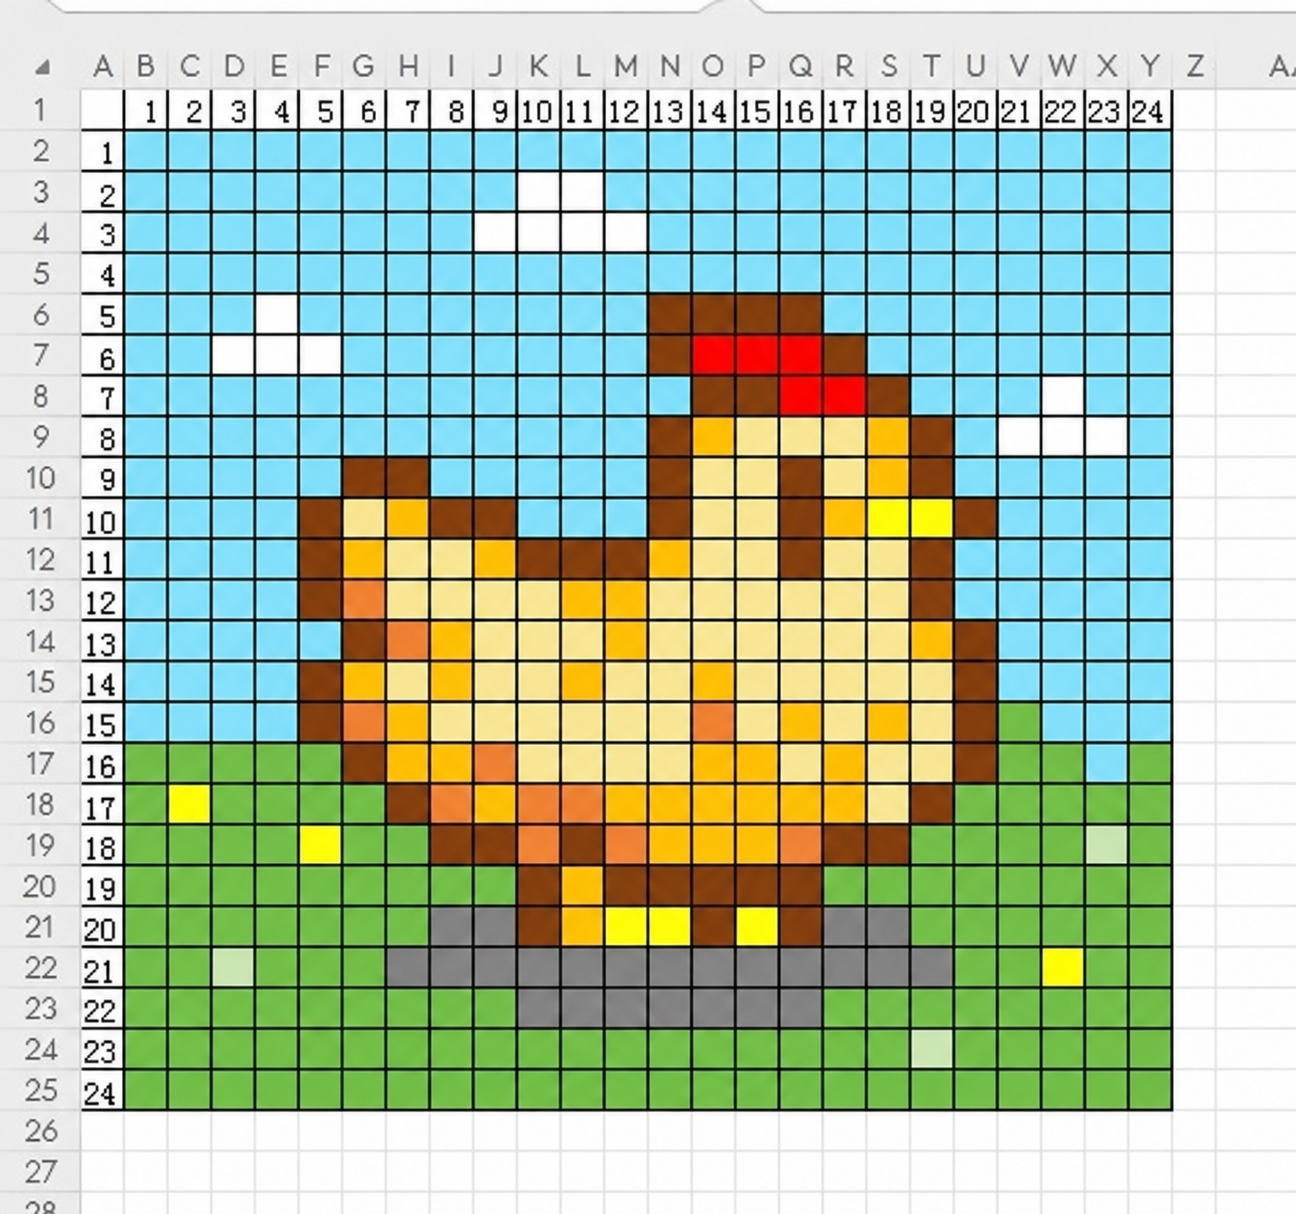
Begin with Row 24 at the bottom and work upward to Row 1. Each chart square becomes two stitches across and two crochet rows.
Watch the complete tutorial for a close-up demonstration of the bobble stitch, starting count, color changes, yarn management, tension, chart reading, and finishing.
Finishing the Wall Hanging
After completing the chart, weave the yarn ends into matching-color areas on the back.
Lightly block the panel into shape without flattening the raised bobbles. Attach the top edge to a wooden dowel or hanging rod, then add a hanging cord and fringe if desired.
Once you understand the two-stitch and two-row pixel method, you can use the same technique with many other pixel-art charts.
This is an unofficial fan-made crochet project inspired by Stardew Valley. It is not affiliated with or endorsed by ConcernedApe.
Watch every stitch up close
Pair these written notes with the complete video tutorial.
Made with yarn, shared with love. 🧶💗