
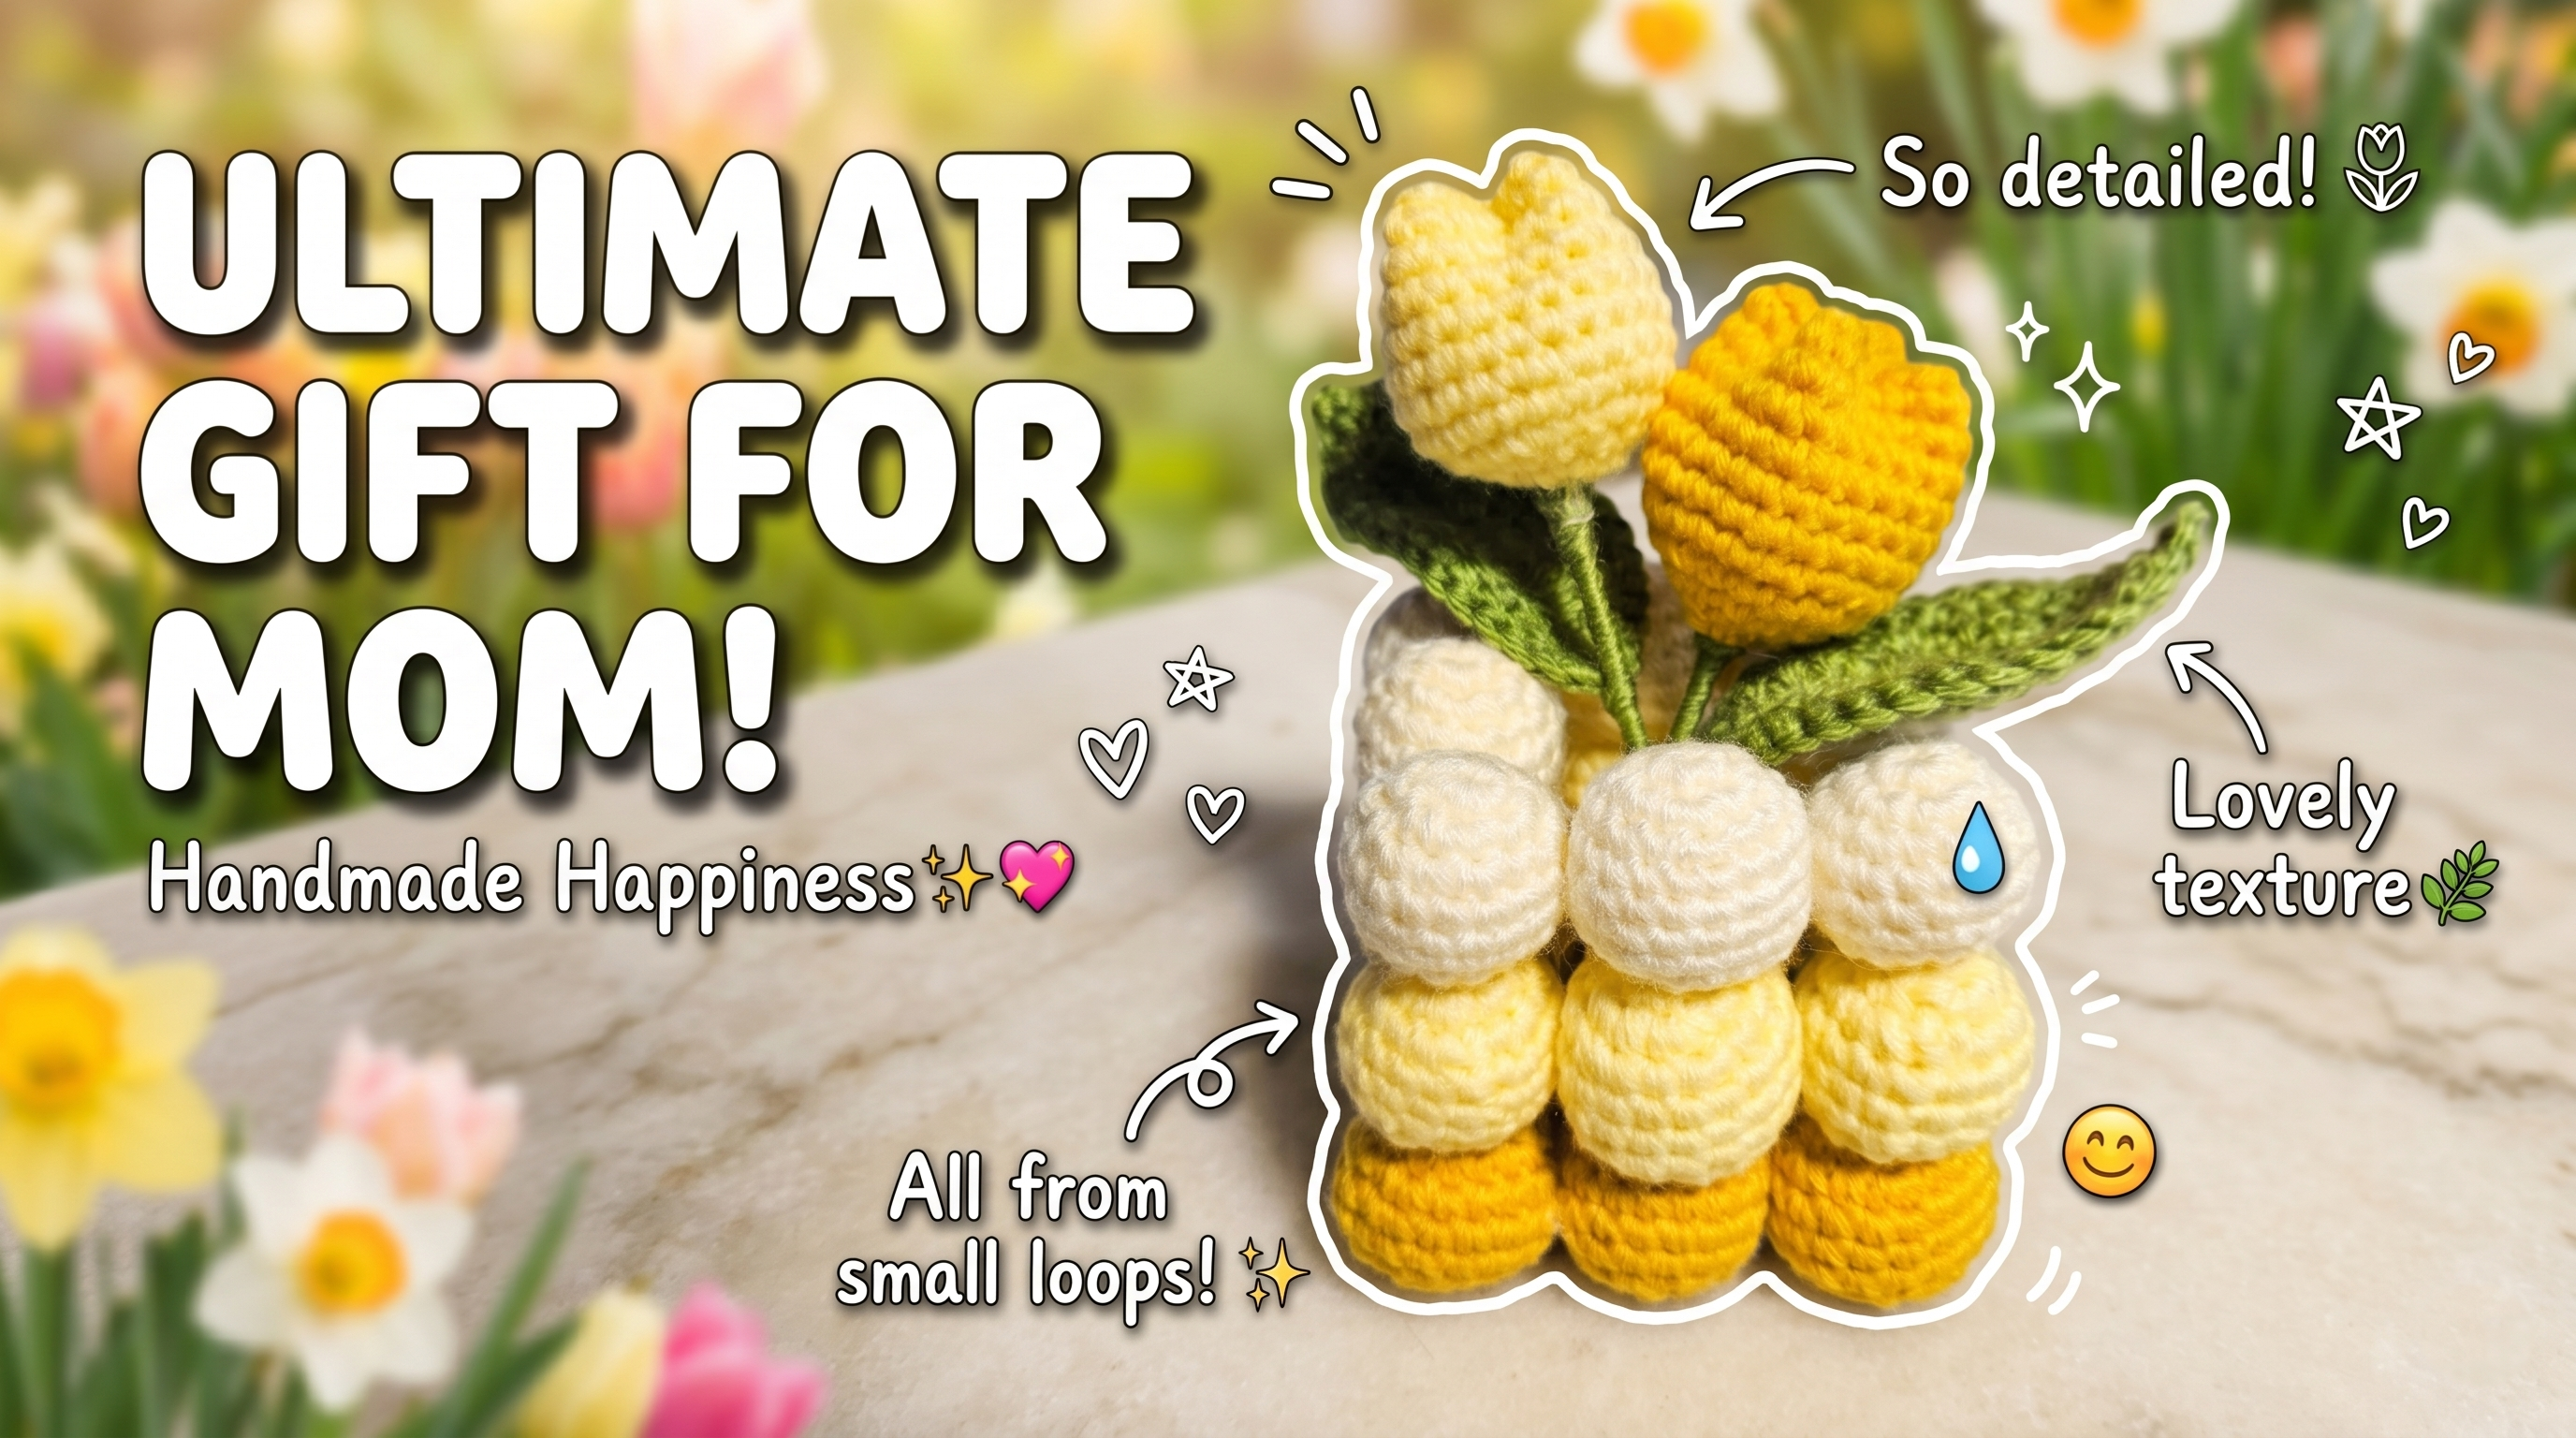
# How to Crochet Realistic Tulips with Wired Stems 🌷
Fresh flowers are beautiful, but a handmade crochet bouquet can stay in bloom all year. These crochet tulips combine a shaped flower cup, overlapping petals, wired leaves and a structured stem to create a surprisingly realistic finished flower.
Make a single tulip for a small vase, or combine several colors into a lasting spring bouquet. They are especially lovely for Mother’s Day, birthdays, housewarming gifts and seasonal home décor.
The written guide below explains the construction and important shaping points. For the exact stitch placement, petal overlap and wire-wrapping technique, follow the complete Crochetnotes video tutorial.
What You’ll Make
Each finished tulip includes:
- A firm crochet flower base
- Individually shaped overlapping petals
- A floral-wire stem
- A wired crochet leaf
- A neatly covered and assembled stem
The flower can be gently adjusted after assembly, allowing you to create a closed bud or a slightly more open tulip.
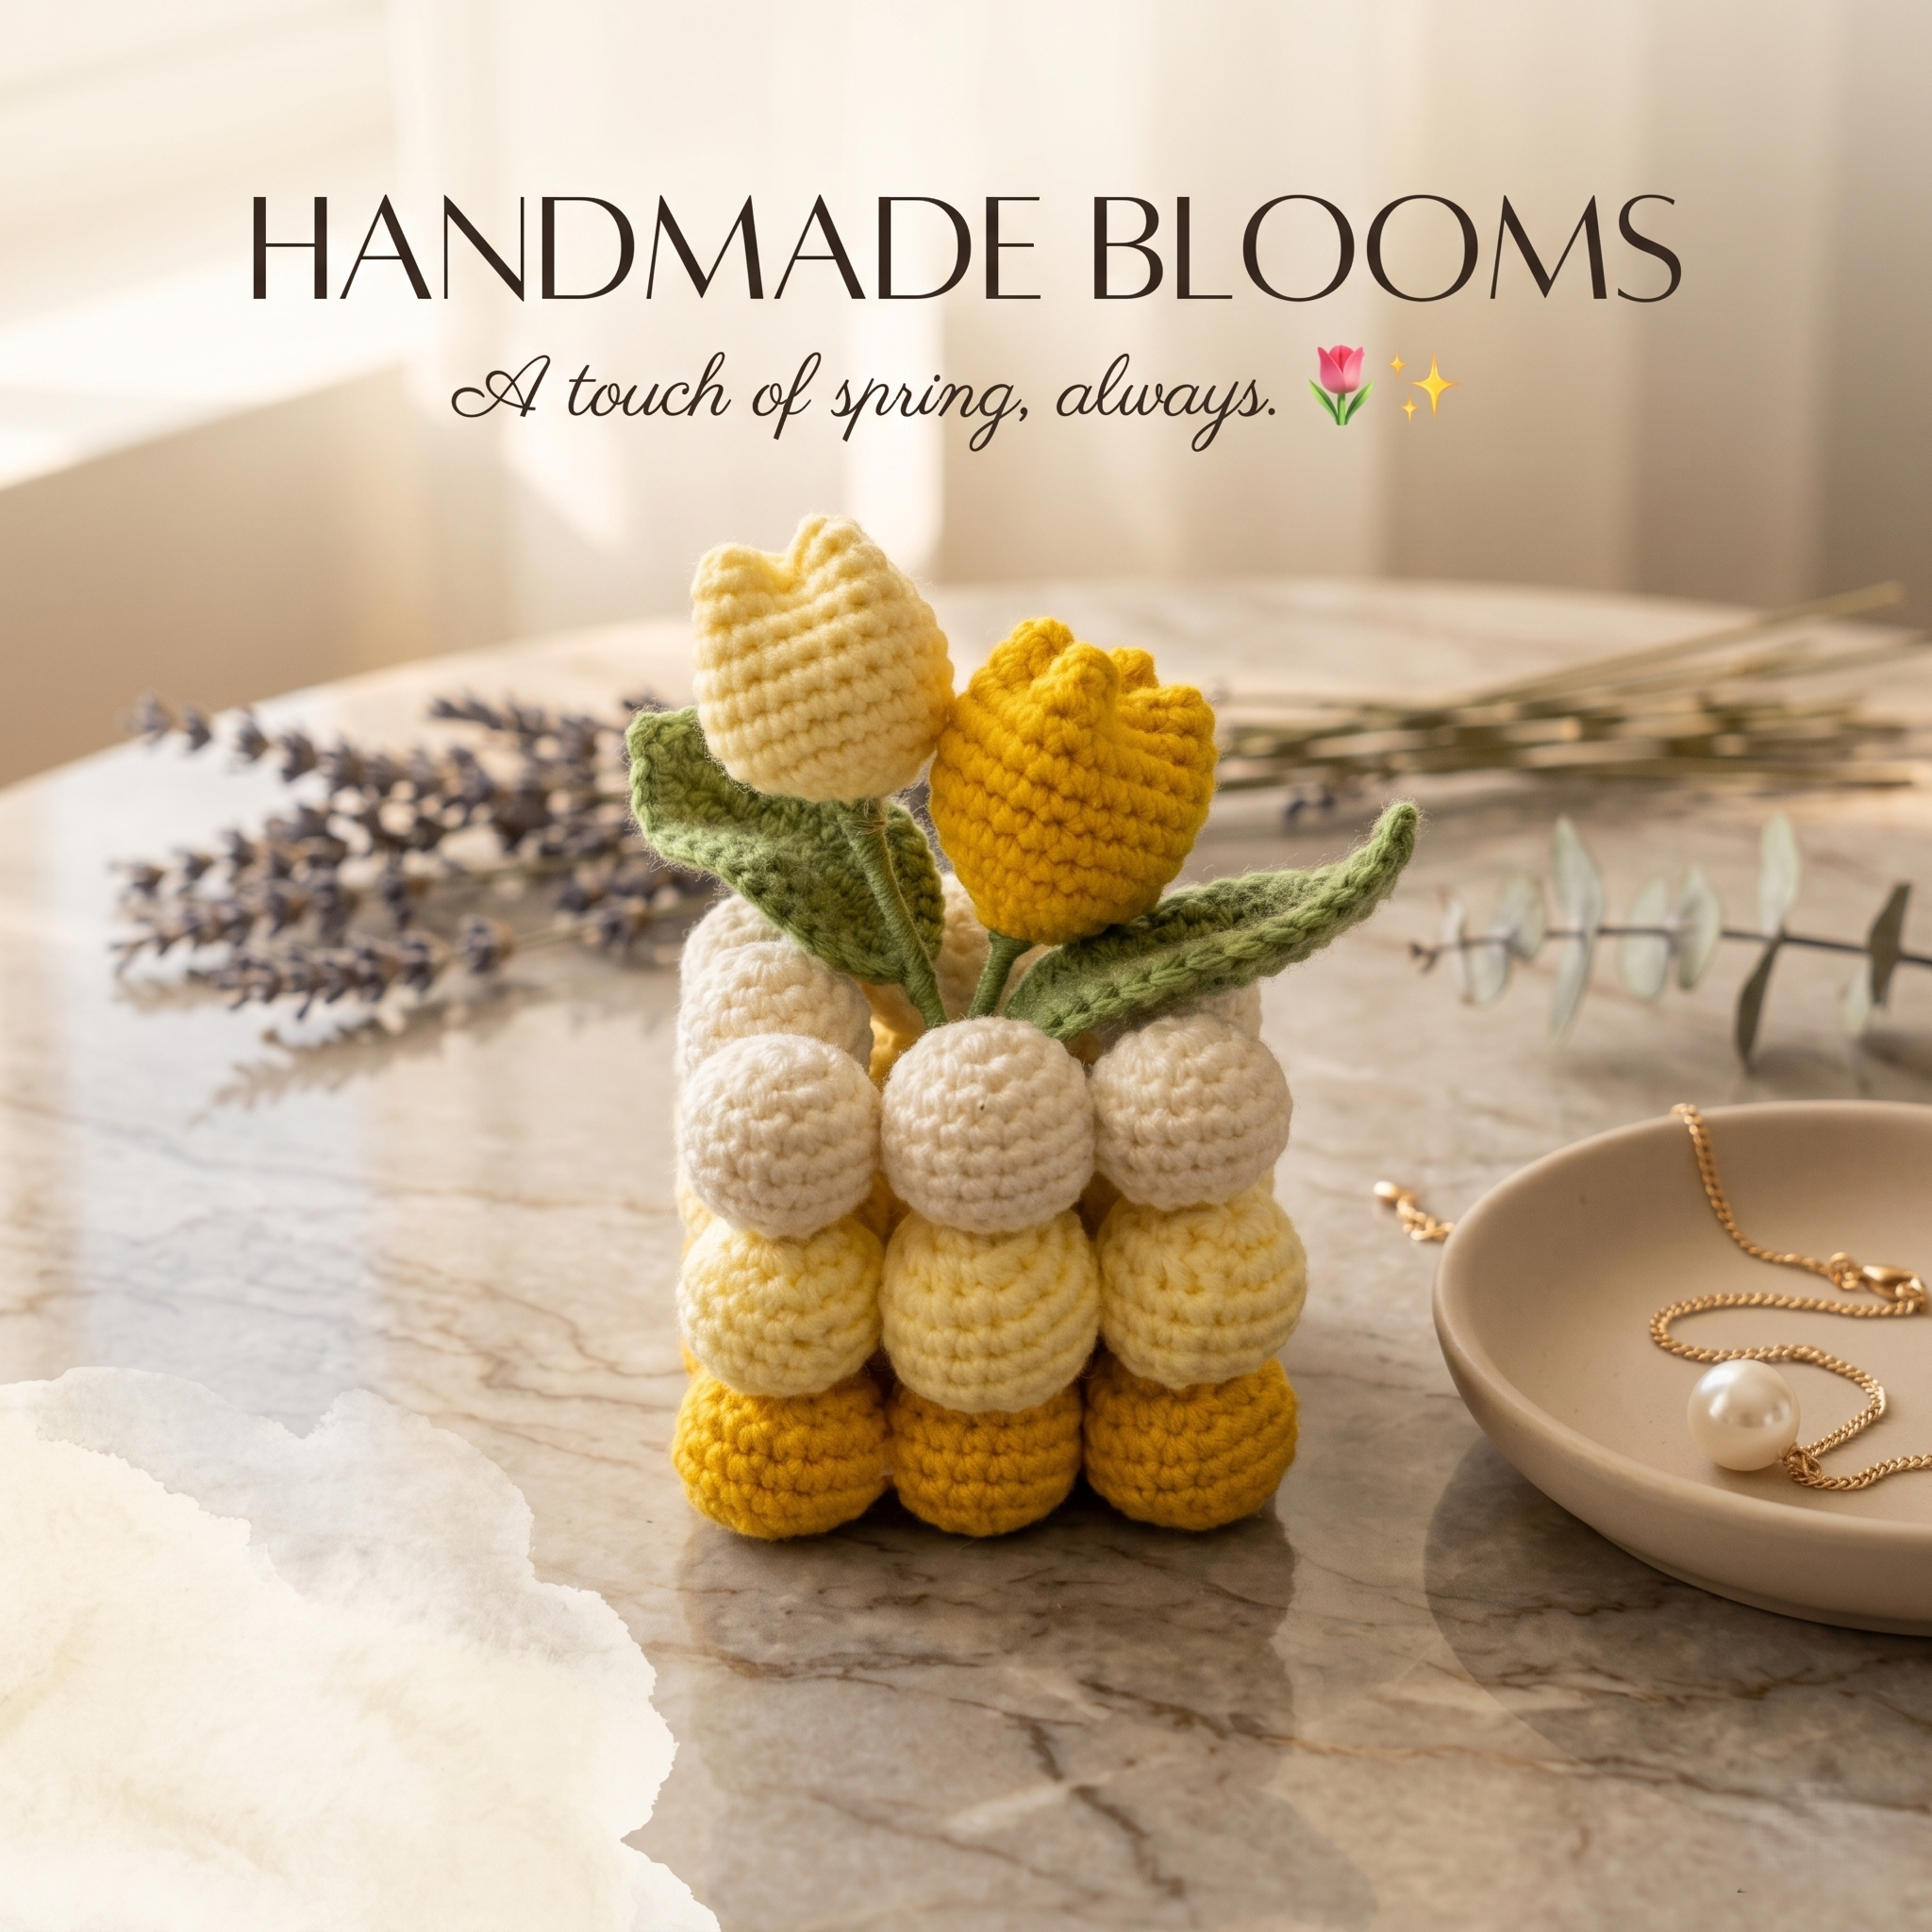
Materials Used
- Yarn brand and weight: [add the exact yarn used in your demonstration]
- Warm yellow yarn for the flower
- Soft cream or off-white yarn for the flower
- Green yarn for the leaves and stem
- Crochet hook: [add the exact hook size used in your demonstration]
- Floral wire
- Yarn needle
- Scissors
- Wire cutters or strong craft scissors suitable for floral wire
- Stitch marker, optional
Choose a smooth yarn with clear stitch definition. Very fuzzy yarn can hide the petal edges and make the flower’s layered construction less visible.
Before You Begin
Keep your tension consistent throughout the flower. The base needs enough structure to support the petals, but the petals should remain flexible enough to overlap and curve naturally.
Cut floral wire carefully and bend over any sharp ends before inserting or wrapping it. If the finished bouquet will be displayed around children or pets, make sure no wire ends remain exposed.
You can review all the materials at 0:20 in the video.
Step 1: Crochet the Flower Base Cup
Begin by making the small cup-shaped foundation that supports the petals. This base determines the overall width and structure of the tulip, so work with even tension and check that it forms a smooth, rounded cup.
Do not flatten this section. Its slight curve helps the finished flower keep its three-dimensional shape.
Follow the flower-base construction from 0:34.
Step 2: Create the Overlapping Petals
The layered petals are what give this tulip its dynamic, realistic appearance. Each petal is positioned so that it overlaps the next rather than sitting separately around the base.
As you work:
- Keep the lower part of each petal secure.
- Allow the upper edge to remain flexible.
- Place each new petal slightly over the previous one.
- Check the flower from every side before securing the final petal.
Avoid pulling the joining stitches too tightly. A little flexibility allows you to shape the flower after assembly.
Watch the petal placement carefully from 4:59.
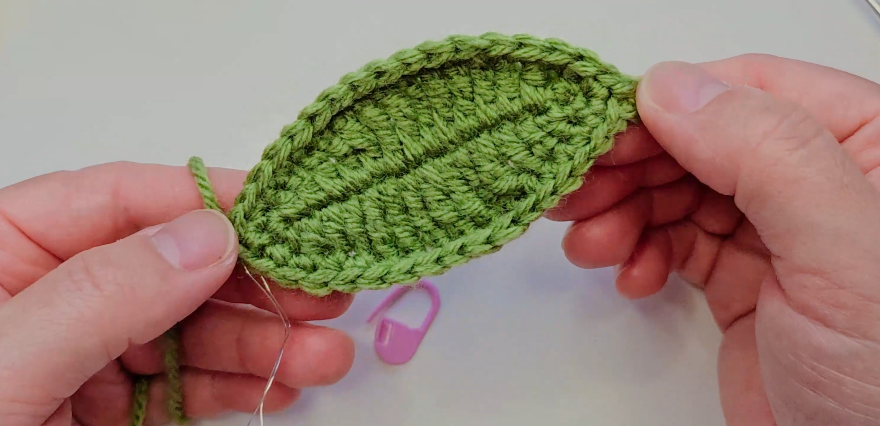
Step 3: Add Wire to the Crochet Leaf
The floral wire is the secret to creating a leaf that can be gently curved instead of hanging flat.
Crochet the leaf around or alongside the prepared wire as demonstrated in the tutorial. Keep the stitches close enough to cover the wire while preserving a clean leaf edge.
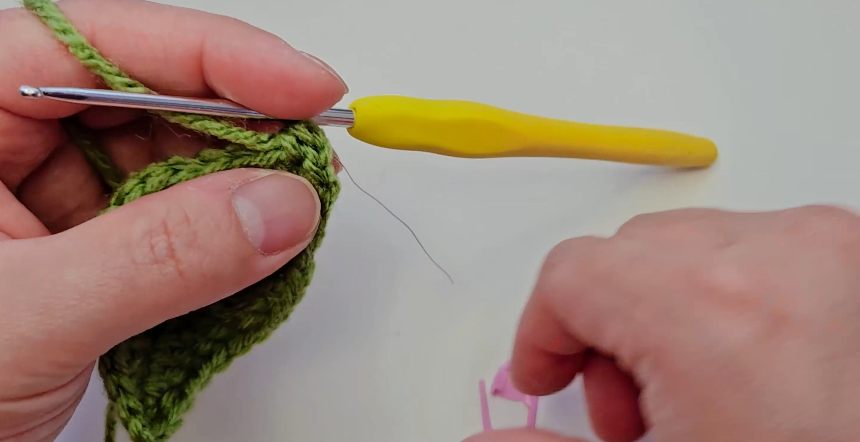
Once complete, gently bend the leaf away from the stem. A slight curve usually looks more natural than a perfectly straight or sharply folded leaf.
See the wired-leaf technique beginning at 8:33.
Step 4: Assemble the Tulip
Insert and secure the floral-wire stem beneath the completed flower. Cover the wire neatly with green yarn, keeping the wrapping even and firm.
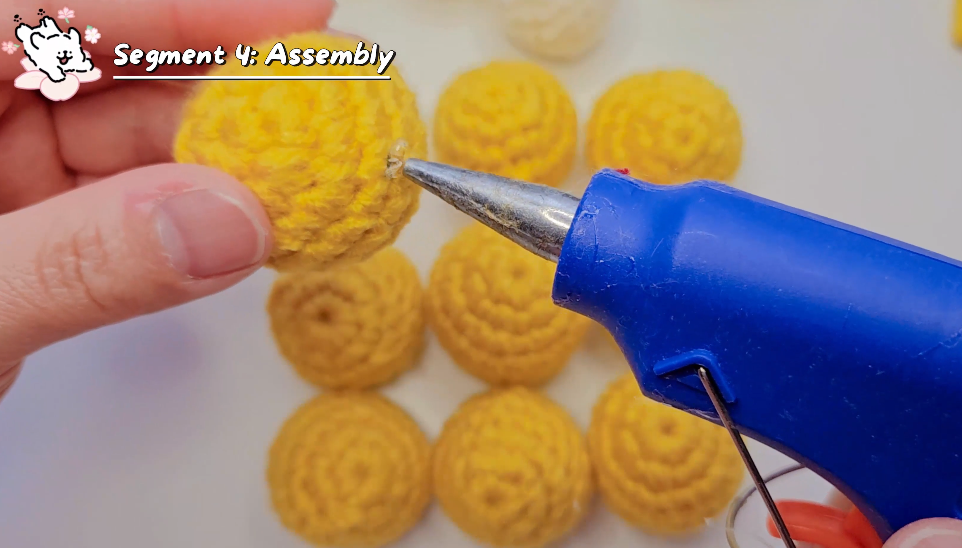
Position the leaf partway down the stem and secure it as you continue wrapping. Before finishing, rotate the flower and check that:
- The tulip sits straight on the stem.
- The leaf faces the most attractive side.
- All wire is completely covered.
- The yarn ends are secure and hidden.
Watch the complete assembly process from 13:33.
Shaping the Finished Flower
Once the tulip is assembled, use your fingers to refine its shape.
Gently curve the petals inward for a young closed bud. For a fuller flower, open the outer petals slightly while keeping the center petals closer together.
Bend the stem very subtly rather than leaving every flower perfectly straight. When making a bouquet, small differences in height, leaf direction and petal angle will make the arrangement look more natural.
Color Ideas
The yellow and cream combination shown in the tutorial creates a warm, cheerful spring bouquet. You could also try:
- Dusty pink with sage green
- Deep red with forest green
- Peach with olive green
- Lavender with muted green
- White with soft gray-green leaves
- Coral and pale yellow in the same bouquet
For a more realistic arrangement, make several flowers in related shades instead of using exactly the same color for every tulip.
Tips for a Neater Result
- Use the same yarn weight for the flower, leaf and stem covering.
- Keep the flower cup firm so it can support the petals.
- Pause after attaching each petal to check the overlap.
- Bend the end of the wire so it cannot poke through the yarn.
- Wrap the stem evenly without leaving visible gaps.
- Make flowers in slightly different heights for a natural bouquet.
- Arrange all the flowers before trimming the stems to their final length.
Ways to Use Your Crochet Tulips
Display the finished flowers in a small ceramic vase, wrap several stems with ribbon for a handmade bouquet, or attach one tulip to gift packaging.
A crochet tulip bouquet also makes a thoughtful handmade gift for someone who cannot keep fresh flowers at home. Unlike a seasonal bouquet, these flowers can become part of the recipient’s décor year after year. 🌸
Watch the Complete Video Tutorial
The exact petal placement, wire positioning and final assembly are much easier to understand visually. Follow the full tutorial to crochet along with every step:
▶️ [Watch How to Crochet Realistic Tulips on YouTube](https://youtu.be/9BgtDeyU3OA)
Would you make your tulips in classic yellow, soft cream, pink or another color? Share your favorite bouquet palette in the comments.
Made with yarn, shared with love. 🧶💗
Watch every stitch up close
Pair these written notes with the complete video tutorial.
Made with yarn, shared with love. 🧶💗