
# No-Sew Crochet Balloon Dog: Keychain, Brooch or Bag Charm 🎈🐕
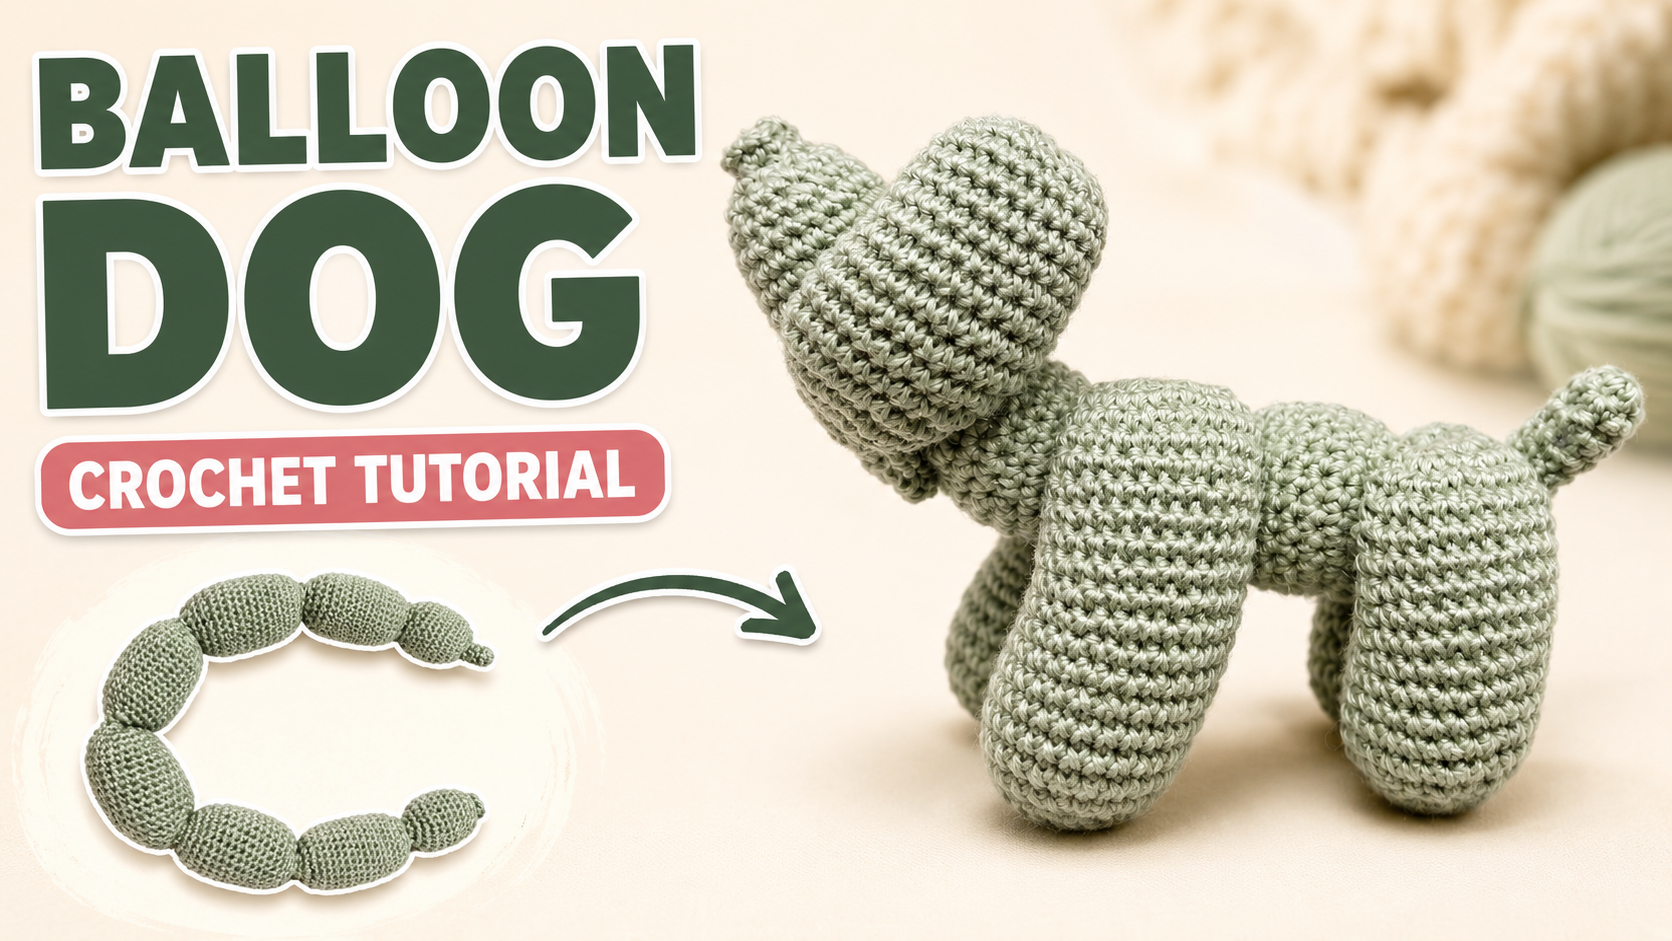
This crochet balloon dog turns the familiar twisted-balloon shape into a soft amigurumi project—and the best part is that there are no separate ears, legs or tail pieces to sew together.
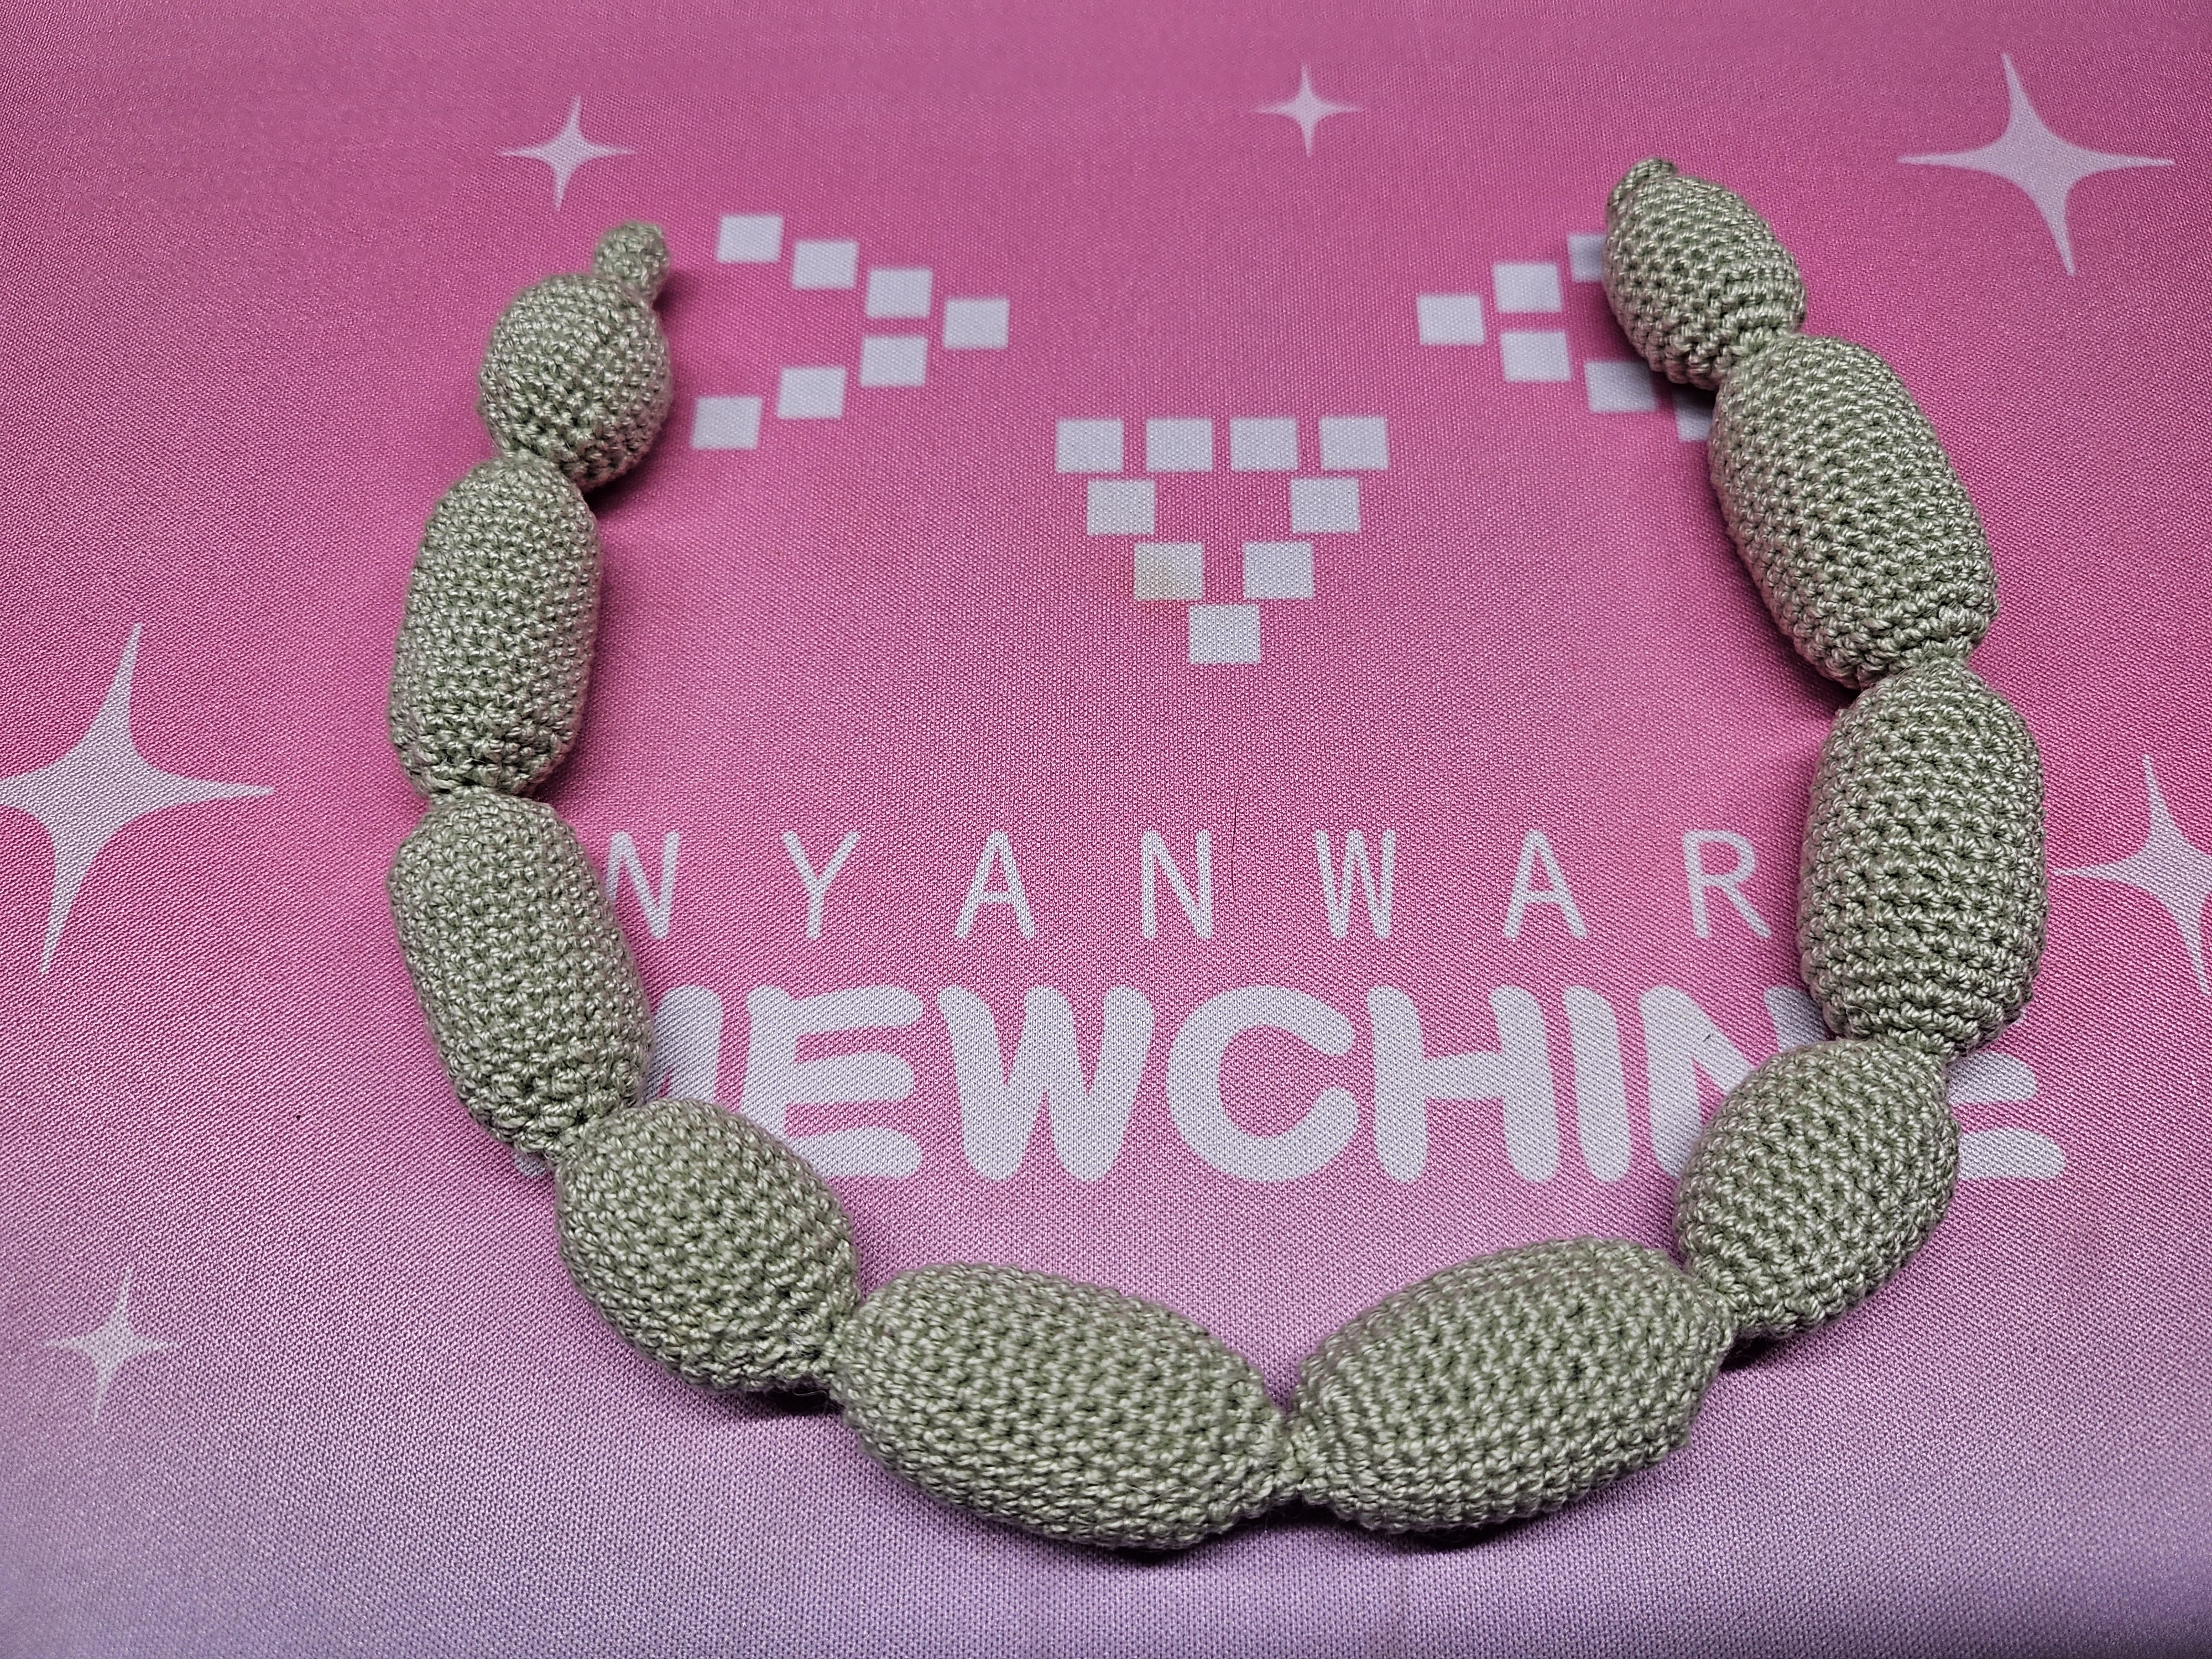
The entire dog begins as one continuous stuffed crochet form divided into ten sections. Once the sections are complete, they are folded and twisted into the final balloon-animal shape.
Use the finished dog as a playful desk decoration, or add simple hardware to turn it into a keychain, brooch or bag charm.
For the exact stitch counts and segment lengths, follow the complete Crochetnotes video tutorial.
What You’ll Make
This tutorial creates one crochet balloon dog featuring:
- One continuous no-sew construction
- Ten individually shaped sections
- A rounded muzzle and head
- Two balloon-style ears
- Four legs
- A body, neck and curved tail
- Optional keychain, brooch or charm finish
Materials Used
- Worsted weight yarn in your preferred color
- 3 mm crochet hook
- Polyfill stuffing
- Yarn needle for weaving in the ends
- Scissors
- Stitch marker
- Keyring or lobster clasp, optional
- Brooch pin, optional
The thumbnail shows a muted sage green, which gives the balloon dog a soft, modern look. Orange, red or bright pink would create a more traditional party-balloon effect.
Crochet Abbreviations
This tutorial uses US crochet terms.
- MR: Magic ring
- sc: Single crochet
- inc: Increase—work 2 single crochet stitches into one stitch
- dec: Decrease—single crochet 2 stitches together
Understanding the Construction
Instead of crocheting and sewing multiple pieces, you will make one long amigurumi form with ten stuffed sections.
After the crochet is complete, the sections become:
- Muzzle and head
- First ear
- Second ear
- Neck
- First front leg
- Second front leg
- Body
- First back leg
- Second back leg
- Tail
The narrow spaces between these sections work like the uninflated areas of a real modeling balloon. They allow the piece to bend and twist into shape.
Step 1: Begin the First Section
Start with a magic ring and work in continuous rounds using single crochet stitches. Use a stitch marker to identify the beginning of each round.
The first section establishes the overall thickness of the balloon dog. Maintain firm, even tension so the stuffing will not show through the stitches.
Follow the first section from 0:26 in the video.
Step 2: Stuff as You Crochet
Add small amounts of polyfill as each section grows. Do not wait until the entire piece is finished, because it will become difficult to push stuffing through the narrow connecting areas.
The finished sections should feel rounded and firm, but they must still be flexible enough to bend during assembly.
A useful approach is to:
- Add stuffing in several small pieces.
- Push it gently into the center of each section.
- Keep the connecting areas mostly free of stuffing.
- Check that every section has a similar thickness.
Overstuffing can make the balloon dog difficult to twist. Understuffing may cause the legs and ears to lose their rounded shape.
Step 3: Continue the Ten Segments
After finishing the first section, continue directly into the remaining sections without cutting the yarn.
The later sections are created using the same basic amigurumi techniques, but their lengths vary according to their final purpose. The ear, leg, body and tail sections should not all be the same size.
Follow the exact segment lengths demonstrated in the video:
- Segment 2 begins at 4:32
- Segments 3 and 4 begin around 6:30
- Segments 5 and 6 begin at 6:48
- Segment 7 begins at 7:11
- Segments 8 and 9 begin at 7:20
- Segment 10 begins at 7:41
Count carefully and keep the spaces between the sections flexible. These small gaps are essential for the twisting step.
Step 4: Twist the Ears
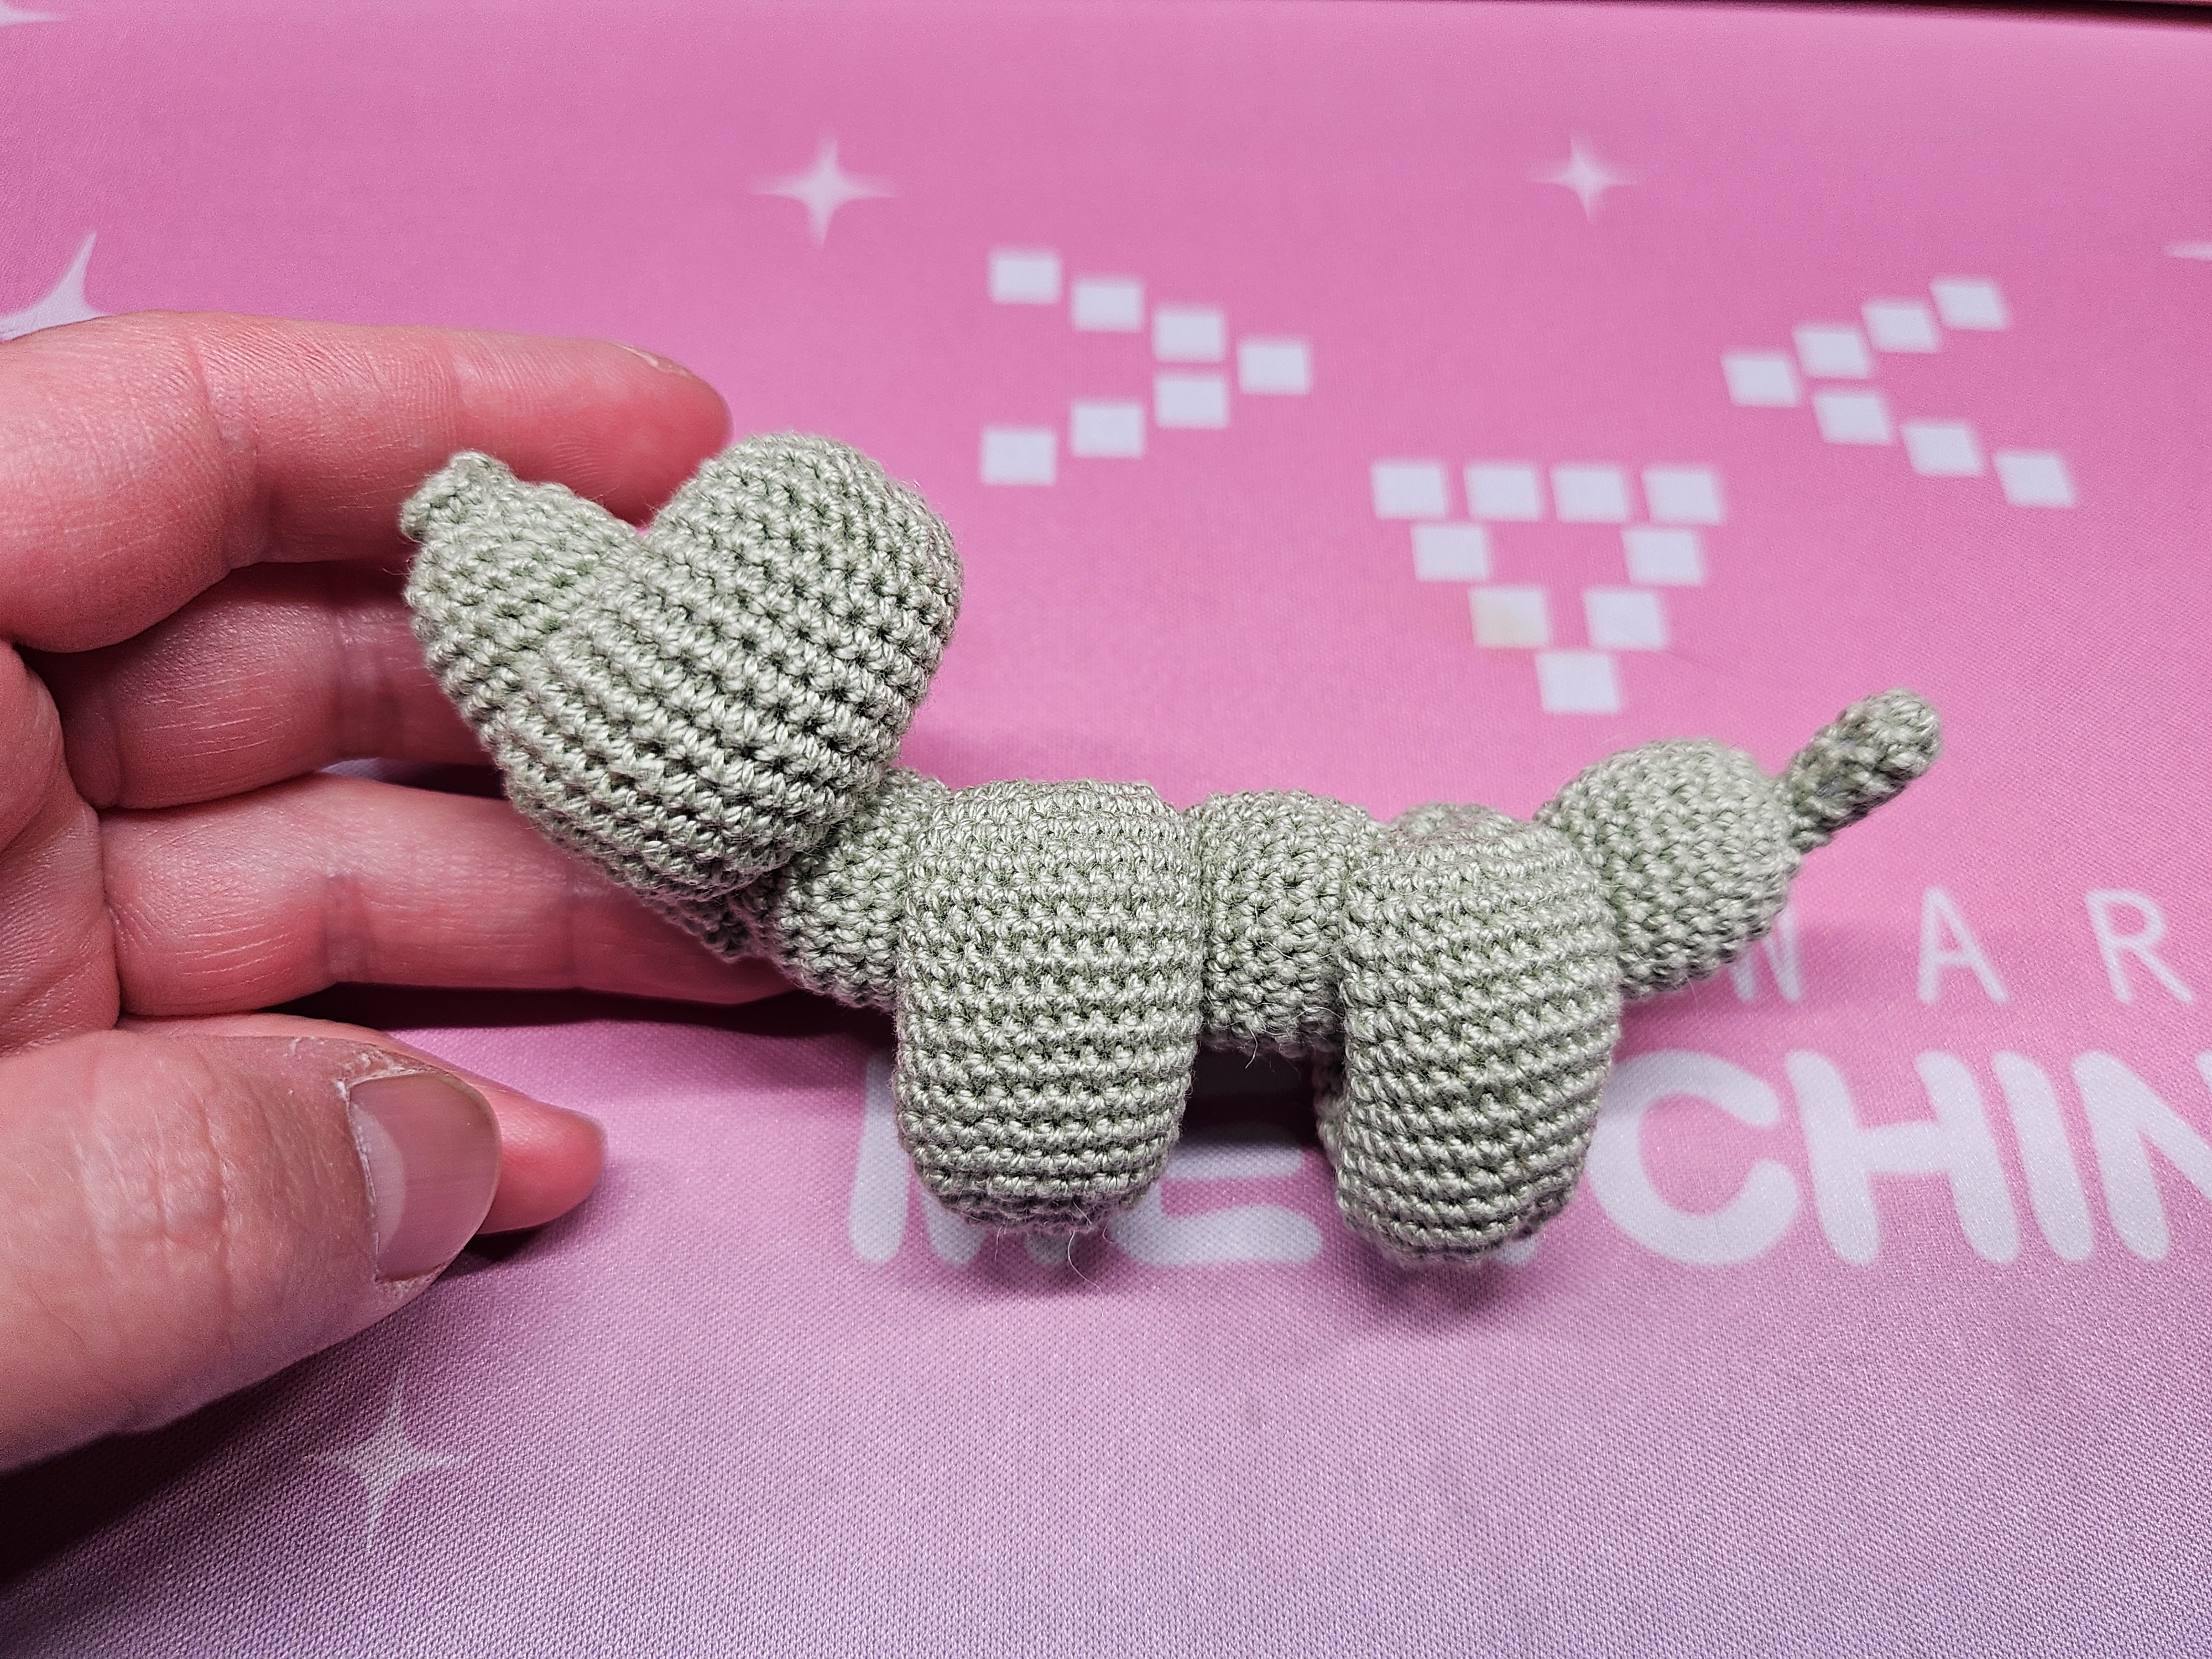
Fold the second and third sections together to form the two ears. Twist them carefully at their base, leaving the first section facing forward as the muzzle and head.
Arrange the ears evenly rather than pulling one section tighter than the other. You can adjust their direction again after the remaining parts are assembled.
Step 5: Form the Front Legs
Leave the fourth section upright as the neck. Bring the fifth and sixth sections together and twist them at their base to create the front-leg pair.
The legs should sit below the head and point toward the floor. If the dog leans forward, adjust the twist or redistribute the stuffing slightly.
Step 6: Form the Back Legs
Keep the seventh section between the leg pairs as the body. Fold and twist sections eight and nine to form the back legs.
The body should remain approximately horizontal once both pairs of legs are positioned.
Step 7: Shape the Tail
Leave the tenth section extending from the back-leg twist as the tail. Gently curve it upward to complete the balloon-dog silhouette.
Watch the full folding and twisting process beginning at 8:00.
Do not pull the crochet fabric aggressively. Gradual adjustments will protect the stitches and help the dog keep a balanced shape.
Finishing Options
Keychain
Attach a keyring or lobster clasp through secure stitches near the top of the body or neck. Test the attachment before using it on keys or a bag.
Bag Charm
Use a short chain, cord or clasp to hang the dog from a tote bag, backpack or crochet project bag.
Brooch
Secure a brooch pin to the back of the body. Position it horizontally so the balloon dog remains level when worn.
Small Decoration
Leave off the hardware and display the finished dog on a shelf, desk or party table.
See the finishing ideas at 8:29.
Color Ideas
The simple silhouette works in almost any color:
- Sage green for a calm, modern look
- Orange for a classic balloon-animal style
- Cherry red for a bold keychain
- Bubblegum pink for a playful gift
- Cream or beige for neutral home décor
- Metallic-look gray for a sculpture-inspired version
- Rainbow or variegated yarn for a colorful party design
For craft markets or handmade gifts, make several dogs in different colors and let the recipient choose a favorite.
Tips for a Better Shape
- Use firm tension to keep the stuffing hidden.
- Add stuffing before each narrow connecting section.
- Keep the connecting areas soft enough to bend.
- Do not overstuff the ears or legs.
- Twist the paired sections gradually.
- Compare the front and back legs before completing the final adjustment.
- Use a smooth yarn so the balloon-like shape remains visible.
- Secure the yarn ends carefully even though the project requires no assembly sewing.
Watch the Complete Video Tutorial
The most important part of this project is seeing how the ten sections are sized, positioned and twisted. Watch the complete tutorial for the exact stitch counts and real-time assembly:
▶️ [Watch the No-Sew Crochet Balloon Dog Tutorial on YouTube](https://youtu.be/Zr67qmYxC6E)
Would you make yours in sage green, classic orange or a bright balloon color? Share your color choice in the comments. 🎈
Made with yarn, shared with love. 🧶💗
Watch every stitch up close
Pair these written notes with the complete video tutorial.
Made with yarn, shared with love. 🧶💗