
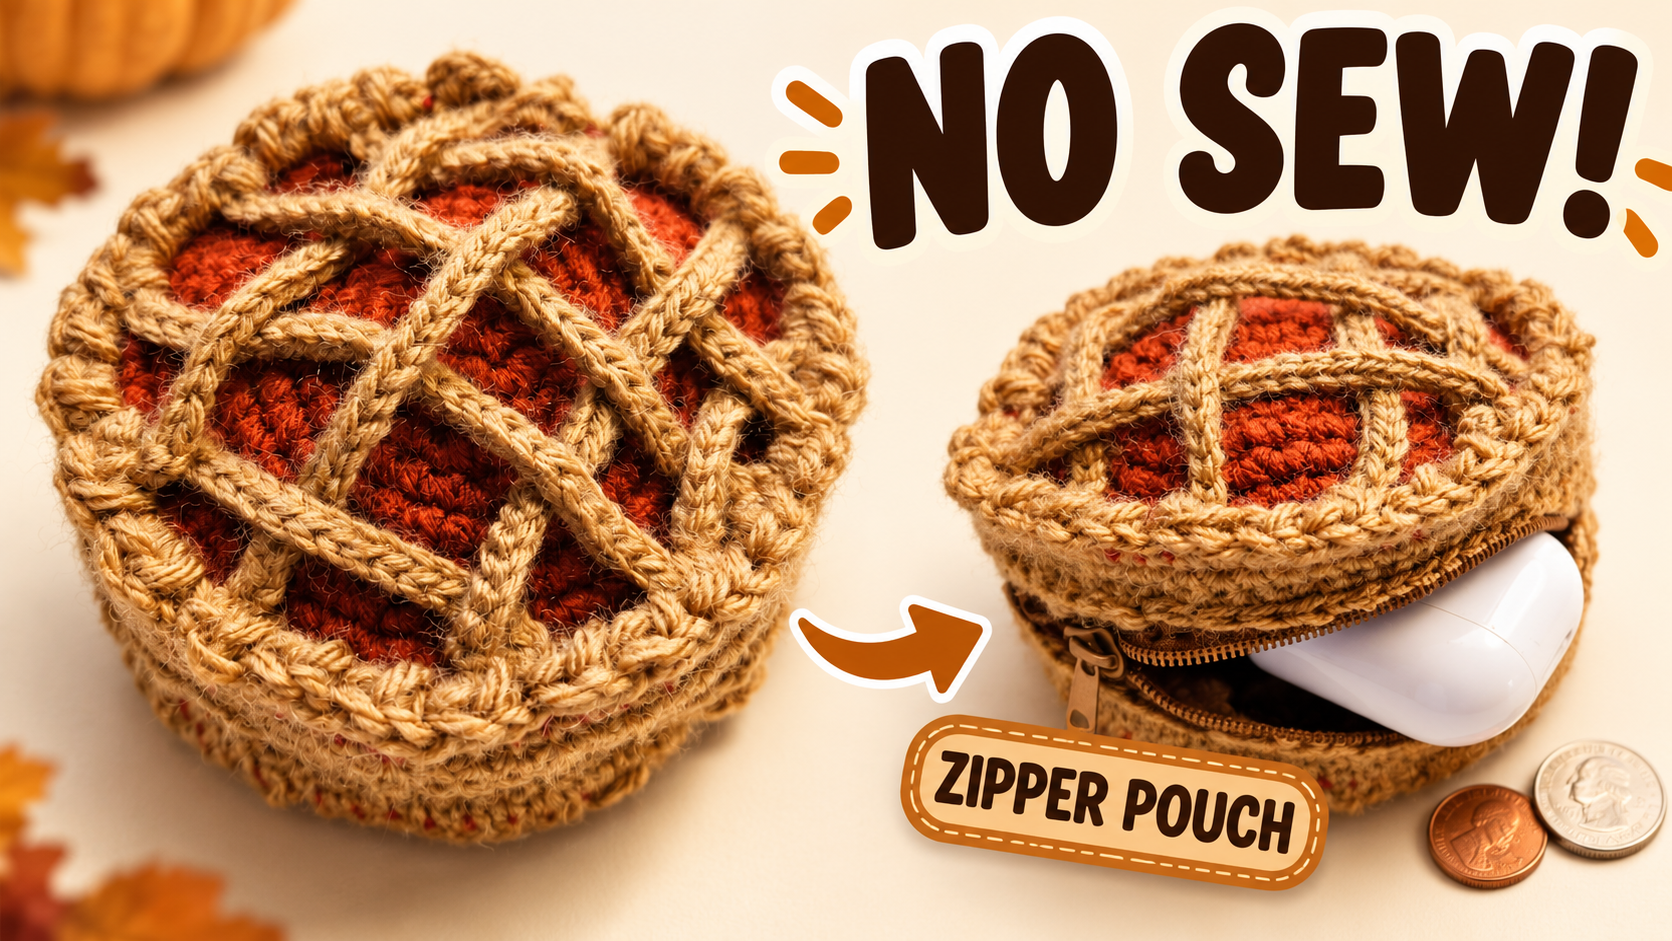
Looking for a small fall crochet project that is cute and actually useful? 🥧 This no-sew pumpkin pie pouch has a round pie face, a zipper opening, a woven lattice top, and a textured crust around the edge. It is a fun little place to keep AirPods, coins, lip balm, or a tiny handmade gift.
What you’ll make
- One round pumpkin pie zipper pouch
- A matching front and back pie face
- A shallow crocheted side for depth
- A woven lattice topping
- A textured pie-crust edge
Materials
- Orange or rust-colored yarn -I used worsted yarn(medium)
- Cream, beige, or tan yarn for the lattice and crust
- A zipper that fits across the center of your pouch
- A crochet hook suitable for your yarn-I used 3mm hook
- Scissors and yarn needle
- Stitch marker
- Optional: a pointed tool or fork to help make holes in the zipper tape
> 💡 Tip: Use yarns with a similar thickness so the two pie halves line up neatly. A smooth cotton or cotton-blend yarn gives the pouch a firmer shape.
Abbreviations
- ch — chain
- sc — single crochet
- sl st — slip stitch
- inc — single crochet increase
Before you begin
- This pouch is made from two matching pie halves.
- The zipper is crocheted directly into the pouch, so make the holes evenly before you begin.
- The lattice strip lengths can change depending on your yarn stretch and how open you want the design to look.
- Keep the first pie half with its yarn tail attached for the final join.
# Part One: Crochet the pie face
Begin with your orange yarn and crochet a flat, round pie face. Follow the round-by-round chart shown in the video.
A helpful checkpoint:
- Round 10: `(4 sc, inc, 4 sc) × 6` — 60 stitches
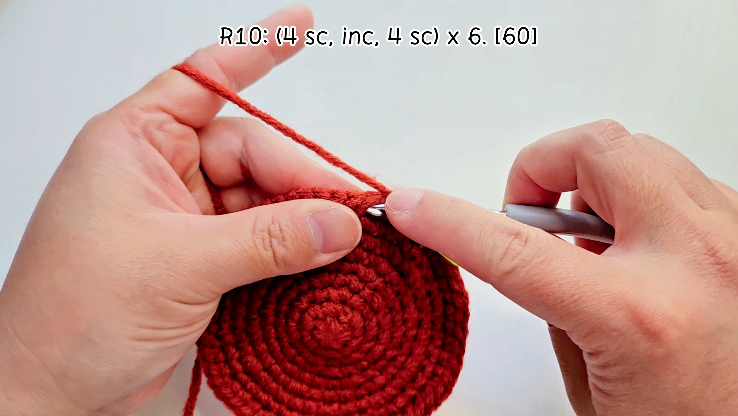
*The pie face after Round 10. Check that your circle stays smooth and flat before continuing.*
▶️ Watch the pie face from 00:21
# Part Two: Add depth and the zipper
Crochet a short side section around the pie face to create enough depth for small essentials. Then prepare your zipper and attach it along the center opening.
If your crochet hook cannot easily go through the zipper tape, make small holes first with a pointed tool or the tip of a fork. Try to keep the spacing even so the edge looks clean.
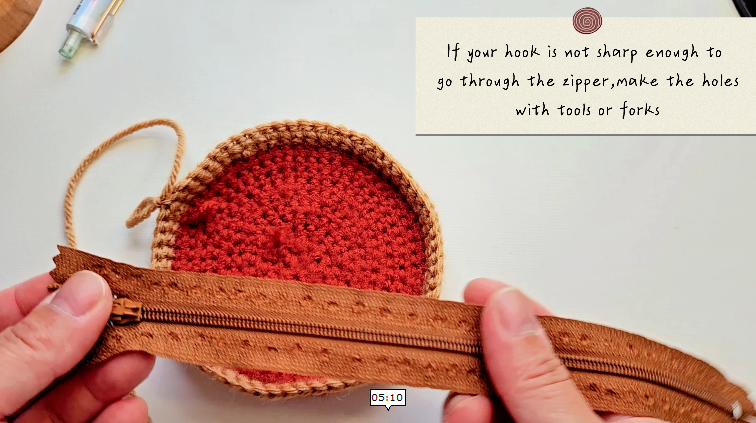
*Small, even holes make it much easier to crochet directly into the zipper tape.*
▶️ Watch the depth section from 04:20 ▶️ Watch the zipper attachment from 05:02
# Part Three: Make the second pie half
Make another pie face in the same way. This second half should match the first one, but leave a yarn end attached because you will use it to connect the pouch together later.
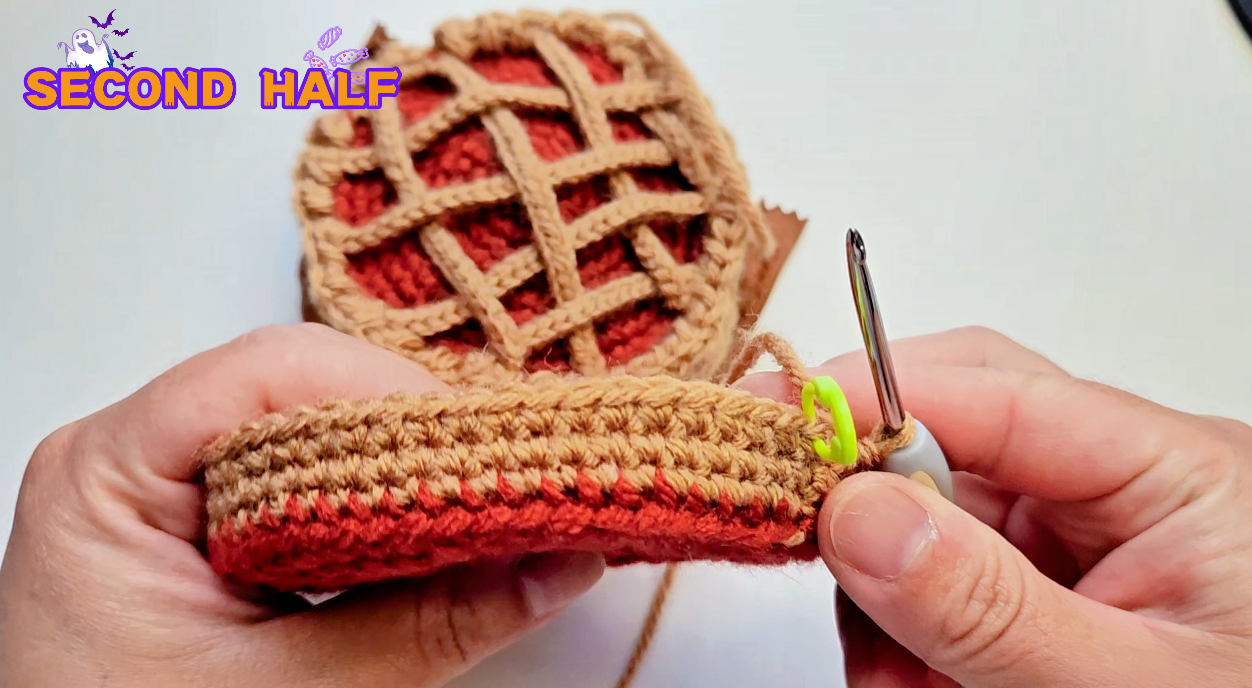
*Make a matching second pie face and keep the yarn tail for joining.*
▶️ See the second half and final join from 08:28
# Part Four: Add the lattice topping
The lattice is crocheted directly onto the pie rather than sewn on afterward. This keeps the project soft, neat, and beginner-friendly.
For my pouch, I tested strips of around 20, 25, 23, and 10 stitches. Your exact lengths may be slightly different depending on your yarn and the look you want.
- Crochet the first four strips and secure both ends to the pie edge.
- Crochet the next four strips and attach only the first end.
- Weave these strips over and under the first set.
- Adjust the spacing, then secure the remaining ends.
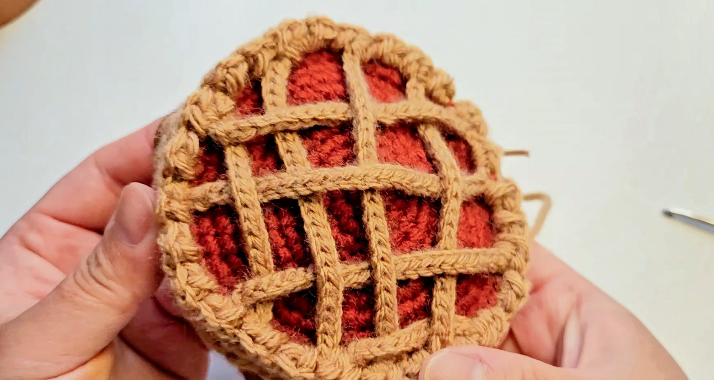
*The woven lattice gives the pouch its classic pumpkin-pie look.*
▶️ Watch the lattice step from 06:03
# Part Five: Crochet the pie crust and finish the pouch
Add the cream crust around the outer edge to frame the pie. Continue with single crochet until you reach the end of the zipper, then work the short finishing rows shown in the video.
To close the pouch, line up the two pie halves and use slip stitches around the outer edge. Make sure the zipper is sitting neatly in the middle before closing the final section.
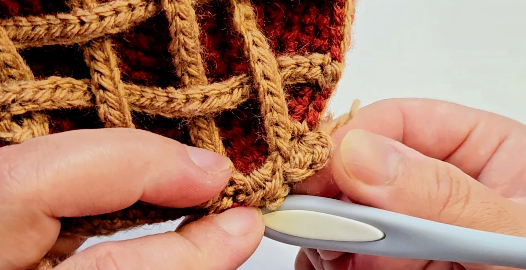
*Join the two halves neatly around the edge to complete the pouch.*
▶️ Watch the crust and finishing from 07:28
Make it your own ✨
Try a warm burnt-orange filling with a light cream crust for a classic pie look. For a softer version, use dusty pink, caramel, sage, or even a playful pastel color palette.
You can also change the zipper color to create contrast—dark brown, cream, orange, or gold all work beautifully for fall.
Finishing
Weave in the yarn ends and gently shape the pouch so the round pie faces sit evenly. Open and close the zipper a few times before trimming any final ends.
This little pouch is small enough to finish quickly, but the lattice and crust make it feel extra special. I think it would be adorable as a fall gift with a lip balm or tiny treat tucked inside. 🍂
Watch the full video tutorial
For the complete stitch demonstrations, on-screen chart, zipper placement, lattice weaving, and finishing steps, watch the full Crochetnotes tutorial here:
▶️ Watch the No-Sew Crochet Pumpkin Pie Pouch video tutorial The size of your circle should work well with your zipper, so keep comparing as you go.
Watch every stitch up close
Pair these written notes with the complete video tutorial.
Made with yarn, shared with love. 🧶💗