
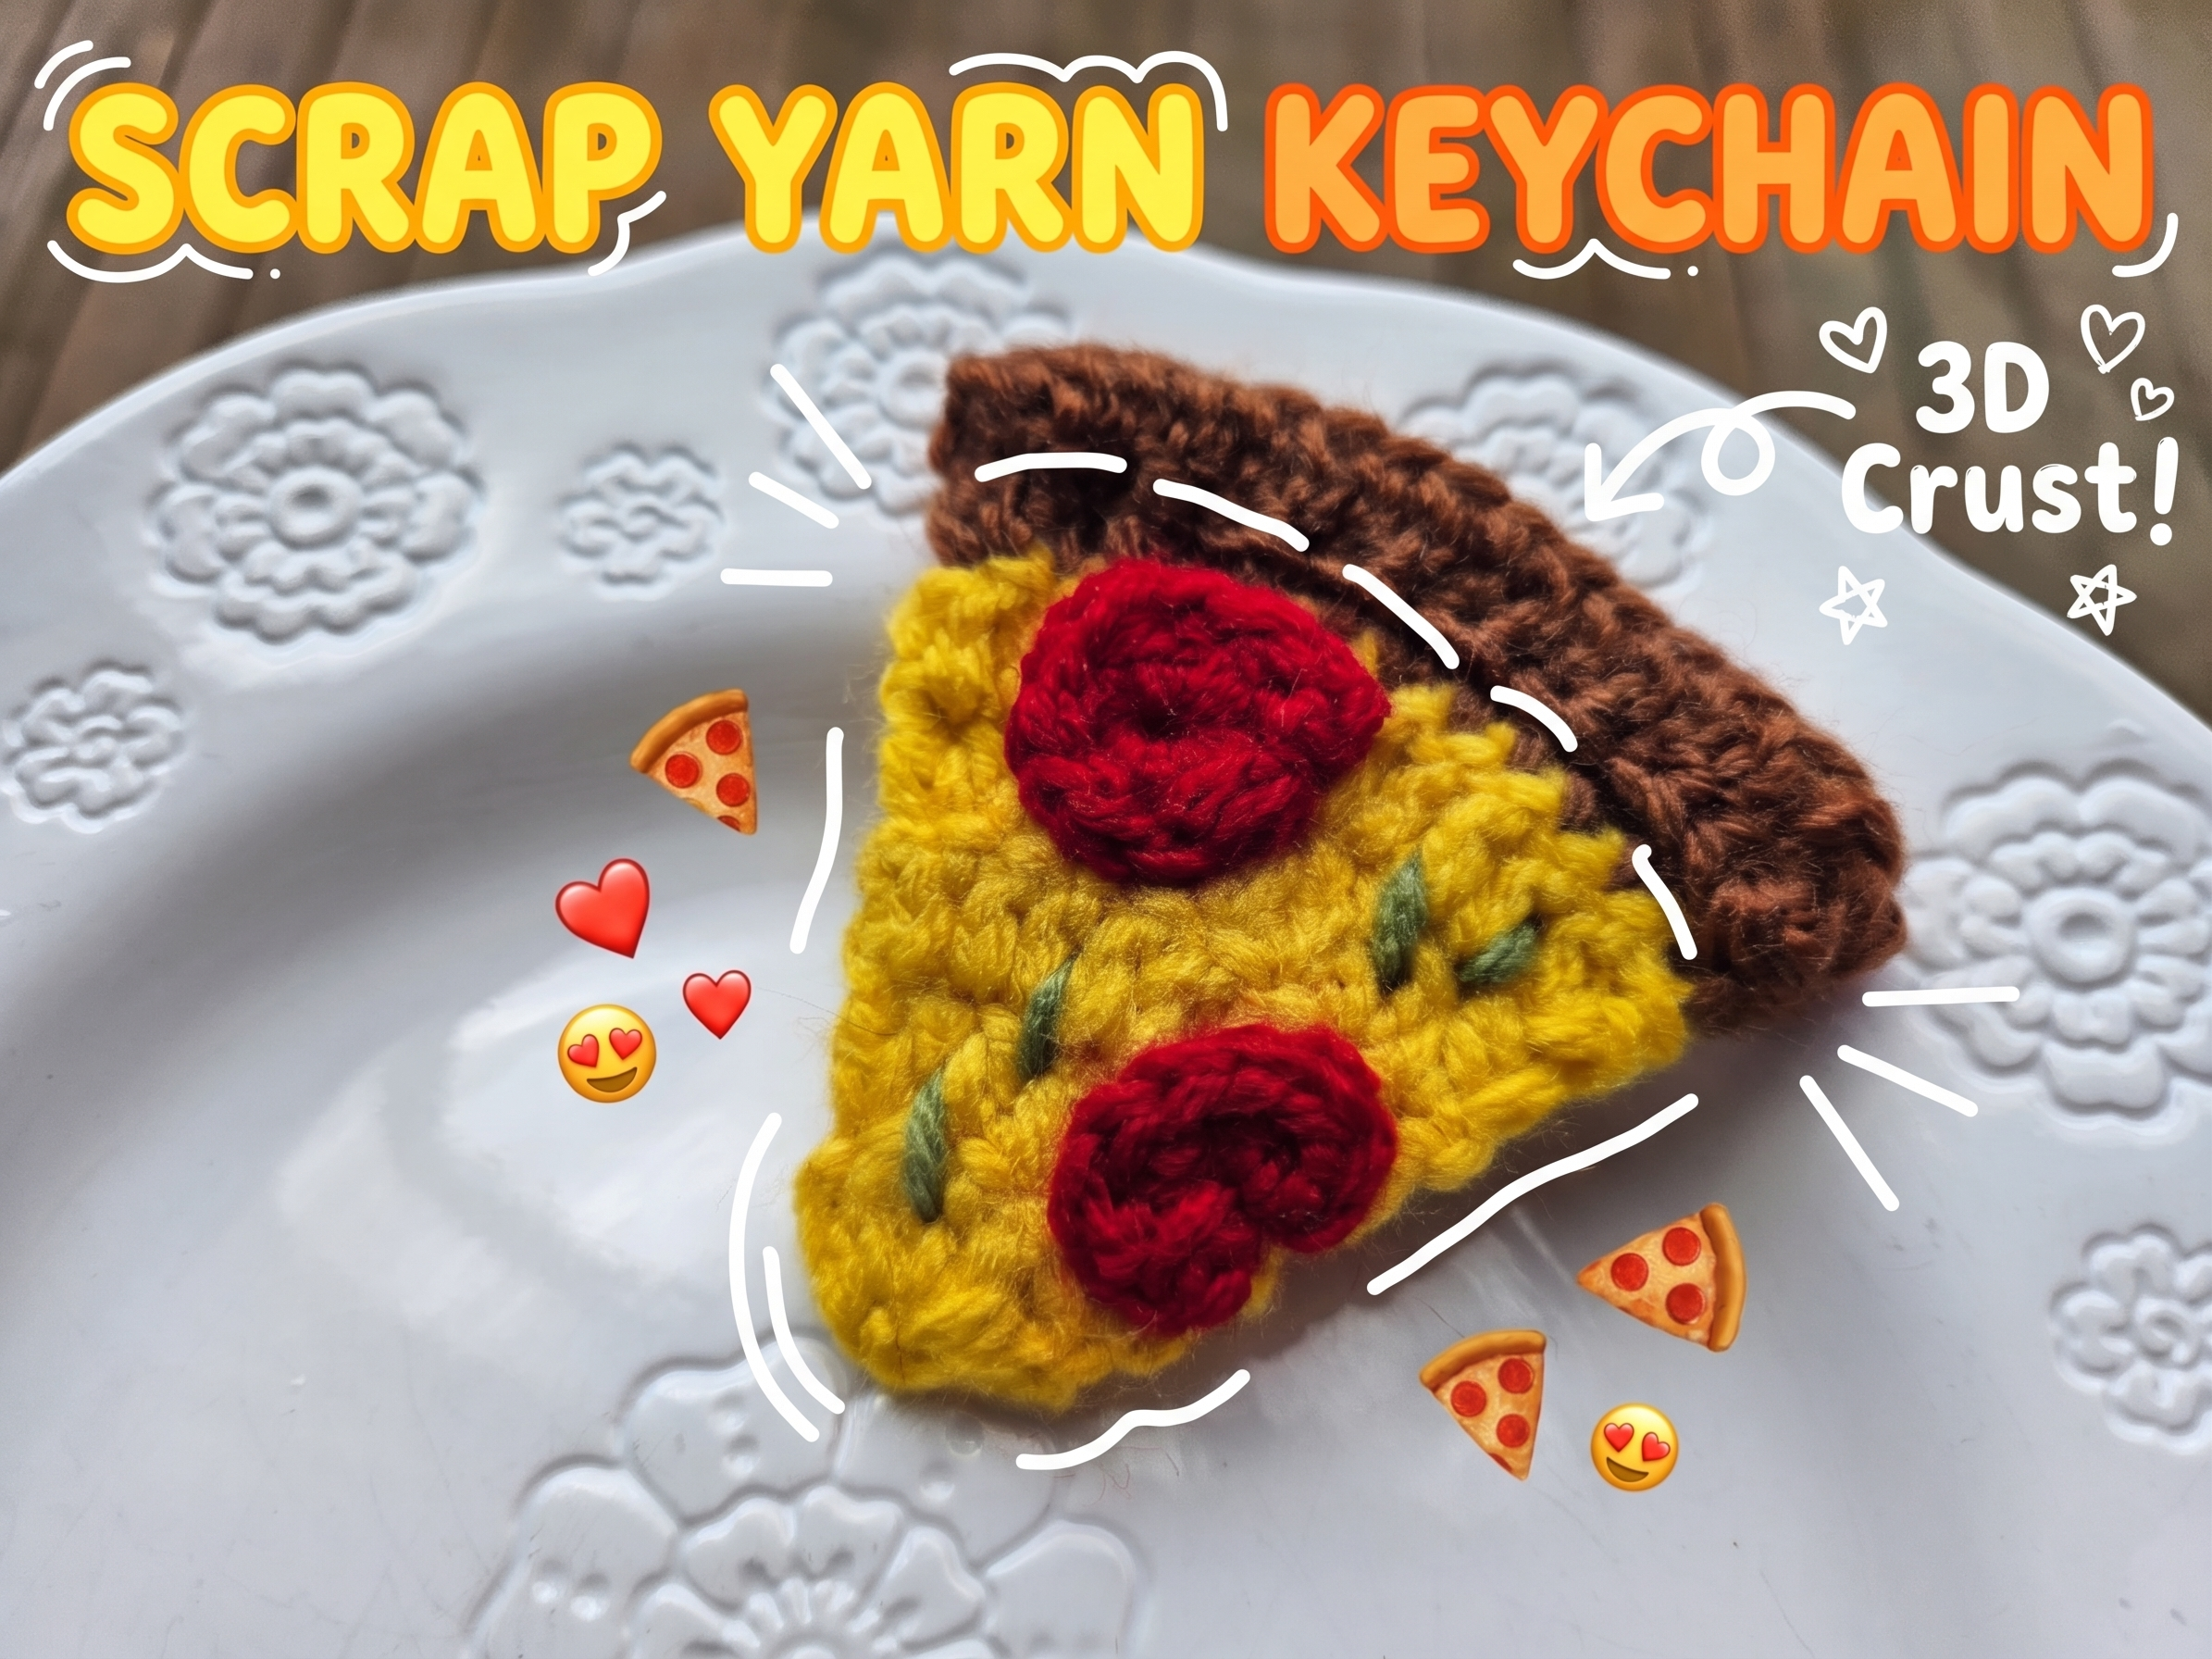
# Quick Crochet Pizza Slice Tutorial: Easy Keychain or Fridge Magnet
Looking for a fun way to use those tiny amounts of leftover yarn? This little crochet pizza slice is colorful, quick to make, and easy to turn into a keychain, bag charm, or fridge magnet. 🍕
The project begins with a flat cheese-colored base, then adds a dimensional crust and simple toppings. It is a satisfying scrap-yarn project when you want to crochet something cute without starting a large new make.
What You’ll Make
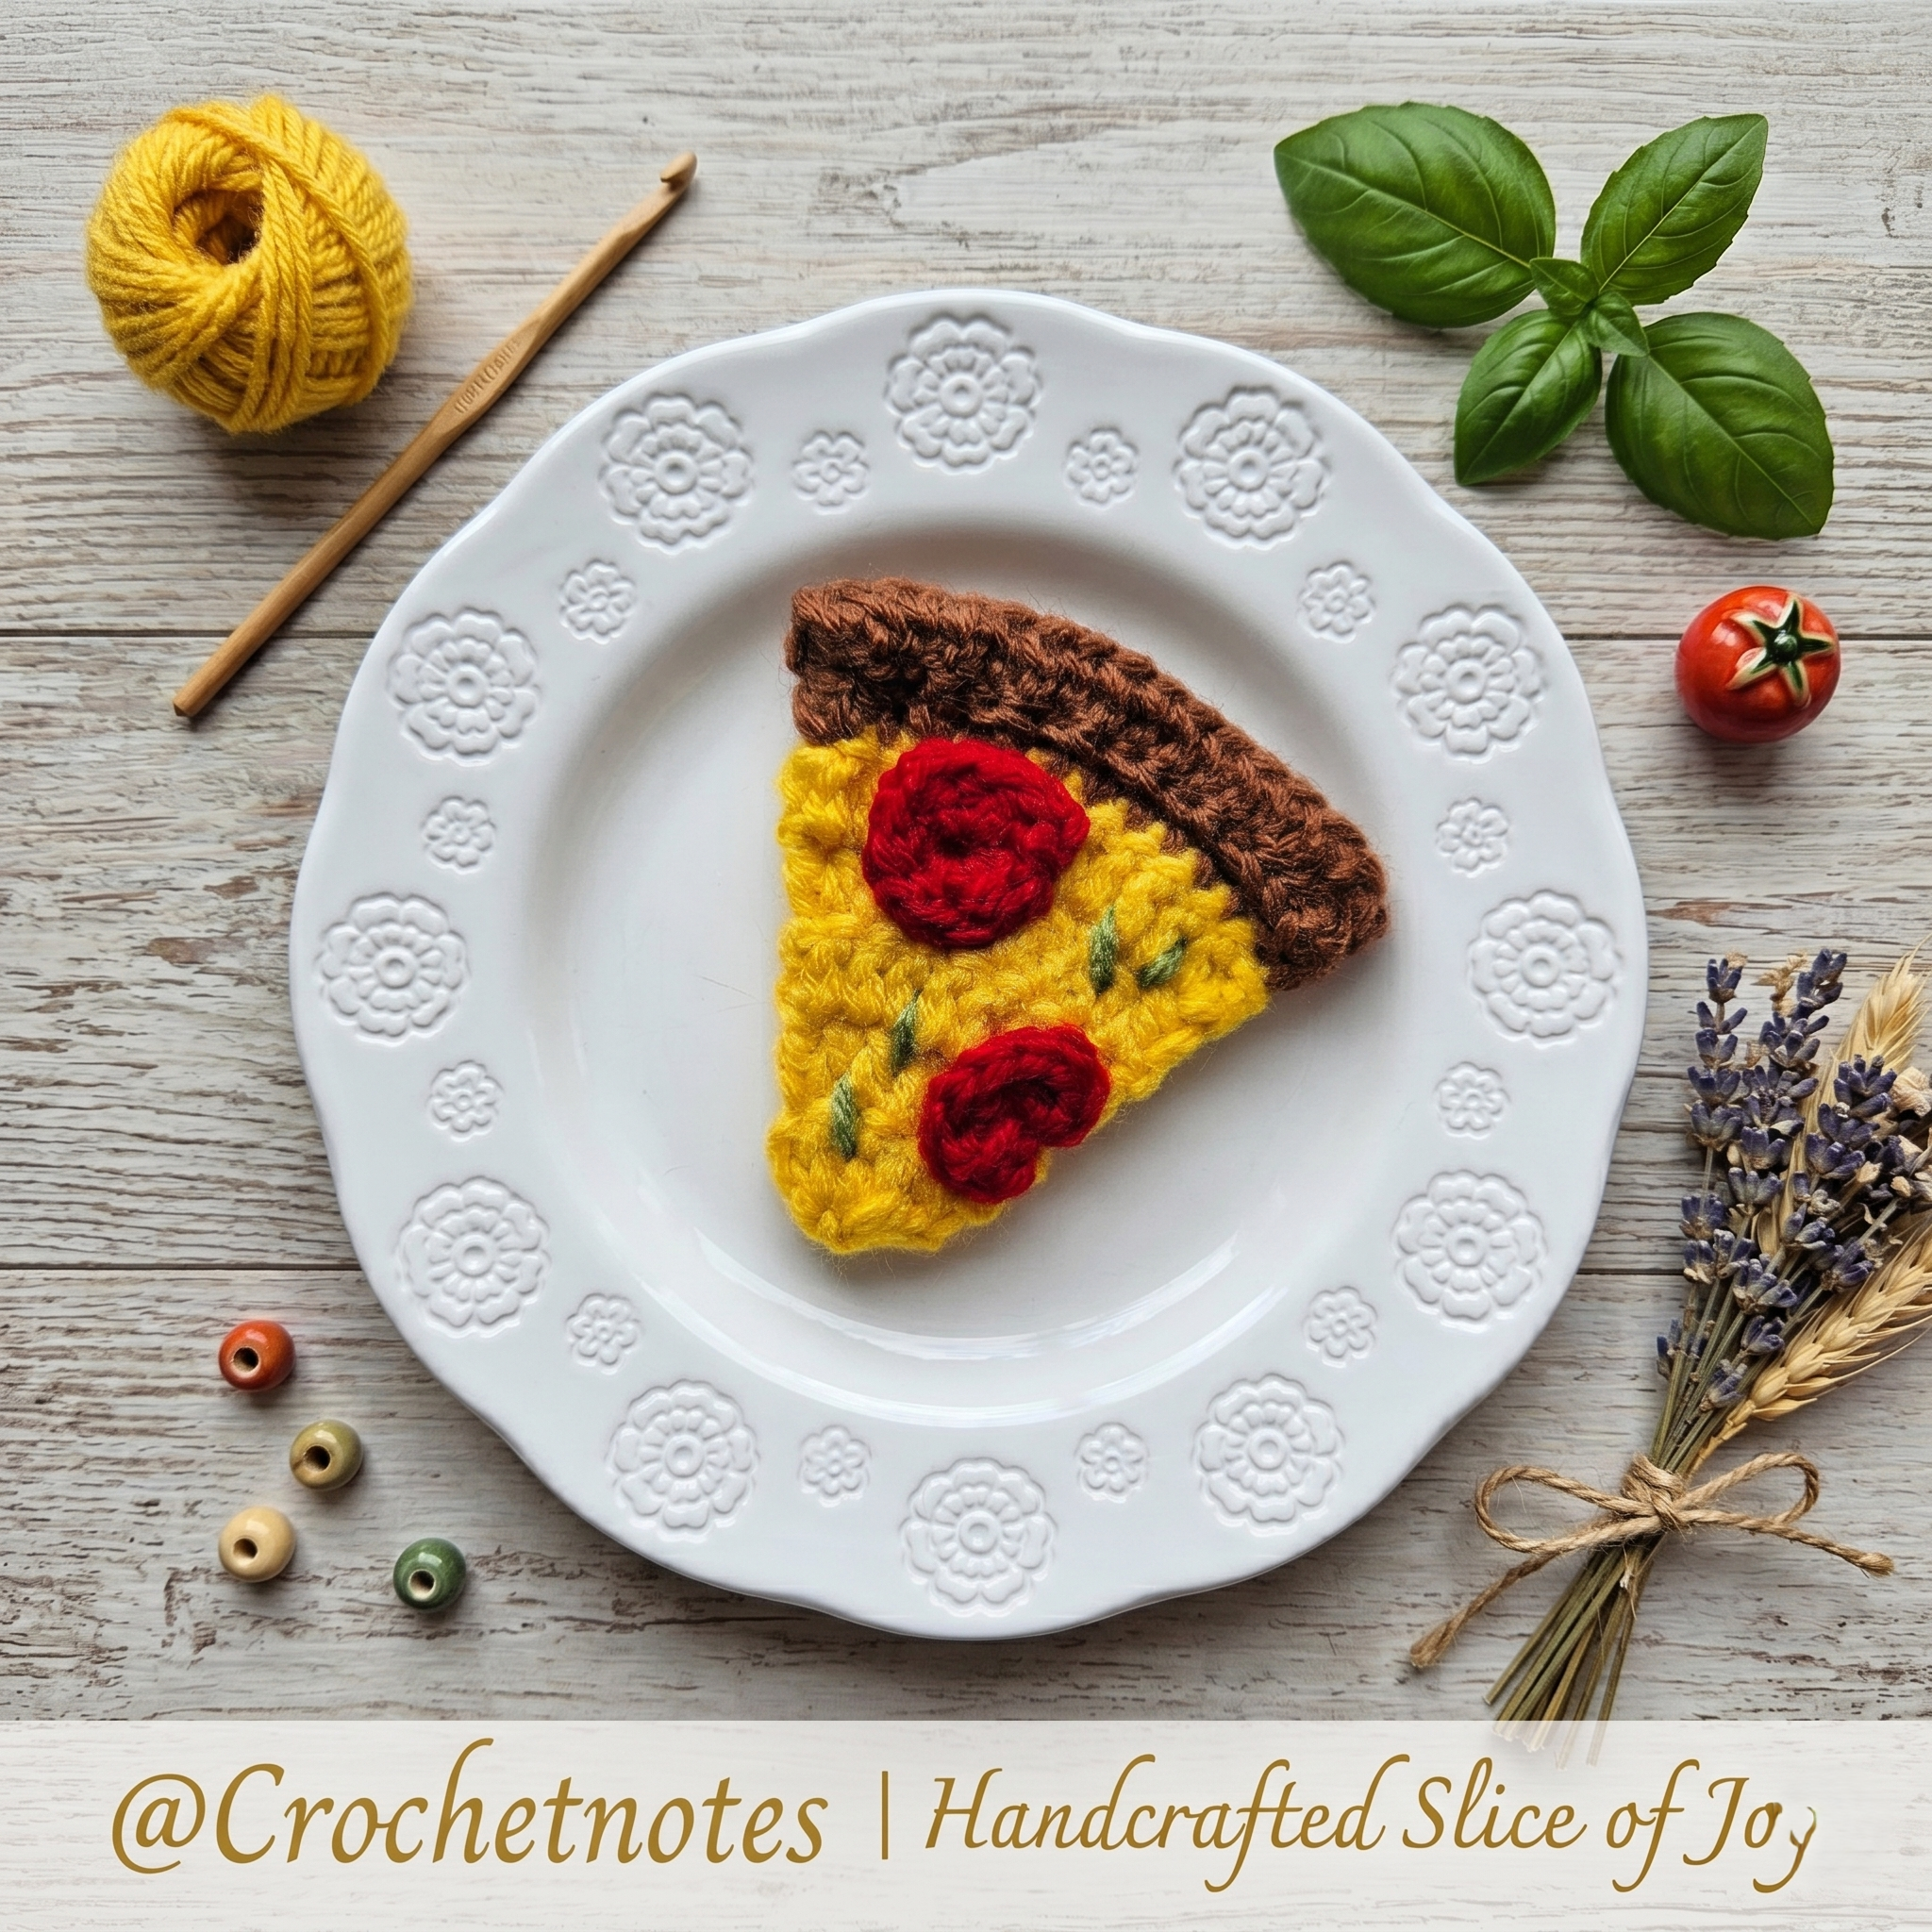
A miniature crochet pizza slice featuring:
- A triangular cheese base
- A dimensional crochet crust
- Small pepperoni pieces
- Embroidered green pepper details
- An optional keychain ring or magnet
The finished pizza is small enough to decorate keys, backpacks, project bags, or a refrigerator.
Materials
- Small amount of yellow yarn for the cheese
- Small amount of tan or brown yarn for the crust
- Small amount of red yarn for the pepperoni
- Green yarn for the embroidered pepper pieces
- Crochet hook suitable for your chosen yarn
- Yarn needle
- Scissors
- Stitch marker, if needed
- Optional key ring, lobster clasp, or small craft magnet
This is a scrap-friendly project, so matching every color exactly is not necessary. Use the leftover yarn already in your stash and choose a hook that creates neat, firm stitches.
Before You Begin
Try to use yarns of a similar thickness so the toppings and crust stay in proportion with the pizza base.
Keep your tension even while shaping the triangular base. If the stitches become too tight, the slice may curl; if they are too loose, it may lose its clean shape.
For the exact stitch placement and counts, follow the full Crochetnotes video tutorial while you work.
How to Crochet the Pizza Slice
1. Crochet the Cheese Base
Begin with the yellow yarn and work the main triangular section of the pizza.
The increases create the widening pizza-slice shape. Lay the piece flat occasionally to check that both sides remain balanced and the point stays centered.
Watch this section from 0:16 in the video.
2. Make the Dimensional Crust
Change to the crust color and form the raised edge across the widest part of the slice.
This three-dimensional section gives the pizza its recognizable shape. Keep the crust even from one side to the other and avoid pulling the joining stitches too tightly.
Watch the crust construction from 3:47.
3. Add the Pepperoni
Use red yarn to crochet the small pepperoni pieces, then position them across the cheese section.
Before securing them permanently, arrange all the pieces on the pizza. Leaving a little yellow space between the toppings helps each detail remain visible.
Watch this step from 4:00.
4. Embroider the Green Pepper
Thread the green yarn onto a yarn needle and add small curved or angled stitches to resemble green pepper.
Keep the embroidery relaxed so it rests on the surface without puckering the pizza base.
Watch the embroidery section from 5:15.
5. Finish Your Pizza
Weave in the remaining yarn ends and gently shape the crust and point of the slice.
You can leave it as a miniature crochet decoration or add:
- A key ring for a playful keychain
- A lobster clasp for a removable bag charm
- A small magnet on the back for refrigerator decor
- A loop of yarn for a hanging ornament
Helpful Tips
- Use firm, even tension for a tidy miniature shape.
- Position the toppings before sewing them down.
- Sew keychain hardware through several stitches rather than only one loop.
- If using a magnet, make sure it is firmly attached and keep it away from small children and pets.
- Block the piece lightly with your fingers instead of stretching it flat.
Color Ideas
Classic pizza colors are always fun, but this project is easy to personalize:
- Cream cheese with pink and red toppings
- Pastel colors for a kawaii-style pizza
- Orange and purple for a Halloween pizza
- Red, green, and cream for a Christmas ornament
- Your favorite pizza toppings recreated with scrap yarn
You could also embroider mushrooms, olives, pineapple, or tiny leaves to make every slice different. Which topping would you add first? 🍕🧶
Watch the Complete Video Tutorial
The written overview helps you prepare the materials and understand the construction, but the video shows the exact stitch placement, shaping, crust construction, and topping assembly.
▶️ [Watch the complete Crochet Pizza Slice Tutorial on YouTube](https://youtu.be/p8IztStu7-0)
If you make your own pizza slice, try turning it into a keychain, magnet, or bag charm—and share which toppings you chose.
Made with yarn, shared with love. 🧶💗
Watch every stitch up close
Pair these written notes with the complete video tutorial.
Made with yarn, shared with love. 🧶💗