
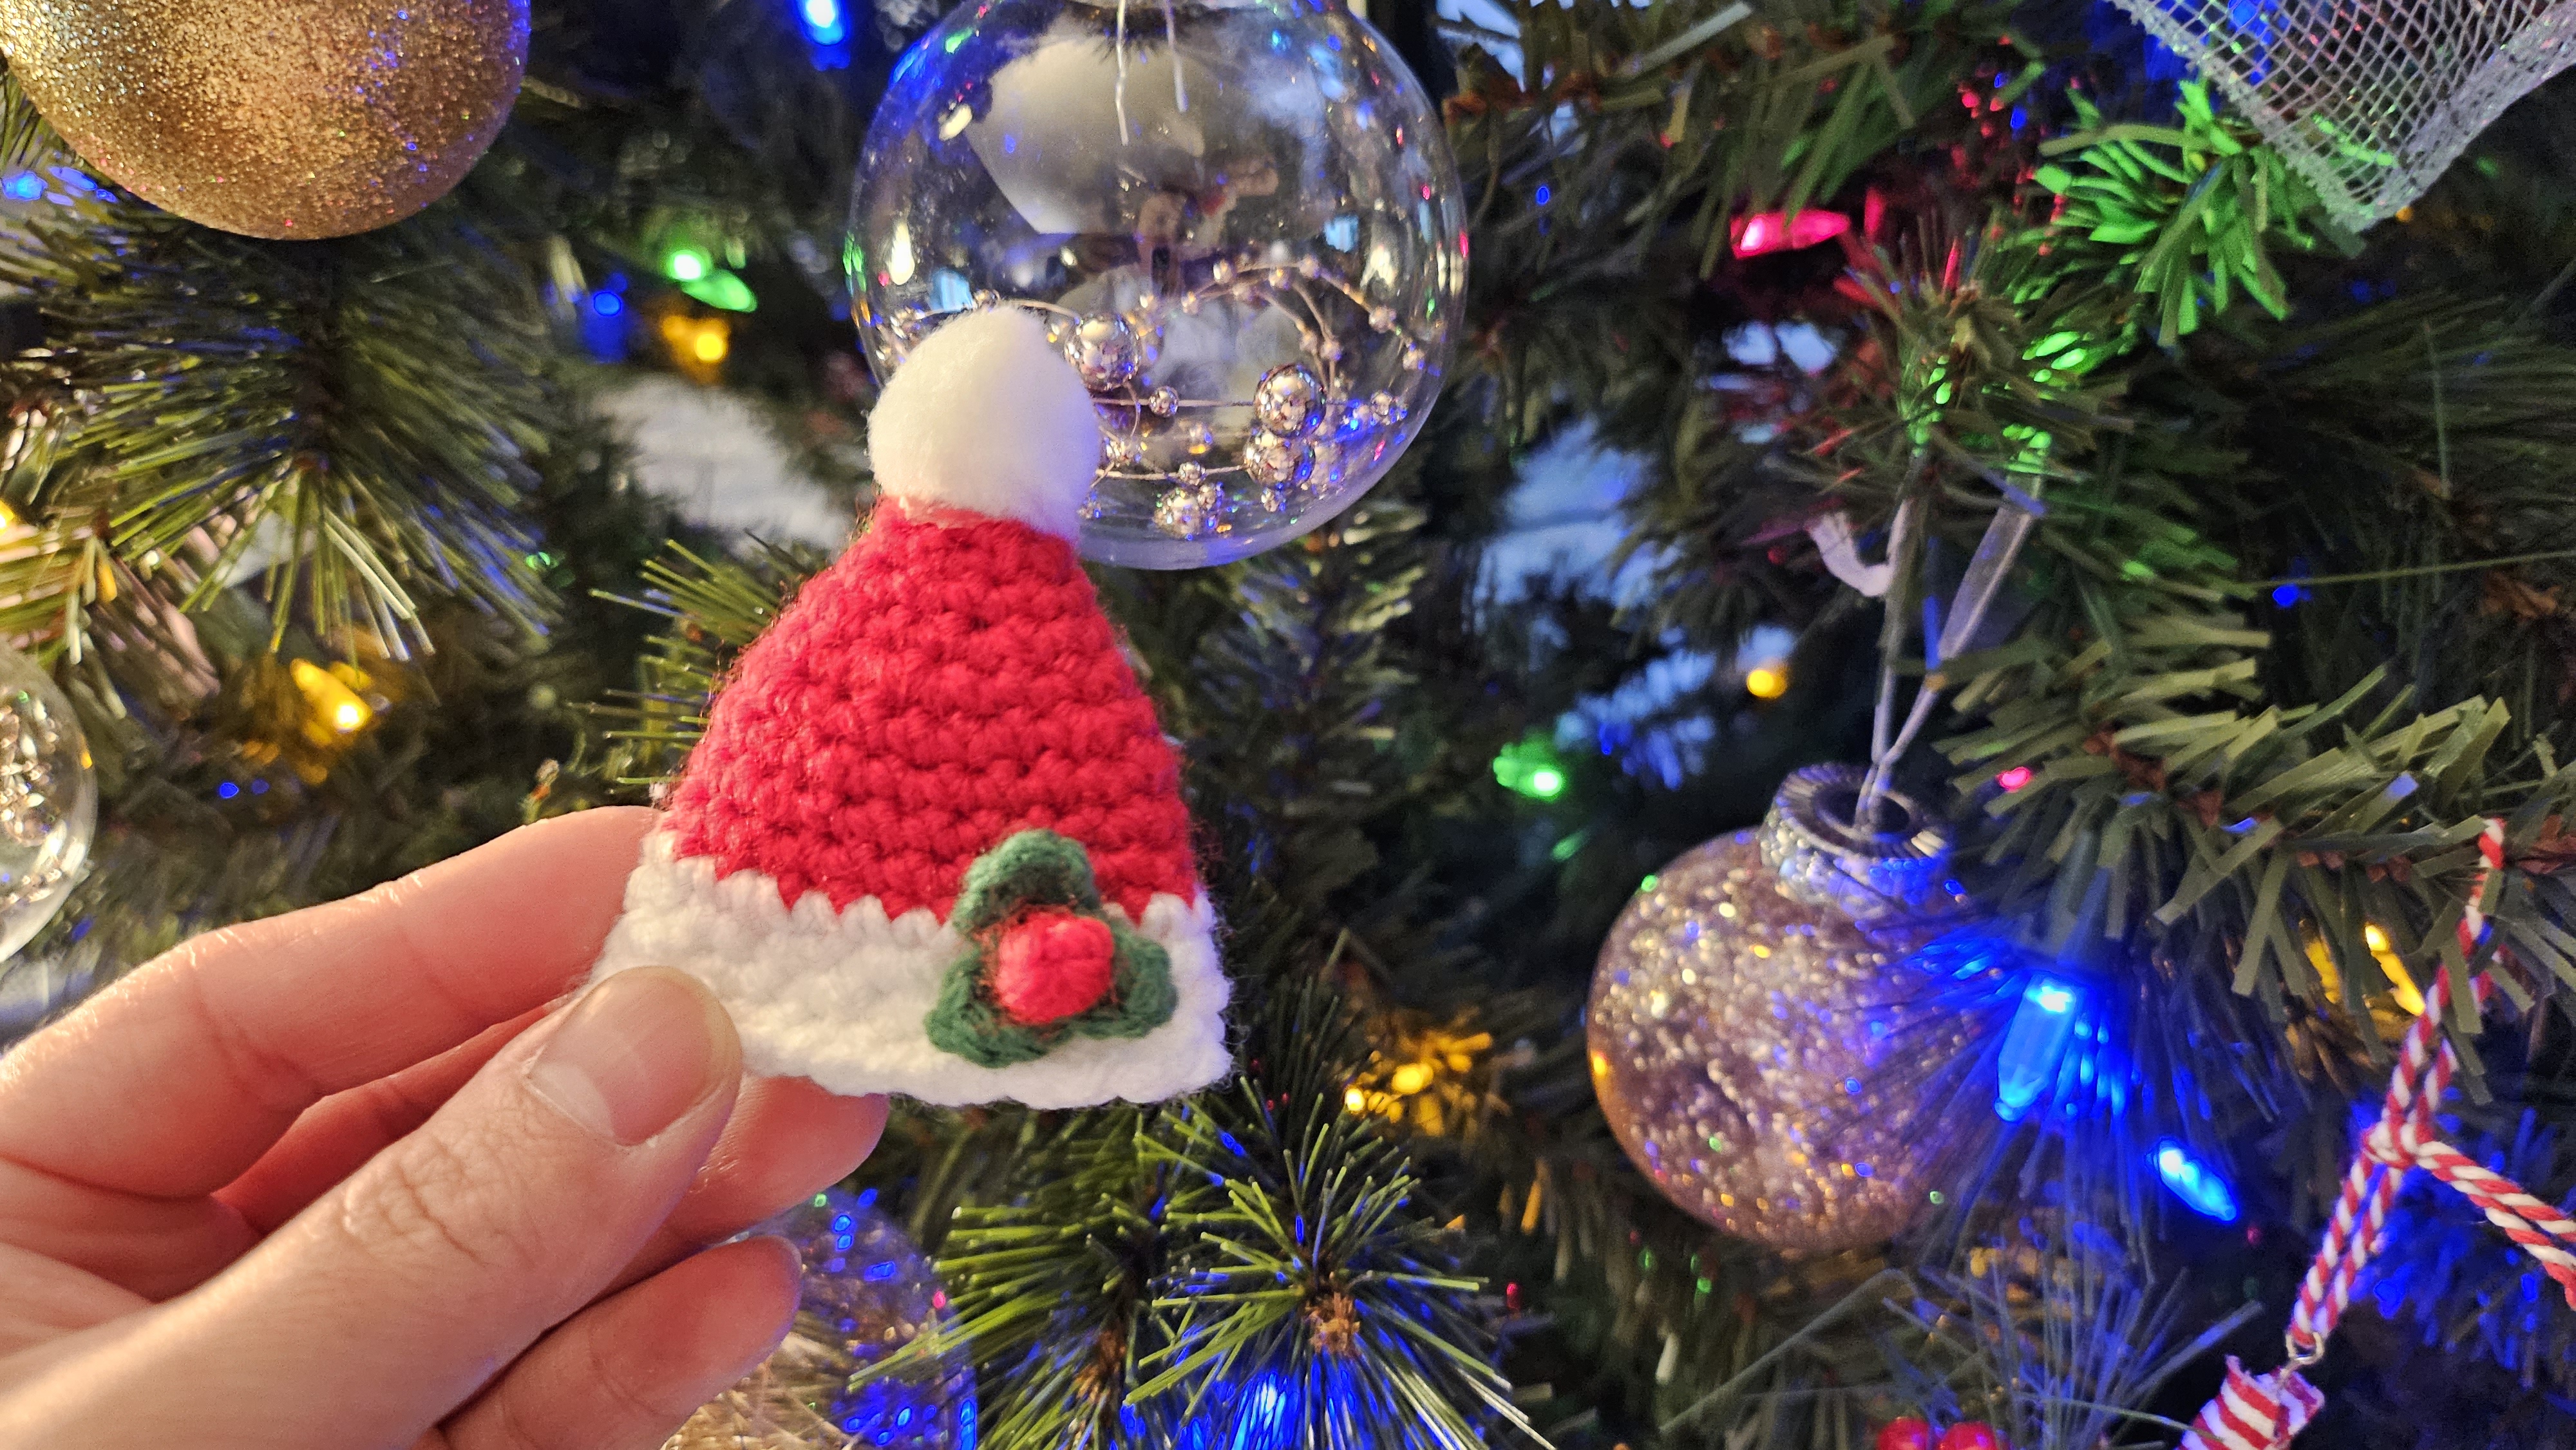
Simple Crochet Mini Santa Hat Ornament for Beginners 🎅
A tiny Santa hat can make a Christmas tree feel a little more personal. This one has a red hat, a soft white brim, a pom-pom, and a small festive decoration on the front. Make one for your tree, tie it to a wrapped gift, or crochet several for a handmade garland.
This guide helps you prepare your materials and follow the project in order. For the stitch-by-stitch instructions and close-up views, follow along with my full mini Santa hat video tutorial.
Materials
- Small amounts of worsted-weight yarn in red, white, and green
- 2.75 mm crochet hook
- Scissors
- Pom-pom
- Stitch markers
- Glue gun for attaching the finishing details
The video does not specify a yarn brand or shade number, so choose colors you already enjoy working with.
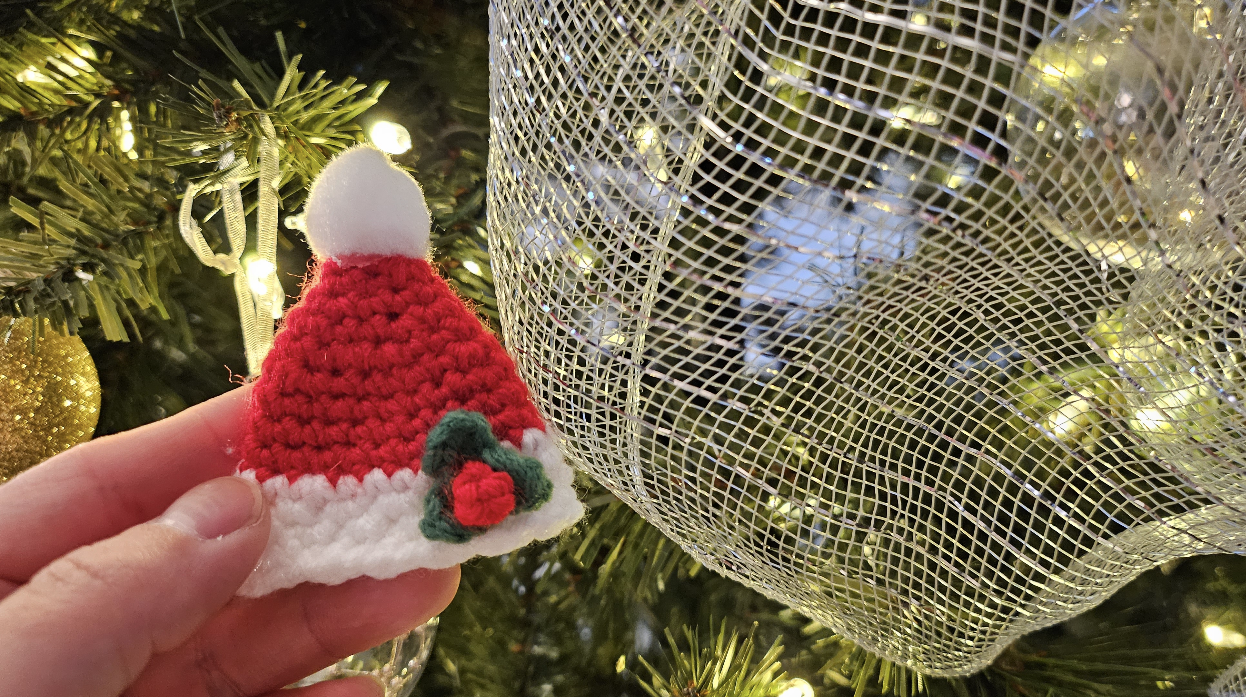
How the ornament comes together
- Crochet the red hat
Begin with the red section and follow the shaping shown in the video. A stitch marker helps you keep track of where each round begins. As you work, pause occasionally to check that the hat is forming the shape you want before moving on.
Add a photo here: The red hat before the decorations are attached.
- Add the white brim and pom-pom
The white brim gives the little hat its classic Santa look. Finish the top with a pom-pom, then gently shape the hat with your fingers. If you’re making several ornaments, you can vary the pom-pom size to give each one a slightly different personality.
- Make the leaf and berry details
Crochet the small green leaves and the berry decoration shown in the tutorial. Lay them on the hat first to choose their position, then attach them during the finishing stage. You can also leave these details off for a simpler red-and-white version.
Add a photo here: A close-up of the leaves and berry before assembly.
- Assemble and display
Attach the decorations securely and tidy away any visible yarn ends. To hang the hat on a tree, add a small loop of yarn at the top. You could also use it as a gift topper or make a matching set in different reds and greens. 🎄
Add a photo here: The finished Santa hat hanging on a tree or attached to a present.
A small tip before you start
Try making the first hat with your leftover yarn. Once you’re happy with its size and shape, use it as a reference for a matching set. That makes it easier to keep your ornaments consistent without worrying over every tiny difference.
Which would you make first: the decorated version or a classic Santa hat? Let me know in the video comments—I’d love to see your color choices.
Watch the complete step-by-step tutorial: Simple Crochet Mini Santa Hat Ornament on YouTube
Watch every stitch up close
Pair these written notes with the complete video tutorial.
Made with yarn, shared with love. 🧶💗