
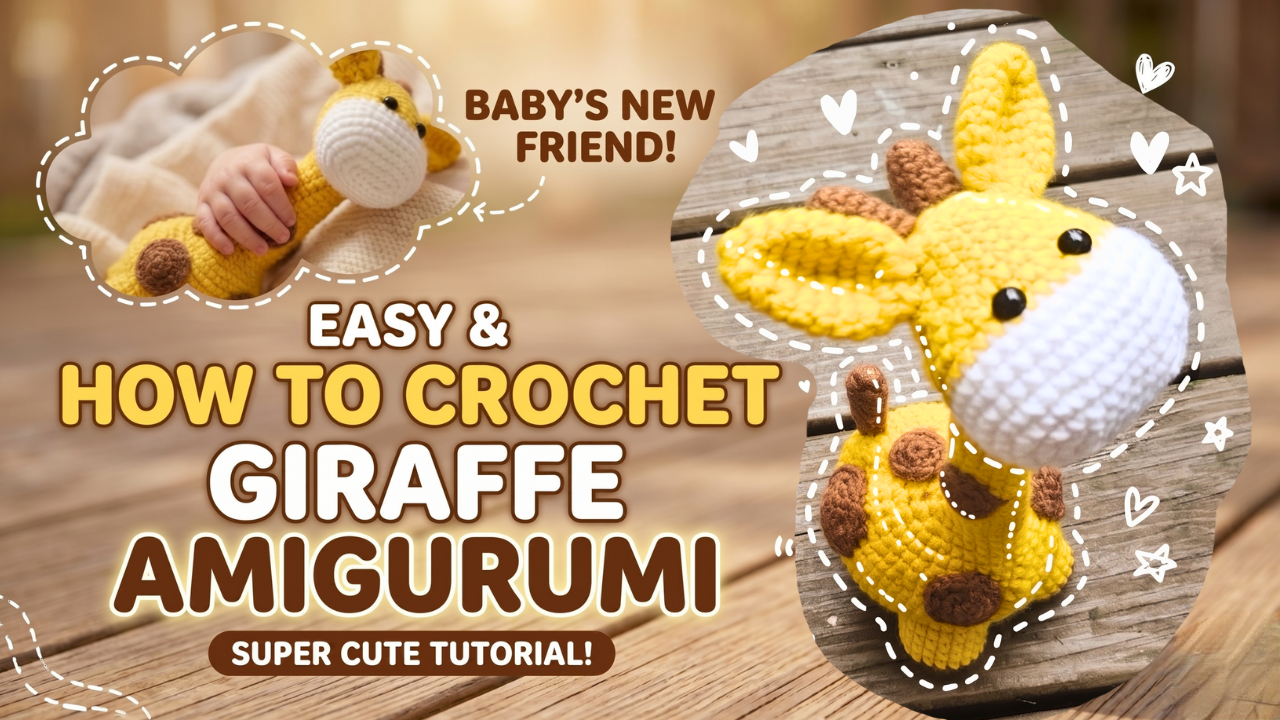
# The Cutest DIY Crochet Giraffe Amigurumi 🦒
Looking for a sweet handmade baby shower gift? This adorable crochet giraffe is a lovely project for anyone who enjoys making cute amigurumi animals.
The design features a soft oval muzzle, a chubby body, a long upright neck, tiny horns, little ears, and classic giraffe spots. It has a friendly shape that makes it perfect for a nursery, a child’s room, or a handmade gift basket.
Follow along with my free crochet giraffe video tutorial to see the complete process and stitch placement.
Materials
- Yellow yarn for the main body
- White yarn for the muzzle
- Brown yarn for the spots and details
- Crochet hook suitable for your yarn
- Polyfill stuffing
- Yarn needle and scissors
- Stitch marker
The video does not specify a yarn brand or hook size, so choose a hook that creates a firm fabric. Amigurumi stitches should be tight enough that the stuffing does not show through.
Crochet the muzzle and head
Begin with the oval muzzle using white yarn. Unlike a perfect round shape, the oval gives the giraffe a softer and more recognizable face.
Once the muzzle is complete, continue shaping the head with yellow yarn. Keep the stuffing firm but smooth as you work so the face stays rounded without becoming lumpy.
Take your time with the color changes around the muzzle. Clean joins will make the face look much more polished.
Shape the body and long neck
The body is crocheted into a rounded, chubby shape. Add stuffing gradually as you work instead of waiting until the very end. This helps you control the shape and keeps the body symmetrical.
The long neck is the most important design feature of this giraffe. To help it stand upright, use the rapid-decrease shaping shown in the tutorial. The decreases create a narrower, stronger neck while keeping the body full underneath.
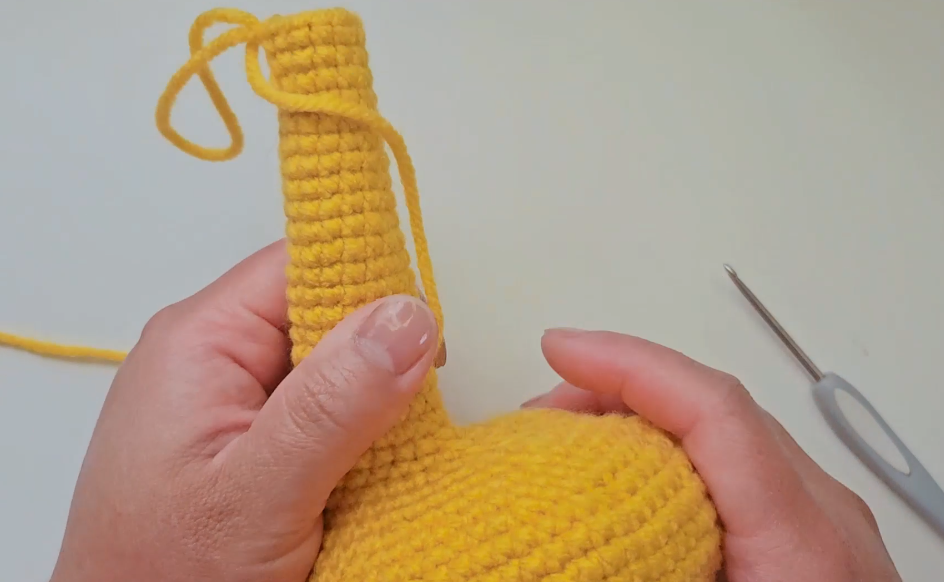
If your neck feels too soft, add a little extra stuffing as you continue. Avoid overfilling, since too much stuffing can stretch the stitches.
Make the legs, ears, horns, and spots
Crochet the four legs separately and stuff them lightly. Before sewing them on, place them around the body to check that the giraffe can sit or stand evenly.
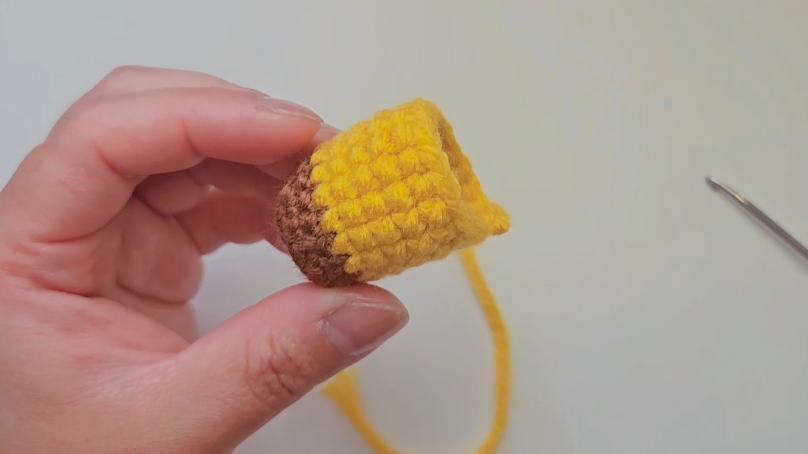
Add the small ears and horns near the top of the head. These pieces are tiny, so stitch markers can make it easier to keep track of your rounds.
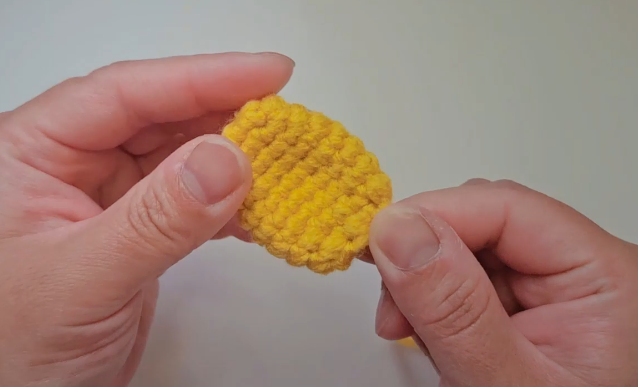
The brown spots can be sewn or crocheted and attached to the yellow body. Try placing the spots in different sizes and positions so your giraffe has a natural, playful look. No two giraffes need to be exactly alike. 🤎
Assembly and finishing
Sew the head securely to the top of the neck, making sure it is centered. Attach the legs, ears, and horns, then embroider or add the facial details.
Before weaving in all your ends, gently check the giraffe from the front and side. Adjust the legs or head position if necessary so the finished animal looks balanced.
This giraffe would make a sweet baby shower present, nursery decoration, or handmade keepsake. You can also experiment with cream, caramel, or pastel colors for a different style.
Watch the complete step-by-step tutorial: The Cutest DIY Crochet Giraffe on YouTube.
Made with yarn and shared with love. 🧶💛
Watch every stitch up close
Pair these written notes with the complete video tutorial.
Made with yarn, shared with love. 🧶💗